The Best First Projects for Digital Craft Beginners & How to Avoid Common Printing Mistakes
yassy
Crafters!

Hello, everyone! It’s Yassy from Crafters! (・∀・)
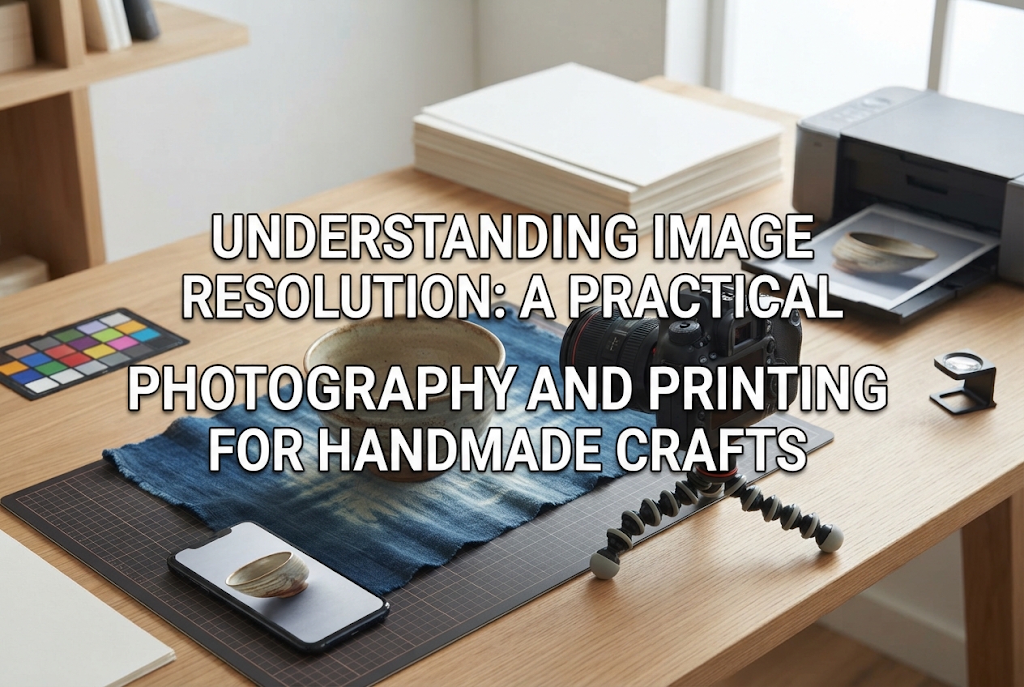
When enjoying handmade and crafting activities, you often have more opportunities to photograph your works to post on social media, or print items like shop cards, instruction sheets, and thank-you cards.
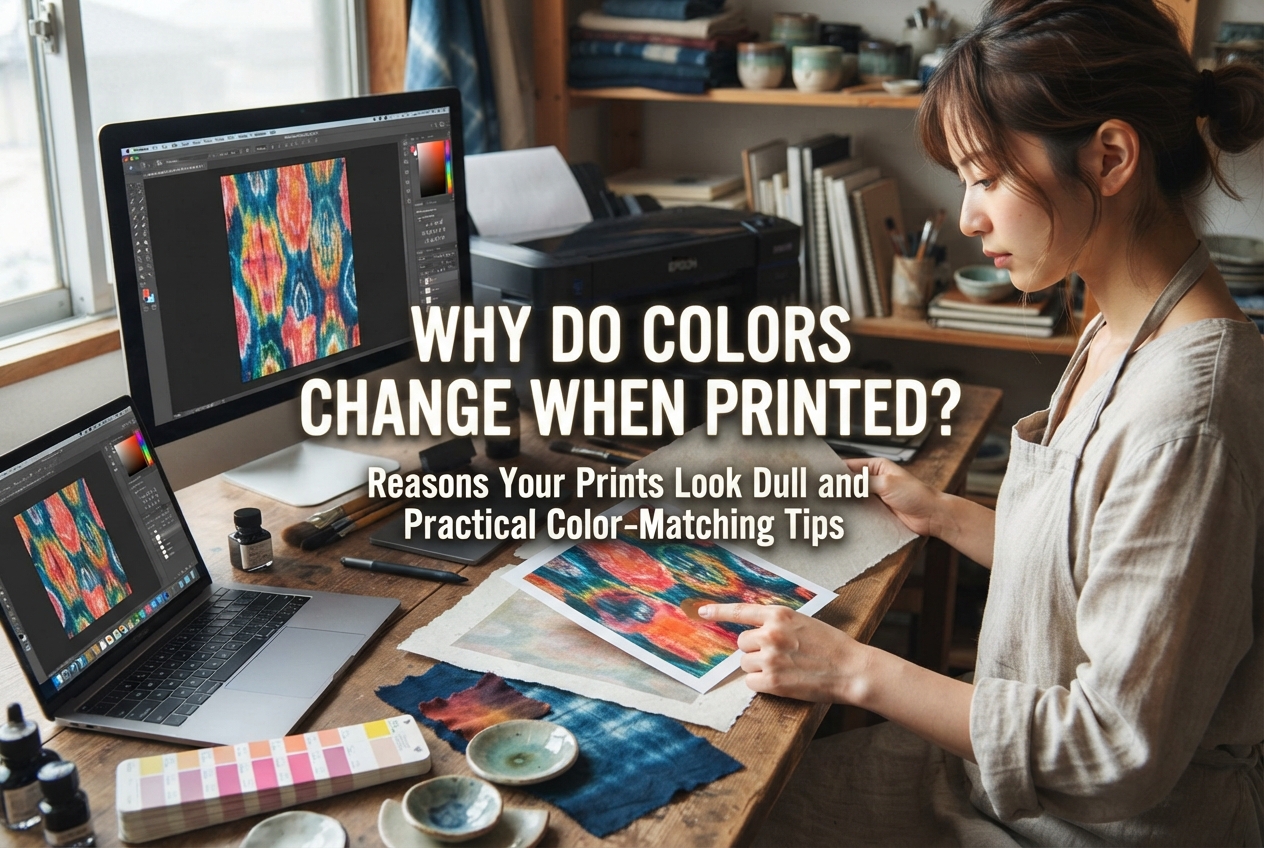
During these times, there is a term you will inevitably hear: “image resolution.” Have you ever experienced a situation where an image looked beautiful on your computer or smartphone screen, but ended up blurry or pixelated when printed?
In fact, all of these troubles occur simply because the concept of image resolution is not fully understood. Resolution might sound like a difficult technical term at first glance, but as long as you grasp the key points, anyone can easily master it.
In this article, I will thoroughly explain the essential knowledge every handmade artist and crafter should know—from the basic meaning of resolution and the differences between screen displays and printed materials, to important precautions when shooting with smartphones and setting up design tools correctly!
In simple terms, resolution is a numerical value that represents the “fineness” or density of an image. Think of it as an index showing how finely and densely a digital image or printed item is rendered.
A digital image is made up of a collection of tiny colored dots or grid squares. Each individual dot is called a “pixel” or a “dot.”
Resolution measures how tightly packed these dots are within the same physical size of paper or screen. The more densely packed the dots are, the smoother and clearer the image appears. Conversely, if there are fewer dots, the representation becomes rough, causing the image to look jagged or blurry.
There are two units used to express resolution: “dpi” and “ppi.” Since these are frequently used in printed craft materials and image editing, let’s organize what each means:
Strictly speaking, there is a technical difference between physical ink dots for printing and screen pixels for displays. However, when creating digital craft files or print data today, treating dpi and ppi as practically identical causes no issues. When configuring settings in design apps, simply understand it as “how many dots are packed into one inch.”
For example, imagine drawing a straight line 1 inch long using 10 dots versus using 300 dots.
A line drawn with 10 dots leaves noticeable gaps between the dots, resulting in a jagged, unnatural line. This is a “low-resolution” (low-res) state.
On the other hand, a line drawn with 300 dots has those dots packed tightly together without gaps, making it look like a crisp, smooth straight line. This is a “high-resolution” (high-res) state.
The most common mistake beginners in handmade crafting make is assuming that “because it looks beautiful on a smartphone screen, it will definitely print out beautifully as well.”
In reality, the resolution required to view images on a web screen is vastly different from what is needed for paper printing. Understanding this difference is your first step toward creating crisp printed materials.
Photos of craft works posted on social media platforms like Instagram or Japanese online handmade marketplaces like minne and Creema are typically displayed at 72 dpi or 96 dpi.
Computer and smartphone screens emit light to render images, so a resolution of around 72 to 96 dpi is more than enough for the human eye to perceive a clear, smooth image.
In fact, making web images unnecessarily high in resolution increases file size too much, which leads to slow page loading speeds.
On the other hand, paper printouts require a resolution of 300 to 350 dpi. For monochrome printing or fine line art, 600 dpi or higher is sometimes recommended.
Because paper does not emit light like a display, fine ink dots must be packed densely to settle onto the physical medium. Therefore, it requires about four to five times the density of a screen display.
If you print a web image or logo created at 72 dpi directly onto paper, the printer treats it as an image with very sparse dot density. As a result, outlines become jagged and the entire print looks blurry or smudged.
Now that you understand the concept of resolution, let’s look at common mistake patterns that actually happen during handmade craft activities. Knowing the causes helps you prevent them beforehand.
“I printed a logo image created for my website or blog directly onto shop cards using my home printer, but the lettering came out blurry and unreadable.”
This happens because 72 dpi image data made for web use was applied to printing. Even if it looked sharp on screen, it lacks the total pixel count (number of dots) required for physical printing.
When preparing data for print, you need to create your design from the start on a canvas set to 300 dpi–350 dpi.
“I enlarged a small smartphone photo to fill a shop card or an A4 flyer, but the photo ended up looking grainy like coarse drawing paper.”
When you enlarge image data, each individual pixel (the stretched grid square) becomes larger. Stretching an image does not increase the underlying total number of dots.
Resolution inherently works such that “the more you enlarge an image, the lower its resolution becomes, and the more you shrink it, the higher its resolution becomes.” Avoid forcibly stretching small images to a large size.
“I asked a friend to send me photos they took of my craft pieces via LINE, and when I printed them on product backing cards, the picture quality was degraded.”
Messaging apps and certain social media networks automatically compress images and lower their resolution to reduce file size during transmission.
If you want to use taken photos as print data, send or receive them using uncompressed methods such as LINE’s “ORIGINAL” setting, email, Google Drive, or AirDrop.
Hand in hand with resolution is image size in pixels.
To satisfy the resolution needed for printing (350 dpi), you must know how many pixels are required for your desired print size in centimeters or millimeters.
Calculating this manually every time is tedious, so here is a quick guide summarizing standard print sizes used in handmade branding and their required pixel counts at 350 dpi:
When creating a new file in design software or apps, set the unit to “mm,” input the width and height, and set the resolution to 350 dpi (or ppi). The app will automatically secure the required pixel count.
Recently, more and more crafters use convenient design tools like Canva to make shop cards and product backing cards.
Even when using tools like Canva, keeping key resolution points in mind is essential.
If you set your file size in pixels (“px”) right at the beginning, it can result in insufficient resolution during printing.
On the creation screen, switch the unit from “px” to “mm” first, then type the dimensions of the paper you wish to make (e.g., 91 mm × 55 mm for standard Japanese business card size). This maintains the correct size ratio suitable for printing.
When saving your completed design, downloading it directly as a PNG or JPG might export it at web-display resolution.
For printing purposes, choose “PDF Print” as the file type when downloading. Selecting PDF Print exports the document in high resolution suitable for physical print data.
No matter how high you set the resolution of your overall card layout, if the photos of your craft items placed inside it are low-resolution, only the photo portions will print out blurry.
Always use original, high-quality image files for photos inserted into your layout.
You might worry, “Do I need a DSLR camera to take high-resolution photos?” Absolutely not!
Current smartphones (both iPhone and Android) have impressive capabilities. As long as settings are configured properly, you can easily take high-resolution photos that withstand physical printing.
Open your smartphone camera settings and verify that image quality or capture size is set to “High Quality” or “Maximum.”
If set to “Standard” or “Low Capacity” to save storage space, resolution will already be compromised at the moment you shoot. When photographing items for your craft business, always keep the setting at maximum quality.
When taking close-up shots of a craft piece, do you pinch out on your screen to zoom in?
Standard smartphone zoom functions use “digital zoom,” which merely crops and enlarges a portion of the image. The more you zoom in digitally, the worse the resolution becomes and the grainier the image gets.
To take a large shot of a piece, the golden rule is to move yourself or your phone physically closer to the item rather than using digital zoom. If your phone has a telephoto lens, use the optical zoom toggle buttons (like 2x or 3x).
When shooting in dark environments, phone cameras automatically boost sensitivity to compensate for light. This creates grainy, sand-like texture called “noise.”
When noise occurs, perceived resolution decreases significantly. Shoot product photos in bright indoor settings with natural light or utilize dedicated lighting to keep shots bright and clear.
Here is the practical workflow I personally use when creating handmade materials and shop cards to eliminate resolution troubles entirely!
There are no complicated tasks involved. Establishing simple rules in advance completely guards against mistakes.
Save original photos taken on your smartphone or camera without any editing or resizing into a dedicated folder as “Master Data.”
If you crop an image square for social media or lower its size, save it under a different file name. By preserving the highest quality original at all times, you can immediately retrieve high-res data whenever you want to use that photo for printed items or posters later on.
When ordering printed shop cards and stickers, or printing onto commercial label sheets, always download and use their official templates.
Official templates come pre-configured with the precise dimensions and correct 350 dpi resolution. It avoids errors and guarantees clean print results far better than building a canvas from scratch yourself.
Before ordering 100 shop cards or printing numerous sheets of stickers, print a single full-scale test copy on plain paper using a home printer or local print service.
Examine the printed paper with your own eyes to check if letters are crushed or photos and logos look blurry. Even if a design looks flawless on screen, unexpected flaws can appear once printed on paper, making this test print indispensable.
So far, we have discussed image data and print resolution, but the concept of “increasing resolution” is also a valuable mindset for craft making and brand management as a whole.
“Increasing resolution” in a broader sense means observing and understanding things more finely, deeply, and clearly.
For example, sharpening your observational skills regarding fine finishing details—such as removing micro-bubbles or polishing edges in resin crafts, or neatly trimming threads and finishing leather edges in sewing—is also “raising the resolution of your craft work.”
Even if a photo boasts high resolution, if the physical item’s finish is rough, customers will not be satisfied. By paying meticulous attention to details in both your photography and your physical work, trust in your brand rises significantly.
When considering who you want to reach with your creations, resolution is equally important.
Rather than thinking broadly of “women in their 20s,” try building a concrete image down to “what clothes they like, how they spend their weekends, and what accessories they wish to wear.” This raises your resolution regarding your target audience.
When your understanding of your customer reaches a higher resolution, everything—from piece design and shop card layouts to photo moods and tone of voice on message cards—aligns seamlessly without compromise.
In this guide, we covered fundamental knowledge about image resolution and practical techniques to prevent mistakes in your craft activities.
Let’s review the key points one last time:
Once you understand how resolution works, your printed materials will turn out just as beautifully as intended, making product photography and shop material production even more fun!
If you have been struggling with photos that look great on screen but don’t print well, try applying the settings and tips shared in this article to craft wonderful shop cards and items.
Sharing this article with your crafting friends on social media or messaging platforms would make me super happy and encouraged!
Well then, see you in the next article! This was Yassy from Crafters!

For example, if you are looking for articles about mizuhiki, try searching for "mizuhiki"; if you are interested in tools, try keywords like "nippers" or "pliers."
