Japanese Herbarium Crafting: Why Flowers Float and How to Keep Your Layout Intact
yassy
Crafters!

Hello, crafters! It’s Yassy from CRAFTERS! (・∀・)
Dip art (often known in Japan as "American Flower" craft) allows you to create stunning, translucent floral petals and delicate accessories. It carries a fine, airy charm distinct from resin or glasswork, and simply looking at these creations can spark so much creative joy.
However, when crafters decide to try making dip art for themselves and start gathering materials, they frequently encounter an immediate stumbling block: there are so many different kinds of craft wire that it is hard to know which one to pick.
Common problems like "I bought the dip liquid, but the film won't form cleanly over the frame," or "The finished petals sagged under their own weight," usually stem from using the wrong wire. Wire serves as the skeleton of any dip art project; it is the single most crucial component determining both structural quality and ease of crafting.
In this guide, I will thoroughly explain the wire types, gauge numbers (bante), and practical selection rules for dip art in Japan. By the end, you will be able to confidently pick the ideal wire for whatever project you want to create!
In dip art, you shape a wire into a closed frame, dip it into synthetic resin dip liquid, and rely on surface tension to form a thin film across the opening. This means the wire does not merely give the petal its shape—it must actively catch and hold the resin film.
If the wire is too thin or the surface coating is unsuitable, you may encounter issues like:
If you compromise on wire selection, even the most meticulous handiwork will not result in a clean finish. Understanding how to choose the right wire is an essential foundation for mastering dip art.
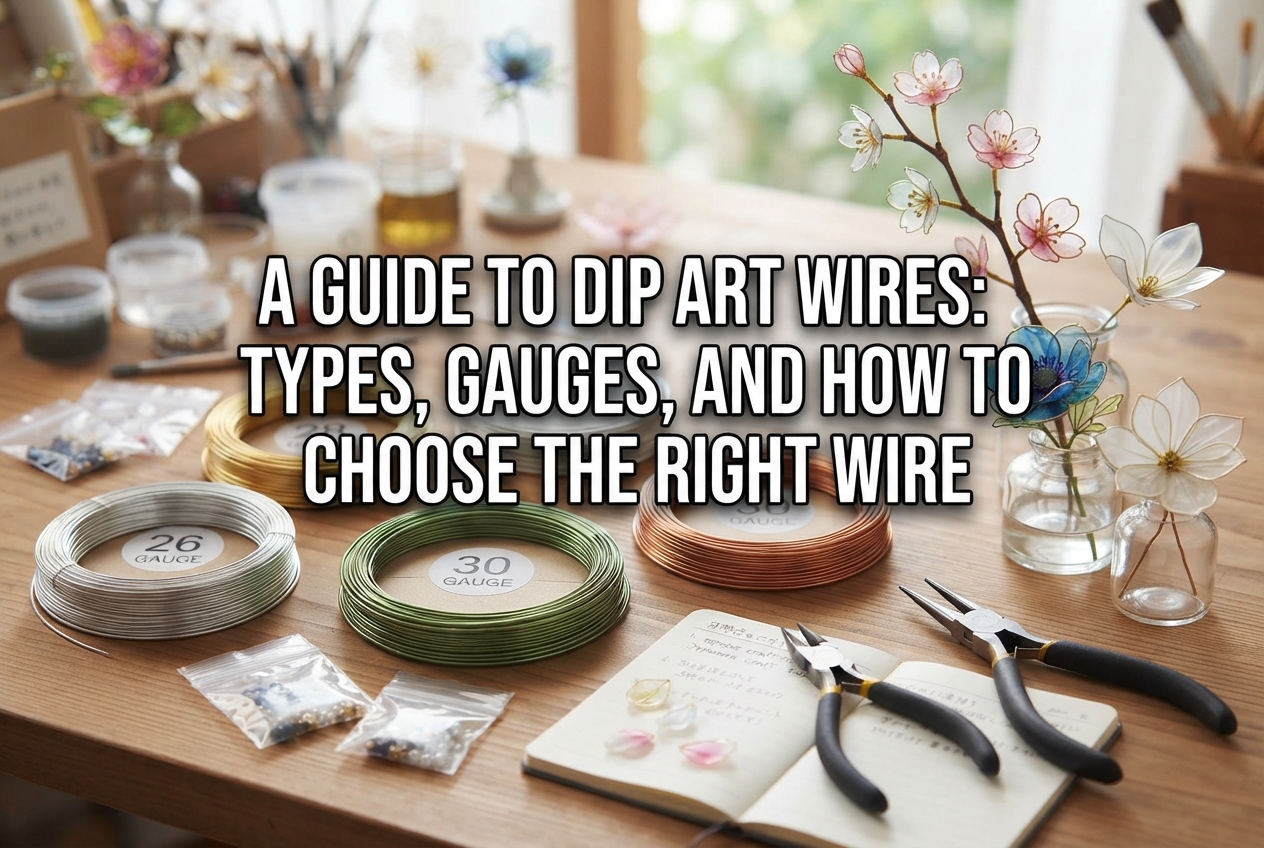
Craft shops carry an extensive variety of craft wire. In dip art, three main types are primarily used: Jinuri Wire (coated floral wire), Bare Wire (Hadaka wire), and Artistic Wire (colored craft wire). Let's look at the characteristics of each.
In Japanese craft terminology, jinuri wire refers to metal wire wrapped in paper, cotton, or a specialized matte coating. It is a staple material widely used in traditional floral arrangements and paper flower making.
Its greatest advantage is that the micro-texture and fiber of the wrapping give the dip liquid something to grip, greatly reinforcing surface tension. Compared to slick metal wires, the resin film forms with remarkable ease and is far less prone to popping.
It comes in colors like white, green, and brown. Green and brown wires can be used directly as realistic stems and leaf veins. For beginners practicing dip art for the first time, jinuri wire is unquestionably the easiest and most reliable option to handle.
Hadaka (bare) wire is raw, uncoated metal wire. This category includes brass wire (gold color) and silver-plated steel or copper wire.
Because it showcases natural metallic luster and a clean, slim line, it is essential when you want to craft highly translucent petals or delicate jewelry. It keeps the framework understated, providing a refined, graceful appearance.
However, because the metal surface is smooth, the dip liquid can slide off easily. It requires a bit more technique to form a film compared to jinuri wire, making resin viscosity and dipping speed much more critical.
Artistic Wire is a high-grade copper craft wire coated with a colored layer and a clear enamel finish, commonly used in wire jewelry making. It comes in a wide variety of tarnish-resistant metallic hues, including gold, silver, rose gold, and gunmetal.
When making wearable items such as earrings, brooches, or Japanese hairpins (kanzashi), Artistic Wire is ideal because its coating protects against discoloration from moisture and skin oils.
While it has a smooth surface similar to bare wire, it combines moderate pliability with good springback, and its surface does not scratch easily when manipulated with pliers. It is an indispensable material if you are aiming for polished, professional-grade accessories.
Alongside the type of wire, thickness is equally vital. In Japanese crafting, wire thickness is marked by bante (gauge), designated with a hash mark (#).
The most important rule for beginners to keep in mind is: The larger the number, the thinner the wire.
For example, when comparing #28 wire and #20 wire, #28 is much thinner, and #20 is significantly thicker. Keep this inverse numbering system in mind when shopping.
The wire sizes most frequently used in dip art range between #30 and #18. Here is a summary of each size range and its practical application:
If your wire is too thin for the size of your component, the surface tension of the film will pull the frame inwards, causing it to curl or collapse. Conversely, if the wire is too thick, it will be hard to bend into graceful curves with pliers, leaving your piece looking heavy and clunky.
As a baseline guideline, remember: thin wire (#28–#26) for small components, and thicker wire (#24–#22) for larger petals.
Even with the theory in hand, you might still wonder which wire to grab for a specific piece. Here are my recommended combinations for typical projects:
For delicate ear accessories, gold or silver Artistic Wire in #28 or #26 is ideal.
For petite petals, #28 offers sufficient structural strength while keeping the wire subtle and charming. If you want added durability for everyday wear, opt for #26.
For statement hairpieces, use #24 white jinuri wire or #24 Artistic Wire for the petal frames.
If you attempt this size with a thin wire like #28, the frame will deform instantly under the weight of the dip liquid. Stepping up to #24 ensures your petals hold their intended shape. When assembling the piece, incorporating a #20 jinuri wire (green or brown) as the main stem ensures the hairpin is rigid enough to secure firmly into an updo.
When crafting realistic three-dimensional flowers for a vase, use #24 to #22 jinuri wire for the petals, choosing #22 for larger petals.
For the central stem that supports the entire flower, prepare a #18 green jinuri wire. Once multiple petals and leaves are gathered together, a dip art flower becomes surprisingly heavy. Skimping on stem wire thickness will result in a flower that droops or topples over on display.
Here are three common pitfalls newcomers face when starting dip art, along with solutions to save you time and materials:
Inexpensive aluminum wire sold at general craft stores is very soft and easy to bend, but it is generally unsuitable for dip art.
Aluminum lacks elasticity. It readily deforms under the hydrostatic drag of the dip liquid and the shrinkage tension of the resin as it cures. For dip art, rely on copper or iron/steel craft wires that possess adequate stiffness and resilience.
If you have bent a neat frame but the liquid pops every time you lift it out, the issue is typically residual oil or the slippery texture of the bare metal.
Wiping the wire surface clean with rubbing alcohol helps. However, the most effective fix is slightly increasing the viscosity of your dip liquid. You can leave the lid off for a brief time to let a little solvent evaporate, or slow down the speed at which you withdraw the frame from the can. If you still struggle, switch to jinuri wire, which lets beginners form clean films effortlessly.
Selecting an overly heavy gauge (like #20) out of a desire for maximum durability requires excessive grip force to bend, leading to unsightly dent marks from flat-nose pliers.
Forcing thick wire also prevents you from shaping smooth, natural curves. Choosing the appropriate gauge for the component size is the true key to a refined finish. If you must work with stiff wire, wrap protective tape around your plier tips or use nylon-jaw pliers.
Once you have selected your wire, keeping these three shaping techniques in mind will make a noticeable difference in your results:
Wire bought in coils or bundles always has residual curving. If you attempt to bend petals without straightening it first, the symmetry of your petals will be inconsistent.
Before you begin, grip one end of the wire with pliers, hold the other end between your fingers or a piece of cloth, and pull firmly along the length several times to smooth out the bends. Starting with straight wire is fundamental to producing uniform pairs of petals.
When crafting wide petals exceeding 3 cm across, an open outer frame may cause the resin film to break across the wide center gap.
In this case, add a fine wire (#28–#30) down the center or radiating outward inside the frame as a "bridge." This bridge acts visually like a natural leaf vein, stabilizes the resin during dipping, and substantially reinforces the finished petal.
When securing the base of a petal frame, avoid twisting the wire excessively. Over-twisting causes metal fatigue and makes the wire snap right at the joint.
Twisting firmly 2 to 3 times is entirely sufficient. Keeping the number of twists uniform also prevents bulky buildups when you bundle multiple petal stems together later.
If you are thinking, "I understand the differences, but what exactly should I buy to get started?", here is my personal recommendation for the best initial setup:
Having these three options covers everything from petite earrings to medium floral arrangements.
I especially recommend white jinuri wire because it takes acrylic paint, nail polish, and translucent dip colors cleanly without altering their tones, making it compatible with any petal shade. When in doubt, start with white #26 jinuri wire!
In this guide, we explored the main types of wire used in dip art and how to select them without frustration.
Here is a quick recap of the essentials:
Dip art is a rewarding craft that allows you to transform a single strand of wire into an expressive, lifelike flower with your own hands. Choosing the right wire suited to your design dramatically cuts down on film-popping issues and makes the crafting process far more enjoyable.
Use these guidelines to find the perfect wire for your next project, and have fun bringing your dip art ideas to life!
See you in the next article! This was Yassy from CRAFTERS!




For example, if you are looking for articles about mizuhiki, try searching for "mizuhiki"; if you are interested in tools, try keywords like "nippers" or "pliers."
