A Guide to Dip Art Wires: Types, Gauges, and How to Choose the Right Wire
yassy
Crafters!

Hello, this is Yassy from Crafters! (・∀・)
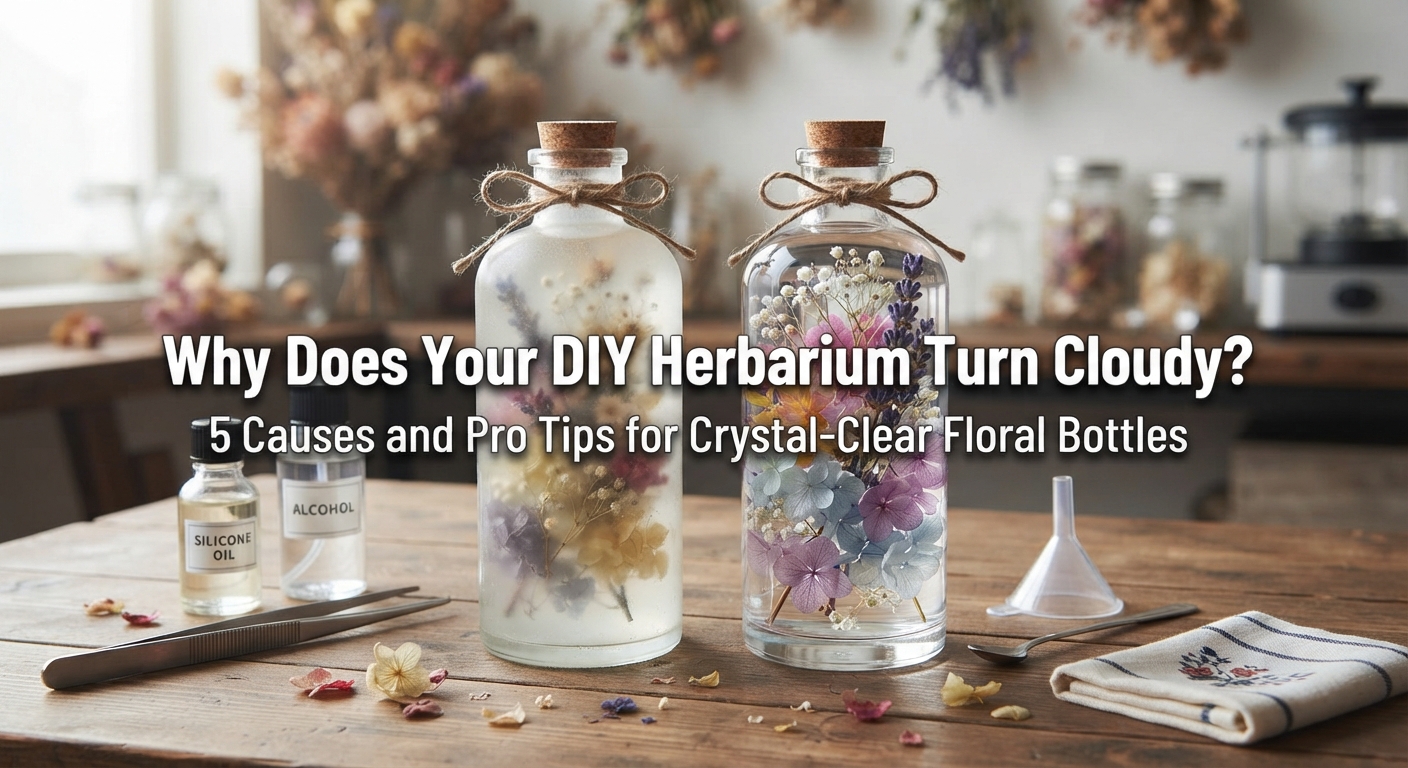
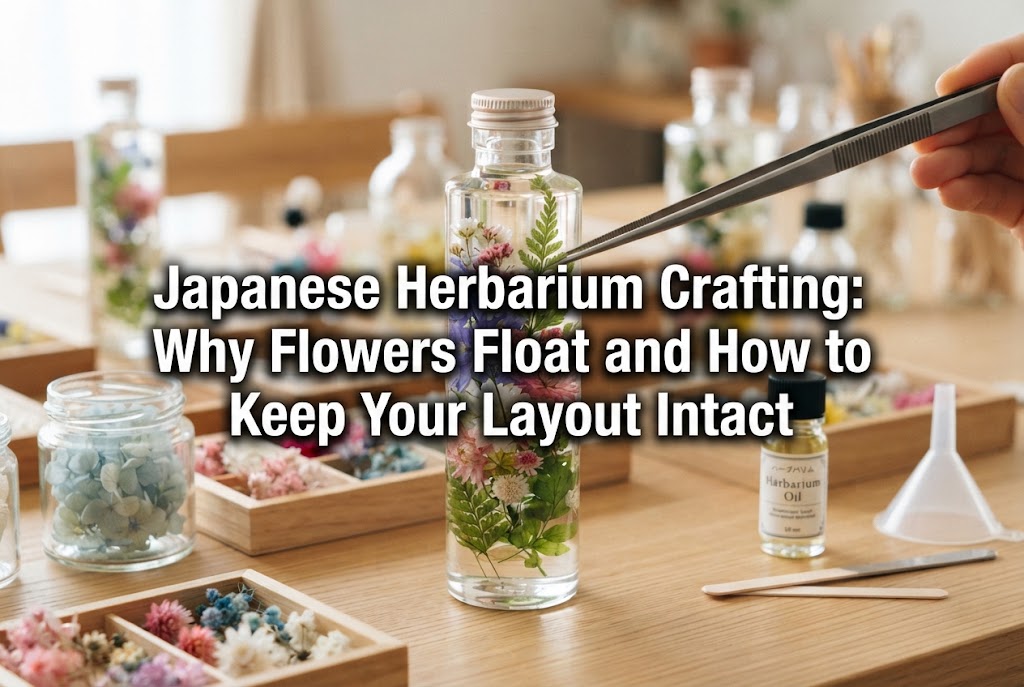
Herbarium bottle arrangements—where delicate botanicals sway gently in clear mineral or silicone fluid—are wildly popular in Japan as both home accents and thoughtful handmade gifts. However, many crafters run into a frustrating hurdle just days after finishing their project: "Why has my fluid turned milky white?", "What is that murky haze gathering near the bottom?", or "The colors have bled into the oil, turning everything muddy!"
It is truly heartbreaking when a design that looked pristine immediately after filling loses its clarity over time. But oil clouding in floral bottle arrangements is never an accident—it is always driven by specific physical or chemical reactions. Simply pouring oil over dried materials and sealing the lid leaves your piece vulnerable to invisible moisture and unexpected color reactions.
In this guide, I will break down the primary culprits behind cloudiness and share the essential techniques I rely on in my own studio to prevent these mishaps. Read on to master the craft and keep your botanicals floating in crystal-clear perfection for months and years to come!
Cloudiness does not occur at random. Pinpointing exactly what happens inside your sealed bottle is the very first step toward foolproof crafting. Here are the five main reasons.
By far, the most frequent culprit is microscopic moisture lingering within the botanicals. The specialized fluids used in craft herbariums are hydrophobic (water-repelling). When water is introduced, it cannot blend into the oil; instead, it disperses into billions of tiny droplets, creating an opaque, milky appearance.
Even worse, trapped moisture invites mold and bacterial growth. Fresh blooms and damp foliage are an absolute no-go, but even dried botanicals that have absorbed room humidity or incompletely cured preserved flowers will develop mold inside the bottle. Over time, this results in ghostly fuzz or murky suspended solids.
Preserved flowers and certain commercial dried florals are dyed to enhance their vibrant hues. When these colorings come into contact with certain base oils, oil-soluble dyes can leach straight out of the petals.
If a single dye bleeds, the entire liquid may shift to pink, blue, or yellow. While a uniform tint might still look acceptable, using flowers of multiple colors often leads to dyes mixing together, turning the fluid an unattractive, murky gray or brownish tone.
In herbarium crafting, two primary fluids are commonly used: mineral oil (liquid paraffin) and silicone oil. While both appear identical—colorless, transparent, and smooth—their chemical structures, densities, and refractive indexes are completely different.
If you combine mineral oil with silicone oil in the same container, the mixture will quickly turn cloudy and white due to phase separation. Once mixed, there is no way to reverse it. This often happens when crafters try to use up leftover oil from one bottle and top it off with another brand or type without checking the label.
Microscopic debris inside the glass vessel, fine dust, fingerprints, or residue on your tools (such as tweezers and floral scissors) will degrade the optical clarity of the liquid.
A common beginner mistake is pouring oil right after wiping the bottle with rubbing alcohol or sanitizing ethanol without letting it evaporate completely. Many household sanitizing alcohols contain water. When trapped under oil, this residual moisture causes visible cloudiness. Soap scum from improper washing will likewise scatter light and ruin that clean, glassy look.
Where a finished bottle is displayed plays a huge role in its longevity. Prolonged exposure to intense ultraviolet light accelerates petal fading and can oxidize the fluid itself, turning it yellowish or dull.
Furthermore, rapid temperature changes cause the small amount of trapped air inside the headspace to condense. These micro-droplets of condensation mix into the fluid, giving it a hazy look. Displaying bottles in the direct blast of an air conditioner or near cold windows in winter makes them especially susceptible to condensation-induced cloudiness.
Once you understand what causes cloudiness, you can prevent over 80% of issues before you even pour a single drop of fluid. Here are the exact prep steps and selection criteria I practice regularly.
Only fully dried florals or professionally preserved flowers should be used. Never use fresh cuts or moisture-rich elements like fresh citrus slices. Keep in mind that store-bought dried flowers can easily pick up moisture from humid ambient air while sitting on your craft shelf.
If a stem or petal feels even slightly soft, supple, or damp, give it extra drying time. Place your botanicals in an airtight container packed with silica gel desiccants for several days, or let them air out thoroughly in a dry room on a clear, sunny day.
Whenever I have any doubt about a stem, I always run it through a silica gel container before putting it into glass. Taking this extra minute brings your risk of water haze and mold down to virtually zero!
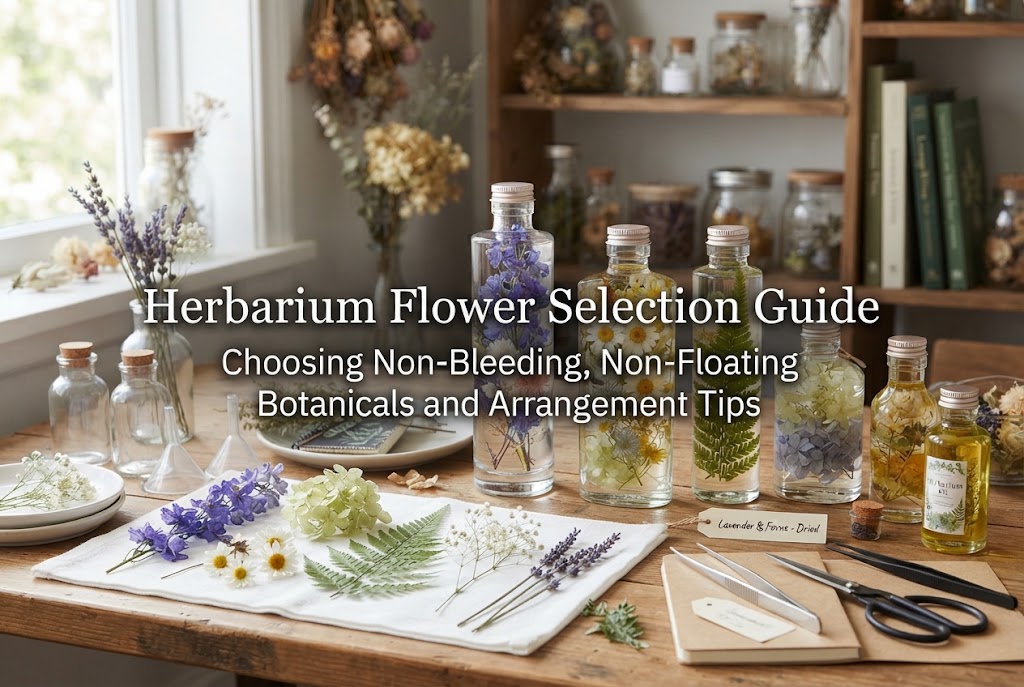
Preserved flowers vary dramatically in how their dyes interact with carrier oils. Dyed hydrangeas, baby's breath (gypsophila), and rich crimson or deep violet florals are particularly prone to containing oil-soluble dyes that bleed rapidly once submerged.
To avoid ruined arrangements, perform a simple "patch test" whenever you try a new botanical brand or color. Snip a tiny petal, submerge it in a small dish of your intended oil, and leave it for a few hours to confirm whether color leaches out.
Alternatively, you can select florals specifically labeled as color-bleed resistant for herbarium use, or stick to undyed, naturally preserved botanicals that carry zero risk of chemical dye leakage.
Always stick to one consistent product for each piece. Let's compare the characteristics of the two primary choices:
Both produce gorgeous results, but if you work frequently with richly dyed preserved petals, I personally recommend silicone oil to minimize the risk of color bleeding. Just remember: never pour silicone oil into leftover mineral oil!
Once your materials are ready, it is time to assemble and fill. Follow these critical steps to keep your piece clean and bubble-free.
Even brand-new glass bottles harbor micro-dust and glass powder from the manufacturing process. Always prep your vessels with care:
Complete dryness is paramount. A single stray water droplet will turn into a lingering milky swirl within a few days. Pay close attention to the rubber or plastic seal inside the cap, as water easily hides underneath it.
Wipe down your long arranging tweezers and scissors with an ethanol-dampened lint-free cloth before starting. Natural oils and sweat from fingertips can also introduce moisture and bacteria, so try to manipulate delicate stems using clean tools rather than your bare hands.
After your composition is arranged, resist the urge to pour the oil straight down in a heavy stream! Rushing will trap air in the tiny crevices of petals and leaves, creating thousands of microscopic bubbles that scatter light and give the liquid a cloudy look.
Tilt the bottle at an angle and let the liquid slide smoothly and slowly down the inner glass wall.
After filling, tiny micro-bubbles will naturally rise out of the foliage. Leave the cap completely off for 30 to 60 minutes. Allowing the bottle to rest unsealed lets trapped air escape to the surface, restoring the glass-like transparency of the fluid.
If your bottle has lost its clarity despite your precautions, here is what can—and cannot—be fixed.
If the haze is caused by fresh bubbles trapped after pouring, or mild condensation from a sudden temperature shift, there is a good chance it will clear on its own.
Move the bottle to a warm, stable room out of direct sunlight and leave it alone for a few days. Gently warming the exterior of the glass with your hands can also encourage stubborn air bubbles to rise and disperse.
Unfortunately, if the oil is cloudy due to dyes leaching out, or if stringy mold colonies have started growing, the liquid cannot be restored. Filtering the oil through paper will not remove molecularly dissolved dyes or microscopic fungal spores.
Allowing mold to grow further is unhygienic and unsightly, so it is best to safely dispose of the contents and reuse the bottle.
Craft fluids should be treated just like household cooking oils. Never pour mineral or silicone oils down the kitchen sink or drain! Doing so harms the environment and clogs plumbing pipes.
Once your piece is finished and crystal clear, a few simple display habits will preserve its beauty for one to two years or longer:
Keeping a herbarium crystal-clear comes down to three non-negotiable rules: eliminate every trace of moisture, confirm the compatibility of your botanicals and oils, and pour gently into spotless, dry vessels.
While it might sound technical at first, sticking to these basic preparation steps will allow anyone to create professional-quality, luminous bottle arrangements that brighten up any space.
Give these techniques a try on your next crafting day, and enjoy creating your own radiant botanical keepsakes! If you found this guide helpful, please share it with your fellow makers. Until next time—happy crafting from Yassy!




For example, if you are looking for articles about mizuhiki, try searching for "mizuhiki"; if you are interested in tools, try keywords like "nippers" or "pliers."
