Japanese Fabric Dyeing Secrets: Preventing Uneven Color in Immersion and Brush Dyeing
yassy
Crafters!

Hello crafters, it’s Yassy! (・∀・)
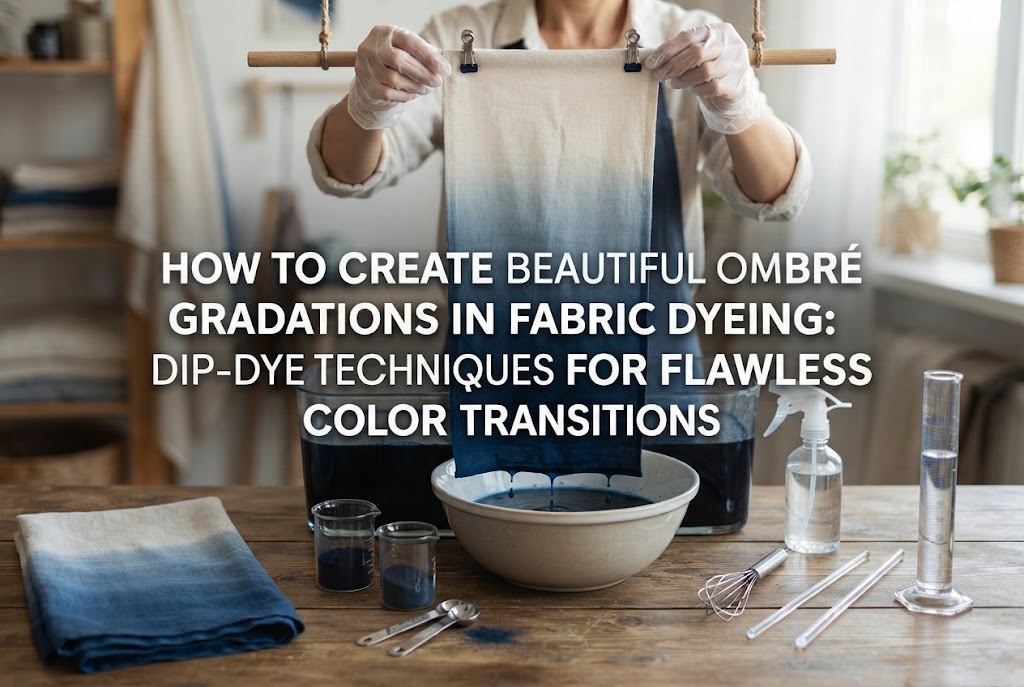
There is something magical about watching plain white fabric gradually absorb color, blending soft tones into rich hues without any harsh lines. Whether you are making scarves, drawstring pouches (kinchaku), or interior textile pieces, incorporating an ombré gradation instantly elevates your handmade work into something dreamy and sophisticated.
However, many crafters run into frustrating hurdles on their first attempt: distinct, step-like stripes where smooth fades should be, or messy, blotchy patches resembling accidental stains.
In reality, creating a flawless gradation in fabric dyeing comes down to two crucial factors: the speed at which the fabric absorbs the dye bath and careful control of moisture within the textile. Once you master these fundamental principles, even beginners can achieve smooth, professional-grade gradients at home.
In this guide, I will thoroughly explain home fabric gradation dyeing from start to finish—covering the primary methods, step-by-step instructions, and golden rules for avoiding mistakes based on my own crafting experience!
When creating a gradient effect on fabric, there are two main approaches. Choosing the right method based on the size of your project and your intended design is the first step toward success.
This method involves submerging fabric into a dye bath prepared in a bucket or pot and gradually pulling it out over time. It is the most traditional technique and is ideal for achieving a smooth, seamless gradation across larger pieces of cloth.
The section submerged longest absorbs the deepest shade, while the section briefly dipped at the very end retains the softest, lightest tone. If you are dyeing garments, long scarves, or large fabric throws, dip dyeing is definitely the way to go.
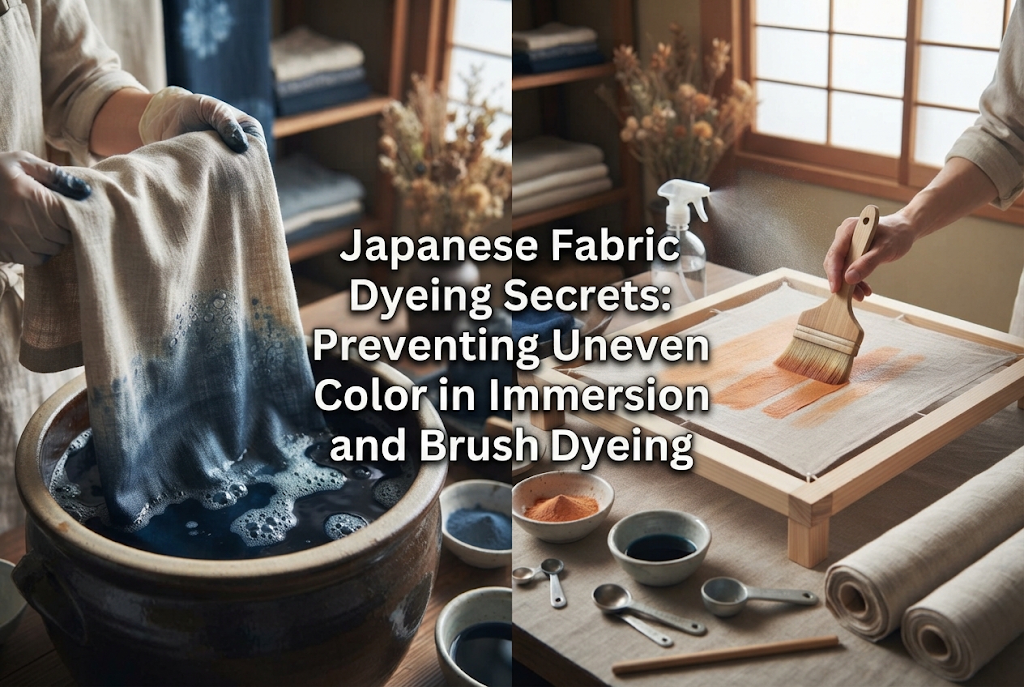
This technique involves applying dyes of varying concentrations directly onto pre-moistened fabric using flat brushes (hake), paintbrushes, or sponges, softening and blending the transition zones by hand.
It works best for smaller fabric pieces or when you want targeted, delicate shifts in color. It requires less equipment since you don't need large tubs of dye liquid; however, blending colors evenly across a wide surface without streaks takes a fair amount of practice.
In this article, we will focus primarily on dip dyeing, as it yields the cleanest, most reliable results for crafters and beginners alike.
Before mixing any dye, getting your workspace organized and thoroughly preparing your fabric is essential. Skipping pre-treatment or choosing the wrong fiber will inevitably lead to patchy coloring or weak pigmentation, so do not compromise here.
When it comes to ease of dyeing and vibrant color payoff, beginners should stick strictly to 100% cotton or 100% linen.
Synthetic fibers like polyester and nylon will either not take standard household dyes at all or end up extremely pale. Blended fabrics with high synthetic content also result in dull, uneven color pickup, so always use 100% natural plant-based fabrics. While silk and wool take dye beautifully, they require acid dyes and precise temperature control. Starting with user-friendly cotton is the safest and most enjoyable route.
Brand-new fabric right off the bolt contains sizing (starches), manufacturing oils, and dust. If you dye fabric without removing these, the dye solution will be repelled unevenly, resulting in speckled, patchy spots across your project.
Before dyeing, always dissolve a small amount of neutral detergent in warm water (around 40°C / 104°F) and gently wash the fabric, kneading it thoroughly. Rinse out all detergent thoroughly. In Japan, this essential pre-treatment is known as mizutoshi or scouring (seiren). Whether you take the time to do this directly dictates how smooth your finished gradient will look.
Here is the practical, step-by-step process for creating a single-color ombré gradation using the dip-dye method.
This is the single most critical point. Never submerge dry fabric directly into a dye bath. Dry fibers absorb liquid rapidly and aggressively, which instantly creates a harsh, permanent line of concentrated dye at the water level that cannot be blended out later.
After pre-washing, soak the fabric in clean water and wring it out gently until it is evenly damp throughout. The moisture inside the fibers acts as a cushion, allowing the dye to softly diffuse upward and create a gentle, feathery blur.
Follow your dye’s instructions by dissolving the dye powder completely in hot water first before mixing it into your main bucket or pot. If any undissolved dye granules remain, they will produce unwanted dark spots. I strongly recommend pouring the dissolved dye through a fine tea strainer into the bath.
Stir in any recommended dyeing aids (such as non-iodized salt) at this stage so everything is fully dissolved.
Slowly lower the fabric into the dye bath up to the point where you want your lightest tint to begin. Do not leave the fabric completely still. Holding the fabric stationary will create a distinct horizontal line right at the liquid's surface.
Keep the fabric moving gently up and down within a range of a few centimeters (about an inch or two). Gently rocking the liquid boundary prevents the dye from settling into a sharp border.
As time passes, progressively lift sections of the fabric out of the dye bath. For example, if you divide your gradation into five stages, you can allocate your submersion times as follows:
Whenever you raise the fabric, always remember to maintain a subtle, continuous up-and-down motion near the water line.
Right after lifting a section of fabric out, if the transition line feels a bit too distinct, take your spray bottle and lightly mist clean water directly onto the border area.
The fine water mist encourages the dye to disperse slightly downward, softening the line into a natural fade. This quick extra step makes a noticeable difference in achieving a professional finish.
Once you are comfortable with a single-color gradation, try blending two different colors from opposite ends of the fabric so they meet harmoniously in the middle.
The most important consideration in two-color dyeing is your palette selection. If you choose complementary colors located opposite each other on the color wheel (such as red and green, blue and orange, or purple and yellow), their mixture in the center will turn into a dull gray or muddy brown.
To start, choose colors that produce a pleasing third shade when combined—such as pink and yellow (which create orange), yellow and blue (which create green), or blue and purple.
Prepare two separate dye buckets, one for each color. After evenly dampening the cloth, proceed as follows:
Yassy’s Tip: Ensure that both colors are at their lightest concentration where they meet in the center. If two heavily saturated tones overlap, the middle section will look overly dark and dense rather than smoothly blended.
Here is a breakdown of the three most frequent issues crafters face when dyeing gradations, along with straightforward solutions.
Cause: Holding the fabric completely still at one water level while submerged.Solution: Keep the fabric shifting gently up and down throughout the dyeing process using tongs or gloved hands. If your arms get tired, gently swirl the dye bath itself, or immediately spray the border with a water mist after lifting to disperse the pigment before it sets.
Cause: Wet fabric appears 20% to 30% darker than it actually is when dry. Pulling the fabric out the moment it looks "just right" in the bath often results in an overly faint gradient once dry.Solution: Keep the darkest section submerged until it looks slightly deeper than your target shade. This guarantees a distinct, striking contrast after drying.
Cause: Undissolved dye particles adhering directly to the fibers, or incomplete fabric pre-washing leaving residual oils.Solution: Always pre-dissolve powdered dyes in hot water and pass the liquid through a fine cloth or strainer before adding it to the main bath. Additionally, never skip the pre-wash (mizutoshi) step.
Once your gradient looks right, you must handle the finishing steps properly. If you rush here, loose dye can bleed during rinsing and ruin your light tones.
Follow the manufacturer's directions for your specific dye and soak the dyed fabric in lukewarm water mixed with a color fixative. This locks the dye molecules into the fibers, preventing future bleeding during washing and keeping your crisp gradient intact.
When rinsing, always let water flow from the lightest section toward the darkest section.
If water carrying concentrated dye from the dark end runs across the pale or white sections, it will immediately stain those clean areas. Hold or tilt the fabric so the water runs downward off the dark edge. Continue rinsing with fresh water until the runoff is completely clear.
Gently press out excess moisture using clean towels, or give it a very short spin cycle in your washing machine. Reshape the fabric and hang it to dry in a well-ventilated area out of direct sunlight.
Exposing damp fabric to strong ultraviolet rays can cause premature fading and discoloration. To protect the brilliance of your newly dyed gradation, shade-drying is non-negotiable.
Let’s recap the essential rules for successful fabric gradation dyeing:
If this is your first time, try practicing on a small cotton handkerchief or fabric scrap to get a feel for the lift-out speed and the subtle hand motion. The organic, one-of-a-kind fades born from the interaction of water, fiber, and dye will give your handmade creations a truly unique charm.
I hope you enjoy exploring the art of gradation dyeing! If you found this guide helpful, please share it with your fellow crafting friends.
See you in the next post! This was Yassy from Crafters!


For example, if you are looking for articles about mizuhiki, try searching for "mizuhiki"; if you are interested in tools, try keywords like "nippers" or "pliers."
