What is Fabric Dyeing? Complete Beginner’s Guide to Projects, Difficulty, Workspace, and Costs
yassy
Crafters!

Hello, everyone! It’s Yassy from Crafters! (・∀・)
There is nothing quite like the excitement of dyeing fabric and seeing your chosen colors come to life. Gazing at a vividly dyed T-shirt or handmade fabric accessory brings a deep sense of accomplishment that only crafting can offer.
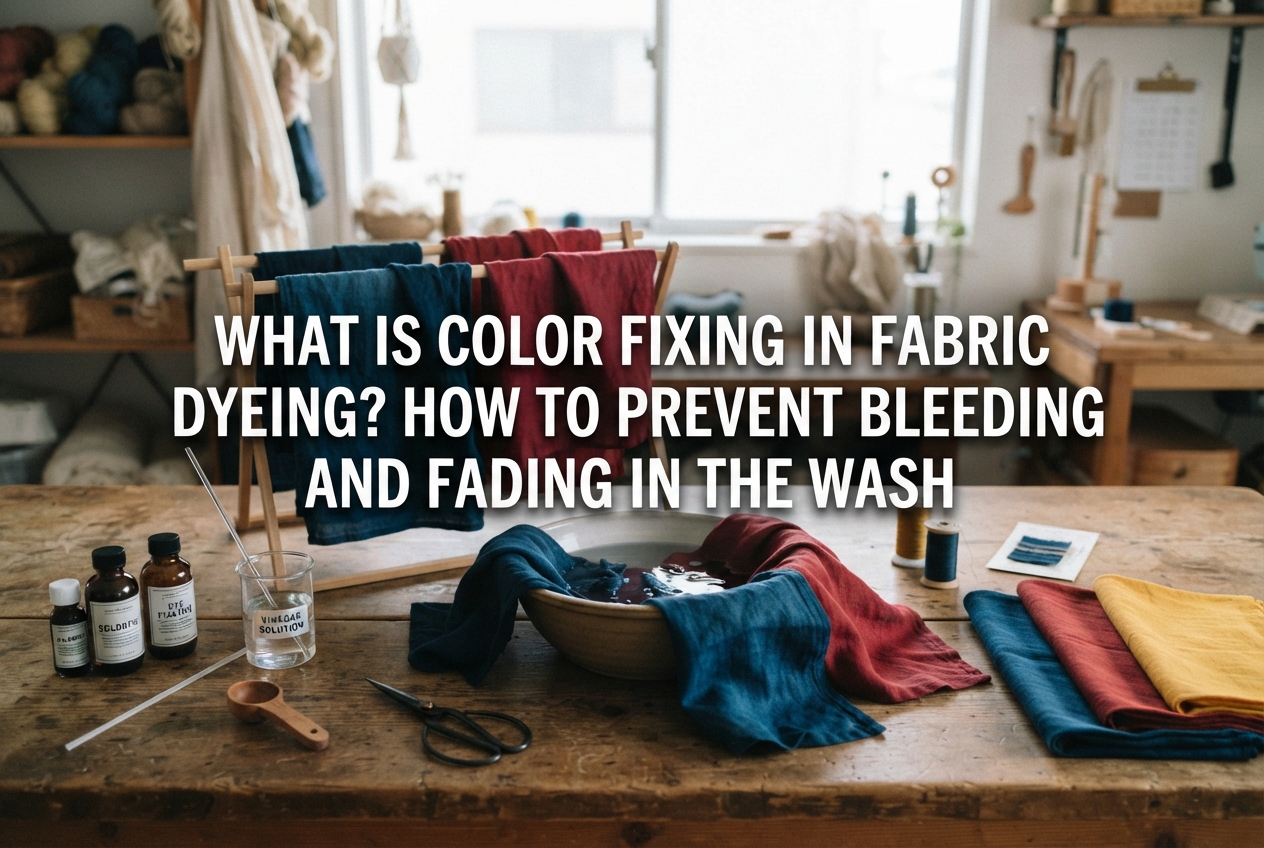
However, have you ever eagerly washed your freshly dyed piece, only to watch the water turn deep red or blue as the color washed right out—or worse, ruined other clothes in the load? In fabric dyeing, the essential process designed to prevent this fading and color bleeding is known as color fixing (called irodome in Japan). Proper color fixing fundamentally determines the longevity and brilliance of your dyed creations.
In this guide, I will explain the underlying mechanism of color fixing, the types of fixatives used, a foolproof step-by-step procedure, and common misconceptions to watch out for. I have packed this article with essential know-how to keep your handmade pieces bright for years to come, so let’s dive right in!
First, let’s clarify what color fixing actually means. Color fixing is an aftertreatment process that chemically and physically anchors unfixed dye molecules remaining on the fabric, protecting the item from fading and color bleeding caused by washing and friction.
When you dye fabric, dye molecules penetrate the gaps between fibers or form chemical bonds with them to produce color. However, merely soaking fabric in a dye bath does not mean every single dye molecule permanently binds to the fibers.
Unfixed, excess dye (known as loose surface color) inevitably remains on and inside the fiber structure. The purpose of color fixing is to rinse away this loose dye while securely binding and locking in the remaining dye so it cannot escape. If you use or wash dyed fabric without fixing it, dye molecules will dissolve every time the item touches water, quickly resulting in washed-out colors. Color fixing is an indispensable safeguard that cements the quality of your finished project.
Why do dyed fabrics bleed when exposed to water and detergent? It happens because the attraction between the water or detergent molecules and the dye molecules is stronger than the bond between the dye and the fiber.
This is especially true for plant-based fibers like cotton and linen. Common household chemical dyes (such as direct dyes and reactive dyes) have a high affinity for water, making them prone to detaching from fibers when wet or subjected to friction. A color-fixing treatment uses specialized agents that bond with dye molecules to form larger molecular complexes, or act as strong chemical bridges between the fibers and the dye. As a result, water molecules cannot pull the dye away, preventing fading and transfer onto other garments.
Color fixing is not a one-size-fits-all method. The fixative you choose and the chemical reaction that takes place depend entirely on the fiber type and the dye you used. Understanding how these elements pair together is the secret to success.
Cellulose-based plant fibers such as cotton and linen are the most popular choices for handmade dyeing. To achieve vibrant colors, crafters typically use direct dyes or reactive dyes.
Commercial fixatives designed for plant fibers are cationic (carrying a positive electrical charge). In contrast, dyes like direct dyes are anionic (carrying a negative electrical charge). When you immerse the fabric in the fixative bath, these positive and negative charges strongly attract each other, forming water-insoluble complexes. Because these complexes solidify inside the fiber, the dye will not dissolve when washed.
Protein-based fibers such as silk and wool are usually dyed with acid dyes. Under acidic conditions, protein fibers naturally carry a positive charge, allowing them to bind tightly with dye molecules from the start.
For animal fibers, fixing is accomplished directly during the dyeing process by adding acids like acetic acid or citric acid, along with heat. Therefore, you do not need the cationic fixatives used for plant fibers; proper acid and heat treatment during dyeing provides excellent colorfastness on its own. In fact, using a plant-fiber fixative on animal fibers can ruin their soft texture and make them stiff, so it should be avoided.
There is a fundamental difference in how color is fixed between commercial synthetic dyes and natural botanical dyeing (known in Japan as kusaki-zome).
In natural plant dyeing, the fixing role is played by a process called mordanting (baisen). Metal ions from substances like alum (potassium aluminum sulfate) or iron acetate react with plant pigments, forming insoluble pigment complexes that anchor the color to the fiber. On the other hand, commercial synthetic dyes use an independent aftertreatment where the fabric is soaked in a dedicated fixative bath after dyeing. Make sure not to confuse natural mordanting with synthetic color fixing.
When searching for color-fixing tips, you will often hear that salt or vinegar works just fine. While these pantry staples have their place, their role and effectiveness are fundamentally different from commercial chemical fixatives.
Commercial dye fixatives (often sold as color run preventers or dye fixers at craft stores) are chemically engineered to bind with specific dye molecules to make them completely insoluble in water.
Their greatest advantage is exceptional washfastness. Once a piece is properly treated with a commercial fixative, it will experience virtually zero color bleed, even when washed in a washing machine with regular detergent. The best practice when choosing a fixative is to match it to the brand or type of dye you used. Using the fixative recommended by the dye manufacturer is the safest, most reliable route.
Using table salt, vinegar, or citric acid is a well-known piece of traditional household wisdom, but these are not all-purpose chemical fixatives.
Salt acts as an exhausting agent or fixing assistant during the actual dyeing process when using direct dyes on plant fibers, helping the dye migrate into the fibers. Simply soaking finished fabric in salt water after dyeing will not provide strong colorfastness. Vinegar and citric acid help set acid dyes on wool and silk, or certain natural dyes, but using vinegar on cotton or linen colored with chemical dyes does almost nothing. If you are dyeing cotton or linen with chemical dyes, avoid relying on pantry substitutes and use a dedicated commercial fixative instead. This is the single most important rule to prevent bleeding.
Here is a step-by-step guide for treating 100% cotton fabric dyed with standard commercial household dyes.
Once the dyeing process is finished, remove the fabric from the dye bath. Do not drop it directly into the fixing bath right away!
First, thoroughly rinse the fabric under running water to wash away the heavy layer of loose surface dye. Change the water repeatedly until it runs completely clear. If you place fabric with loose dye into a fixative bath, that excess dye will be permanently bonded to the exterior of the fibers, resulting in patchy color and surface-level bleeding later on.
Once rinsing is complete, prepare your fixing bath. Fill a basin with the specified amount of hot water, add the commercial fixative, and stir thoroughly until completely dissolved.
Water temperature is critical. Most fixatives achieve their peak chemical reactivity in warm to hot water, typically between 40°C and 60°C (104°F to 140°F). Using cold water prevents the reaction from proceeding properly, leading to poor results. Submerge the wet fabric into the bath so it is fully immersed. Gently stir and manipulate the fabric for the first few minutes to ensure even penetration and prevent blotches. Then, let it soak for the manufacturer's recommended time (typically 15 to 30 minutes).
After the soaking period, remove the fabric and rinse it with clean water. Finish by washing it gently in lukewarm water with a small amount of neutral detergent to remove any unreacted fixative residue and any final traces of loose dye.
Rinse thoroughly, gently spin or press out excess water, and hang the fabric to dry in a well-ventilated area out of direct sunlight. The intense ultraviolet rays in direct sunlight can degrade delicate pigments immediately after fixing. Once the fabric is completely dry, your color-fixing process is finished! A properly treated fabric will not cloud the water at all, even when rubbed vigorously.
Even with good intentions, things do not always go as planned. Here are three common failure patterns beginners encounter, along with their causes and solutions.
If your project still bleeds color during laundry despite using a fixative, the most common causes are insufficient rinsing beforehand or too low a water temperature during fixing.
If loose surface dye is not washed out before fixing, it gets trapped on the surface. During future washes, that poorly bound surface layer peels away and stains the wash water. Always rinse your fabric until the rinse water is completely transparent. Additionally, keep your fixing bath at the recommended temperature by using an insulated container or topping it up with hot water if it cools down during the process.
This happens when spots or uneven darker and lighter patches appear right after submerging the fabric into the fixing bath.
The cause is poor mixing of the fixative or insufficient water volume. If the fixative is not completely dissolved, areas with concentrated chemical will react instantly and aggressively, creating spots. Always verify that the fixative is fully dissolved before adding the fabric. Furthermore, use enough water so the fabric can float freely without being cramped.
Sometimes, fabric feels rough and stiff after fixing, losing its natural softness.
This occurs when you use too much fixative or leave the fabric soaking far beyond the specified time. Excessive fixative forms an overly heavy layer of resin or cationic agents over the fiber surfaces. Always weigh your fabric on a digital scale and use the precise amount of fixative recommended on the package. Leaving it to soak longer will not make it more effective—stick strictly to the recommended time.
Here are two specific habits I always practice in my own fabric dyeing projects to dramatically boost color-fixing success.
Whenever I prepare a color-fixing bath, I always measure the water temperature using a digital cooking thermometer. I never guess by touch.
If the manufacturer specifies 50°C (122°F), dropping to 40°C slows down the chemical reaction, while exceeding 60°C can alter or damage delicate dyes. Using a thermometer allows you to hit the exact target, and you can add a splash of boiling water midway through if the bath starts cooling down. This simple step makes an astonishing difference in colorfastness.
Another technique I strongly recommend is using a generous container with plenty of water. Never skimp on bath volume.
Cramming fabric into a small bucket prevents the fixative from reaching folded layers, creating unevenly fixed spots that bleed later. I use a large wash tub or a dedicated plastic storage container so the fabric has room to spread out. Furthermore, I keep the fabric moving gently for the first 5 minutes using tongs or rubber gloves to ensure the solution penetrates every fiber evenly. Thorough agitation instead of leaving it unattended is the secret to a professional finish.
Color fixing in fabric dyeing is not an optional extra; it is the crucial step that determines the ultimate quality and durability of your craft. Rinsing away loose dye thoroughly, using the right commercial fixative for your fiber and dye, and keeping the bath at the proper temperature and time will ensure vibrant, fade-resistant results every single time.
There is nothing quite like wearing a favorite piece of clothing or using an accessory you dyed yourself, knowing it will stay vivid wash after wash. I hope you use these color-fixing tips to enjoy fabric dyeing with complete confidence!
If you found this guide helpful, please share it with your fellow crafters on social media. It truly means the world to me!
Until next time, happy crafting! This was Yassy from Crafters!


For example, if you are looking for articles about mizuhiki, try searching for "mizuhiki"; if you are interested in tools, try keywords like "nippers" or "pliers."
