Basic Fabric Dyeing Guide: Step-by-Step Instructions, Beginner Projects & Tips for Success
yassy
Crafters!

Hello everyone! It’s Yassy from Crafters! (・∀・)
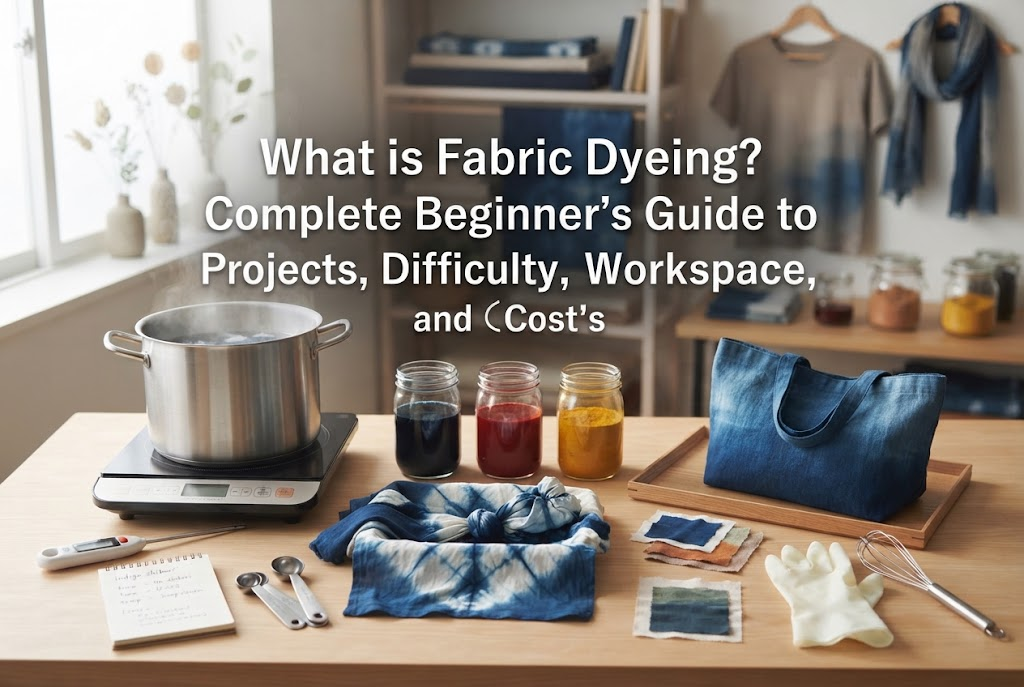
Fabric dyeing allows you to create original craft pieces in your favorite colors—from T-shirts, bags, and clothing to unique accessory parts. That moment when the fabric takes on the exact shade you envisioned is truly magical!
However, many beginners quickly face a frustrating obstacle: uneven color development or blotchiness. Have you ever ended up with a mottled pattern or harsh brush strokes that ruined your work?
In fabric dyeing, the two main methods—immersion dyeing and brush dyeing (painted dyeing)—cause blotchiness in completely different ways. But regardless of the technique you choose, there is one essential trick used by pros to guarantee smooth results: pre-wetting.
In this guide, I will break down the differences in color development between immersion and brush dyeing, share the exact steps for effective pre-wetting, and reveal my own practical tips on how I approach dyeing projects!
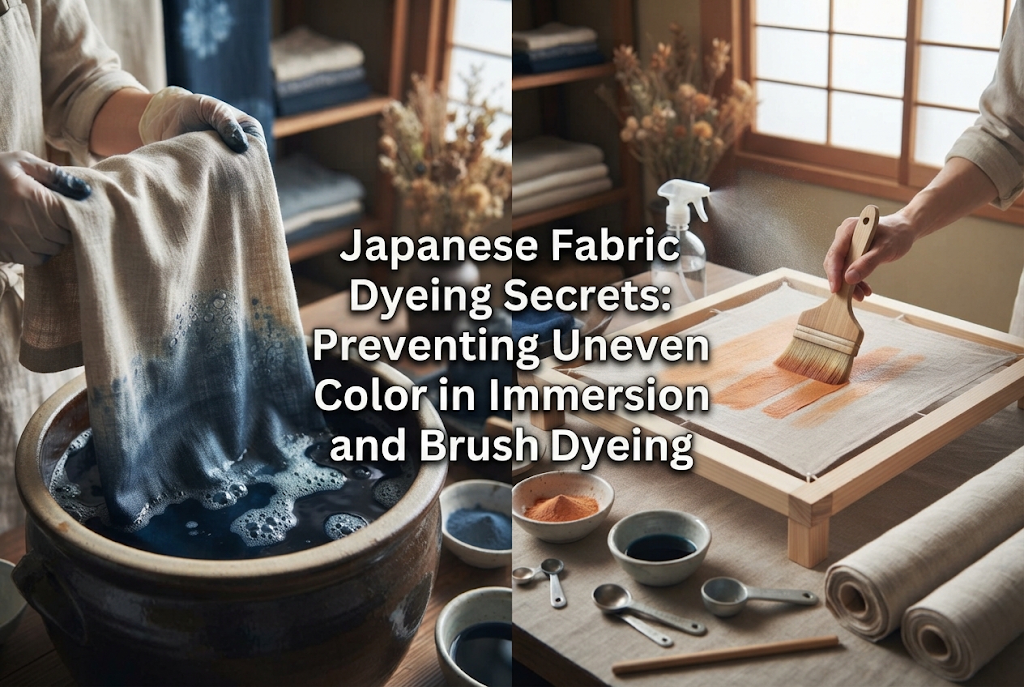
Before diving into troubleshooting, let’s review the fundamental characteristics of these two core Japanese fabric dyeing techniques.
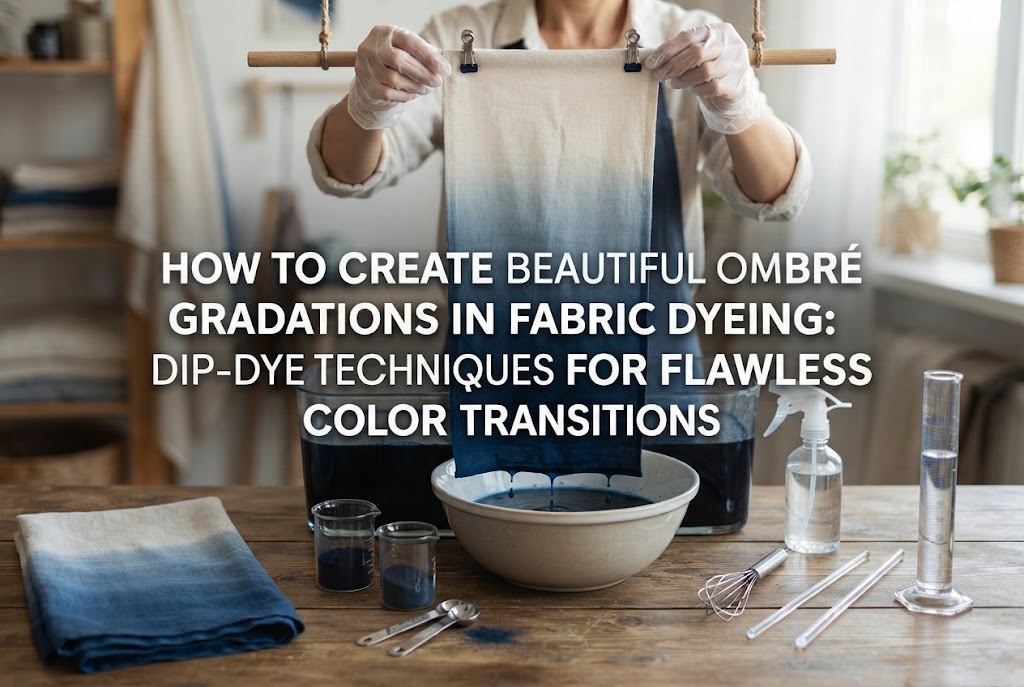
Immersion dyeing involves submerging the entire piece of fabric into a vessel filled with dye bath (dye powder dissolved in warm or hot water) for a set period. Technique variations like tie-dyeing are also based on this principle.
The primary goal of immersion dyeing is to achieve a consistent, solid color throughout. Because dye molecules disperse deep into the fibers through a large volume of water, it creates rich, even shades on both sides of the fabric.
Brush dyeing (often called kaki-zome or painted dyeing in Japan) involves stretching fabric taut on a wooden frame or worktable and applying the dye directly using brushes. It feels very similar to painting on a canvas with watercolors or acrylics.
This technique is ideal for selective coloring, delicate gradients, or expressive brush stroke patterns. It uses far less dye liquid than immersion dyeing and offers precise, localized control over placement.
Because dye adheres to fibers differently in immersion and brush dyeing, the root causes of uneven coloring are entirely distinct. Understanding these mechanics is key to preventing mistakes.
In immersion dyeing, blotchiness is caused by dye absorption speed and uneven contact between fabric and dye liquid.
If you drop dry fabric directly into a dye bath, the outer fibers instantly soak up the liquid at high speed. The fibers that touch the dye first absorb a massive amount of dye molecules right away. By the time the dye bath reaches the inner folds, the concentration of dye in the liquid has dropped, resulting in noticeable light and dark patches.
Furthermore, if your container is too small and the fabric remains tightly folded, or if you don't stir (agitate) enough during the process, the liquid cannot reach overlapping areas, leaving behind unsightly spots.
In contrast, brush dyeing blotchiness stems from fluctuations in liquid volume on the brush and uneven drying speeds.
When you stroke a brush across dry fabric, the dye instantly floods the starting point. As you move the brush across the surface, the liquid drains out, causing the color to fade rapidly. This creates distinct brush marks and streaky ends.
Additionally, evaporation begins the moment the dye hits the fabric. If you overlap new brushstrokes over an area that has already begun to dry, dye accumulates heavily at the wet-and-dry boundary, forming dark outlines known as watermarks.
Beginners often fall into similar traps when starting their dyeing journey. Check if you've made any of these common errors:
The misconception that dry fabric absorbs dye better is especially common. While dry fabric does absorb liquid rapidly, that sudden absorption is actually the biggest enemy of uniform coloring!
Additionally, brand-new fabrics contain sizing agents, oils, and finishes from the manufacturing process. If left unwashed, these chemicals repel dye, leading to terrible blotches. Always perform scouring—washing the fabric in warm water with a neutral detergent—to strip away sizing and oil before dyeing.
Now for the main secret! The single most effective defense against blotchiness in both immersion and brush dyeing is pre-wetting.
Pre-wetting simply means thoroughly and evenly dampening the entire piece of fabric with clean water right before applying dye.
Natural fibers like cotton, linen, and silk expand when they absorb water—a process called swelling. Pre-filling the fibers with water creates a protective cushion against incoming dye liquid.
In water-filled fibers, rapid localized absorption caused by capillary action does not occur. Instead, dye molecules diffuse smoothly through the existing water, preventing harsh dark spots and yielding clear, beautifully even color.
Simply splashing water on fabric is not enough; uneven moisture creates new water stains. Follow these steps to get it right:
Your goal is a state where the entire fabric feels evenly moist and damp, but no water drips off when tilted (roughly 100% to 120% moisture content relative to dry weight).
The ideal moisture level actually differs slightly between immersion and brush dyeing:
For Immersion Dyeing:A slightly higher water content is perfectly fine. As long as the fabric is uniformly wet, the existing water and the dye bath will mix smoothly the instant it is submerged, powerfully preventing color spots. A dampness equivalent to a quick 1-minute spin cycle in a washing machine is ideal.
For Brush Dyeing:Moisture control is much stricter. If the fabric is too wet, the dye will bleed uncontrollably along the water channels, blurring your lines. If it is too dry, brush marks will appear. For brush dyeing, perform towel drying thoroughly until the fabric feels cool and damp to the touch, but no water squeezes out when pressed tightly.
If I were dyeing fabric for a handmade project, here is the exact thought process and workflow I would follow:
If I want to dye fabric in a solid color for a pouch or tote bag, I choose immersion dyeing without hesitation. Achieving a perfectly flat, solid color over a large area using a brush is extremely difficult, even for professionals.
On the other hand, if I want to create a night-sky gradient or subtle petal-like textures, I choose brush dyeing.
When immersion dyeing, my top priority is liquid volume and container size. The fabric needs plenty of room to swim freely.
I prepare liquid at a minimum ratio of 20 to 30 times the dry weight of the fabric (e.g., 2 to 3 liters of liquid for 100g of fabric). Attempting to dye in a small bowl will fold the fabric and cause blotches no matter how well you pre-wet it. Large plastic buckets or storage tubs are my go-to recommendations.
When brush dyeing, I stretch the fabric tightly on a frame or board using Japanese fabric stretchers (harite) or pins before pre-wetting.
Instead of stiff nylon brushes, I choose soft wool flat brushes (specialized Japanese dye brushes or hake) that hold plenty of liquid. Soft bristles distribute even pressure across the surface, preventing harsh brush marks. When painting, I sweep the brush fluidly in one direction without repeatedly working back and forth over the same spot.
Fabric dyeing involves hot water and chemicals like dye powders and fixatives. Please observe the following safety guidelines:
We’ve covered the root causes of uneven color in fabric dyeing and how the pre-wetting technique solves them.
Whether you choose immersion dyeing for a uniform finish or brush dyeing for expressive gradients, understanding these mechanics will dramatically reduce mistakes in your projects.
Remember that taking the extra time to properly scour your fabric and pre-wet it in lukewarm water is what elevates handmade creations to a professional level.
Try starting with small handkerchiefs or fabric scraps to experience the magic of dyes diffusing smoothly through moist fibers. I hope your handmade projects are filled with vibrant, beautiful colors!
If you enjoyed this guide, please share it with your fellow crafters on social media!
Until next time, happy crafting! This was Yassy from Crafters!

For example, if you are looking for articles about mizuhiki, try searching for "mizuhiki"; if you are interested in tools, try keywords like "nippers" or "pliers."
