Mastering Japanese Shrink Plastic (Puraban): Pro Tips to Prevent Warping, Curling, and Distortion
yassy
Crafters!
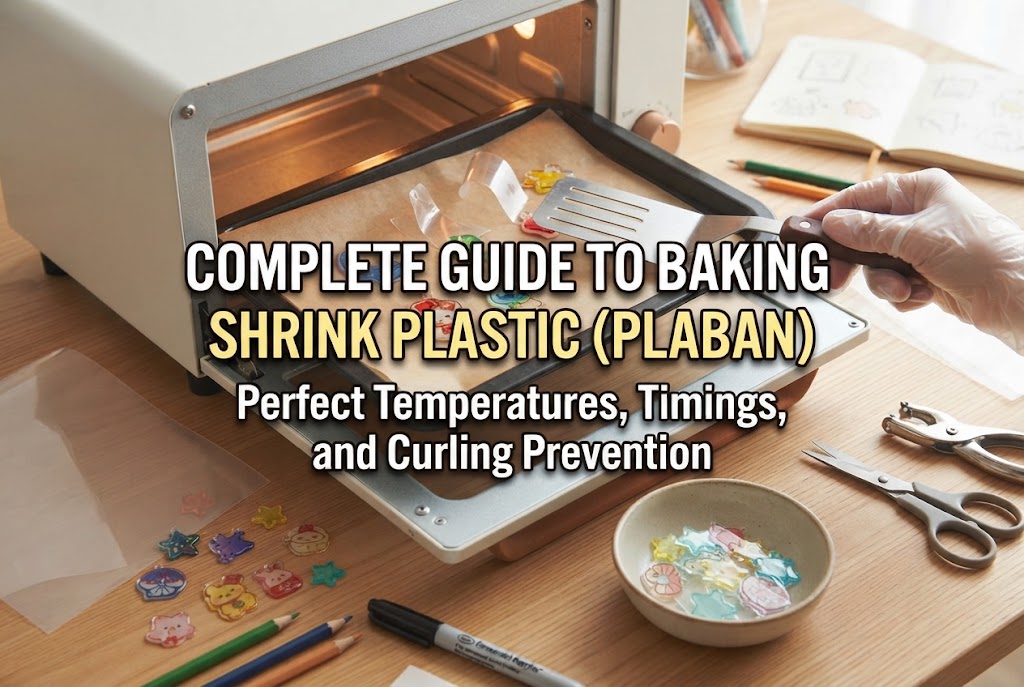

Hello, everyone! It’s Yassy from Crafters! (・∀・)
Shrink plastic craft—widely known as plaban in Japan—is a fantastic way to create adorable accessories and handmade charms. But have you ever carefully drawn and cut out your design, only to have it curl into a ball in the oven and stay stuck, or end up with a bumpy, warped surface?
In shrink plastic crafting, the heating step is where most mistakes happen, and it dramatically dictates the quality of your finished piece. Whether your plastic shrinks beautifully and evenly comes down almost entirely to temperature control and heating duration.
In this guide, I'll explain the exact optimal temperatures, heating time guidelines, and key visual cues to watch for during baking so you can achieve perfectly flat, crystal-clear shrink plastic every time. Let's eliminate those baking worries once and for all!
Understanding the science behind why shrink plastic gets smaller makes the importance of temperature control immediately clear. Most commercial shrink sheets are made of polystyrene.
During manufacturing, polystyrene sheets are stretched out horizontally and vertically before being set in shape. When you apply heat, the stretched molecules naturally attempt to return to their original, compact state. This is the fundamental mechanism behind shrink plastic.
Polystyrene has a specific temperature range in which it softens and shrinks uniformly. If the heat does not reach this threshold, the shrinking stops midway. On the other hand, if the temperature is too high or the piece is heated for too long, the plastic can melt, blister, or scorch.
These issues aren't caused by a lack of artistic talent or faulty materials. By understanding the correct temperature settings, heating durations, and exact removal cues, anyone can consistently avoid these mistakes.
The toaster oven is by far the most popular and convenient tool for baking shrink plastic. Here are the basic settings and time guidelines for the primary tools used in crafting.
A toaster oven is the easiest tool for both beginners and experienced crafters, yielding the fewest errors. Here is a general guideline by wattage:
Because internal dimensions and distance to the heating elements vary by model, these times are strictly estimates. Never rely on the clock alone—watching the plastic transform with your own eyes is the golden rule of success.
If you use a standard oven where you can set the exact temperature, preheat to 160°C–200°C (320°F–392°F). The ideal sweet spot is 160°C–180°C (320°F–356°F).
Ovens have larger internal capacities and distribute heat more gently and evenly than toaster ovens, which helps prevent rapid, violent warping. However, preheating takes longer. Always wait until the oven signals that it has fully reached the set temperature before placing your plastic inside. The baking time is approximately 1.5 to 3 minutes.
An embossing heat tool (commonly used to pop bubbles in UV resin or melt embossing powder) can also shrink plastic. Unlike a standard hair dryer, an embossing gun emits hot air at roughly 250°C–300°C (482°F–572°F).
For small pieces (around 2–3 cm / 1 inch square), holding the plastic with tweezers on a heat-resistant mat while applying hot air will shrink it in about 20 to 40 seconds. However, the airflow can easily blow the plastic away, so a toaster oven is much safer and more reliable for medium to large designs.
The number one mistake beginners make is placing the shrink plastic inside a cold toaster oven and then turning on the power. You should avoid this at all costs!
If the plastic heats up gradually as the toaster warms, temperature disparities form between the top and bottom surfaces, or between the center and edges. This causes permanent curling or causes the edges to stick together into an unrecoverable lump.
Before putting your plastic in, run your toaster oven empty for 2 to 3 minutes to bring the internal cavity up to a stable, high temperature (160°C–200°C).
When you insert plastic into a fully preheated environment, heat envelops the entire piece instantly. It shrinks quickly and uniformly, preventing persistent warping.
Placing shrink plastic directly onto the wire rack can cause it to fall through the gaps or leave wire indentations on the softened plastic. Always use a liner.
My personal recommendation is parchment paper! While crinkled foil is classic, its ridges can sometimes leave faint textures on the back of the plastic. Silicone-coated parchment paper keeps the backside completely flat and smooth.
Safety Note: If parchment paper touches the upper or lower heating elements of a toaster oven, it can catch fire. Trim the parchment paper so it fits neatly inside the tray and does not stick out past the rack.
Knowing what to expect as your plastic heats up ensures you won't panic and open the oven door too early.
Right after entering the preheated oven, nothing seems to happen. Heat is just beginning to penetrate the material.
As the heat takes hold, the edges curl upward dramatically, warping into strange shapes. Sometimes it curls up like a shrimp, looking as if the edges might touch.
Do not panic and do not open the door! This dramatic bending is a completely normal reaction as the polystyrene contracts. Stay calm and keep watching through the glass.
The curled plastic will smoothly flatten out again, forming a thicker, miniature version of your original cut. The warped corners return to their proper plane.
The flattened plastic stops moving entirely. It is now roughly 1/4 to 1/6 of its original area and lies still.
Here is the golden secret: Wait an extra 2 to 3 seconds after all movement stops before removing it! If you pull it out the split second it stops moving, the core might not be fully heated through, causing it to ripple when it hits room temperature. Waiting those extra few seconds ensures deep, uniform heat distribution, making your post-bake pressing flawless.
Immediately after baking, the plastic is soft and pliable like warm candy. You have a narrow window of 3 to 5 seconds to press it flat before it hardens.
Using clear acrylic blocks allows you to see through to the piece while pressing, ensuring your downward force is distributed evenly. If you use a heavy book, always place parchment paper between the pages and the plastic to prevent ink transfer and sticking.
Cause: The oven temperature is too high, or the design is very long, narrow, or oversized. The plastic melted together upon contact before it had a chance to flatten out.
Solution: Lower your toaster oven wattage (switch from 1000W to 600W/800W) or bake further from the heating element. For large or slender motifs, baking at a slightly milder temperature (around 160°C / 320°F) gives the piece time to settle without aggressive snapping.
Cause: Either the heating time was too short (the core did not shrink fully), or too much time elapsed before pressing, allowing the piece to harden prematurely.
Solution: Wait the full 2–3 seconds after all shrinking movement stops. Also, place your pressing station immediately adjacent to your toaster oven so you can press within a fraction of a second after opening the door.
Cause: Overheating. The plastic was left in too long or at too high a temperature, causing the internal material to boil.
Solution: Remove the piece shortly after it flattens and stops moving. Reduce your heating time by 10-second increments if bubbling continues.
Cause: Hot spots inside the oven (e.g., area directly under the heater element is much hotter). Commercial polystyrene sheets also inherently have a minor difference in vertical vs. horizontal shrink ratio due to the manufacturing stretch process.
Solution: Always place your piece in the dead center of the oven rack. If your oven has severe heat variations, bake pieces one by one right in the center rather than baking multiple pieces across the tray at once.
Shrink plastic sheets generally come in thicknesses of 0.2mm, 0.3mm, and 0.4mm. Each requires slight adjustments:
When crafting 3D items like curved flower petals, you shape the plastic with your fingers or shaping molds during the brief pliable window right after baking.
For 3D shaping, leave the plastic in the oven for an extra 1 to 2 seconds compared to flat pieces to make the core as soft and malleable as possible. You have only about 3 seconds to shape it before it sets. Wear cotton gloves and press the warm plastic over a round object (like a marble or golf ball) or into a silicone mold.
If the piece hardens before you finish shaping, simply place it back into the toaster oven for a few seconds. It will soften up again, allowing you to adjust the curve without stress.
Before you hit the switch, run through this quick checklist:
With these preparations in place, your bake will go smoothly every time!
The three golden rules of baking shrink plastic are simple: preheat thoroughly, wait 2 to 3 seconds after movement stops, and press quickly before it cools.
Once you learn to watch the plastic's natural movement rather than relying solely on arbitrary timer settings, baking failures will virtually disappear. Discovering your specific oven's characteristics will elevate the quality of your handmade accessories to a professional level!
If you found this guide helpful, please share it with your fellow crafters on social media!
See you in the next tutorial! This was Yassy from Crafters!


For example, if you are looking for articles about mizuhiki, try searching for "mizuhiki"; if you are interested in tools, try keywords like "nippers" or "pliers."
