Handmade Craft Cutting Machines: Types, Features, and How to Choose the Perfect Model
yassy
Crafters!

Hello, this is Yassy from Crafters! (・∀・)
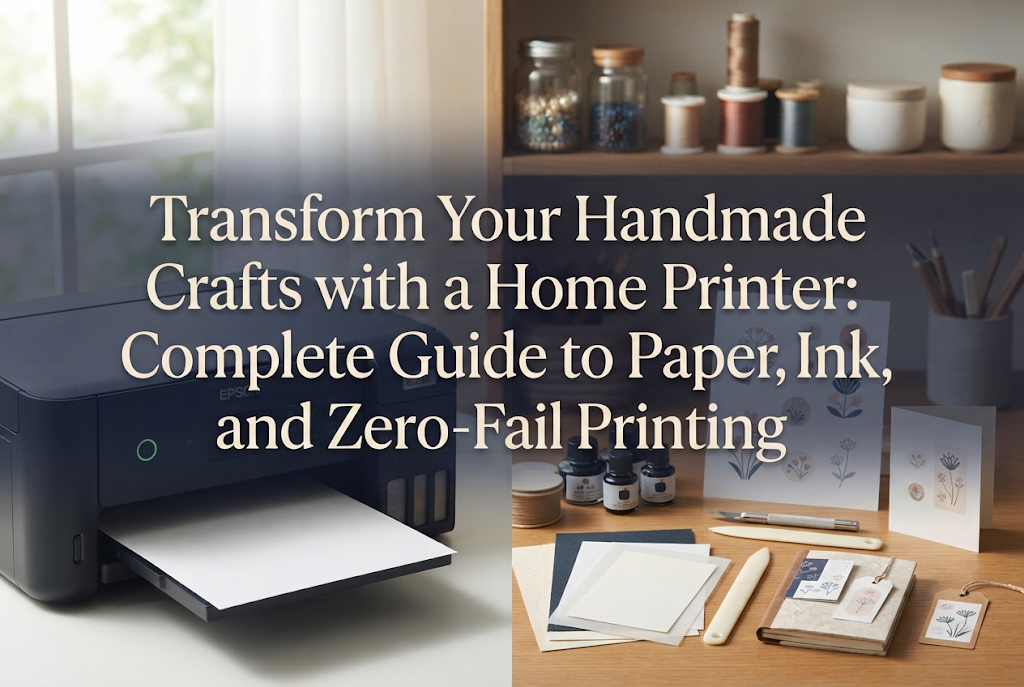
As someone who absolutely loves making, viewing, and buying handmade items, today I want to share a topic that can revolutionize your crafting: How to fully utilize a home printer for handmade crafts!
Many crafters often wonder:"I have a printer at home, but I only use it for standard documents.""Can a home printer really be used for handmade creations and items for sale?"
Let me give you a direct answer right away: A home printer can become your ultimate companion in handmade crafting!
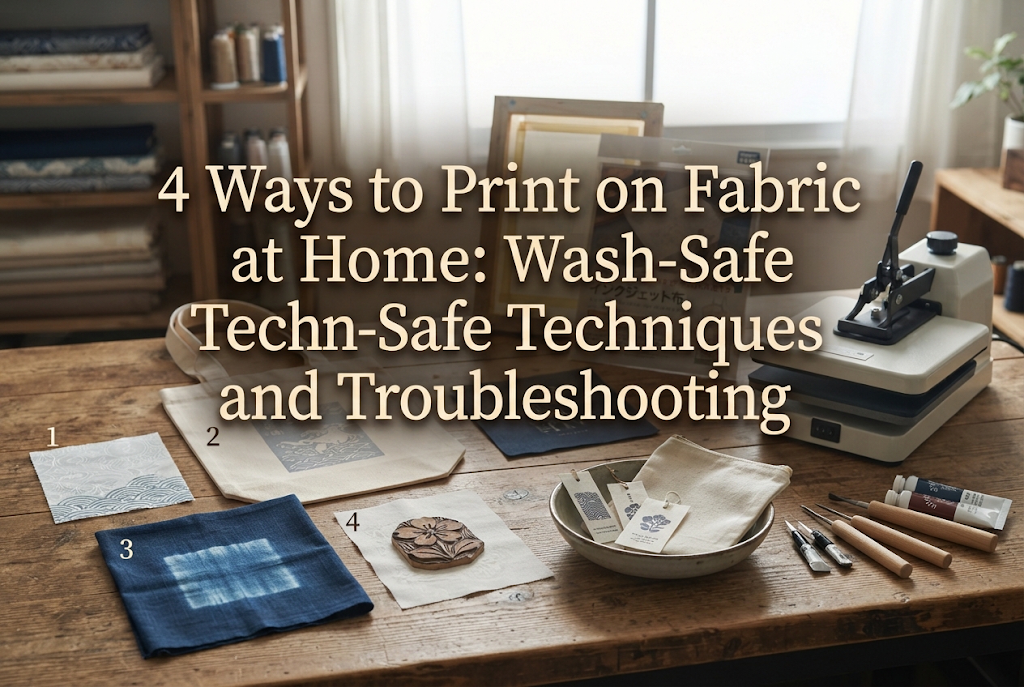
From accessory backing cards and packaging that elevate your product quality, to transparent sheets for resin encapsulation and heat transfers for fabric items, a single home printer dramatically expands your creative possibilities.
However, simply printing without proper knowledge can lead to bleeding ink or cheap-looking paper, resulting in disappointing failures. Understanding ink types, paper selection, and optimal print settings is an absolute requirement.
In this guide, I, Yassy, will thoroughly explain everything you need to know to perfectly master your home printer for handmade crafting!
First, let's look at specific examples of how active a role a home printer can play in your creative workflow. Please drop the idea that printing is just putting text on paper. Depending on your ideas, you can make everything at home, from actual craft supplies to promotional tools.
Here are the three main ways I personally use my home printer:
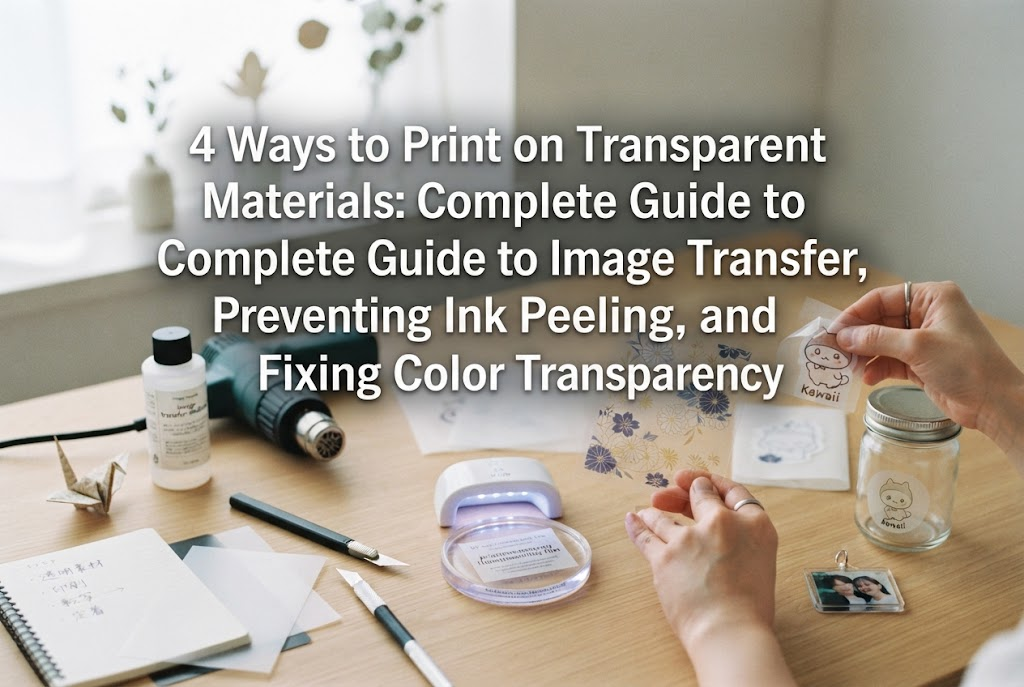
1. Crafting materials embedded directly into projectsFor example, transparent OHP sheets printed with illustrations or lettering to insert inside resin pieces. You can also print on shrink plastic, create iron-on transfers for fabric goods, and make original stickers or labels.
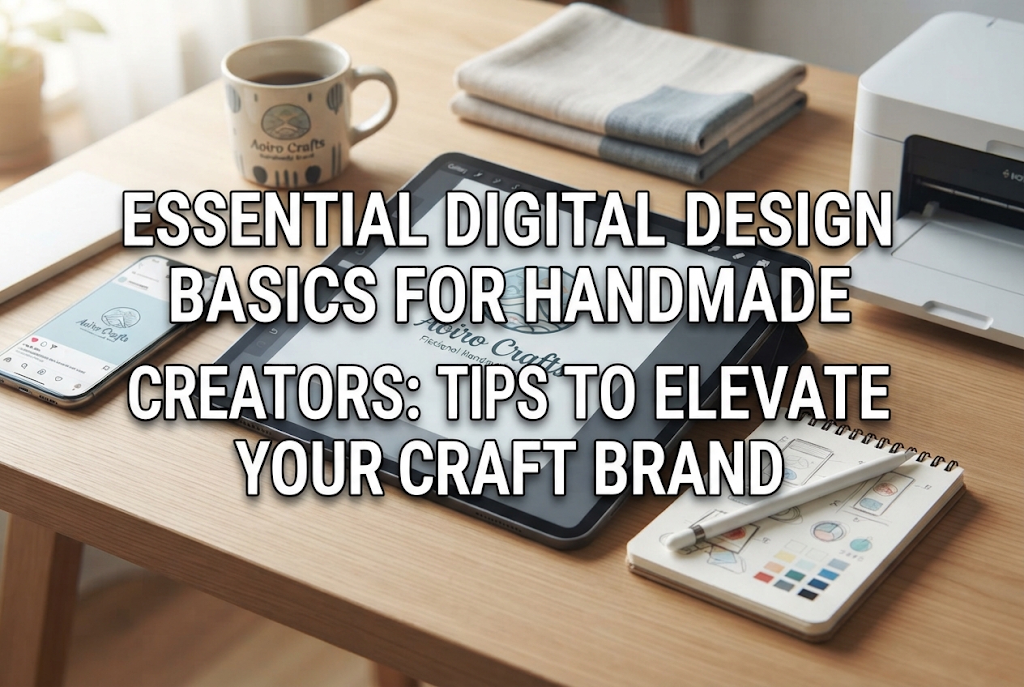
2. Backing cards and packaging materialsDisplay cards for securing accessories, paper bands for wrapping (such as Japanese noshi style bands), custom wrapping paper, and custom thank-you stickers. While stamping blank store-bought cards is charming, using a printer allows you to print your brand logo and aesthetic with precise accuracy.
3. Shop branding tools and paper itemsShop cards, business cards, care instructions, and thank-you notes—a complete set of paper items to accompany your packages and enhance customer trust.
Having a home printer means you don't need to order large quantities from commercial printing companies. Being able to print as few as one sheet whenever needed is the greatest benefit for handmade creators.
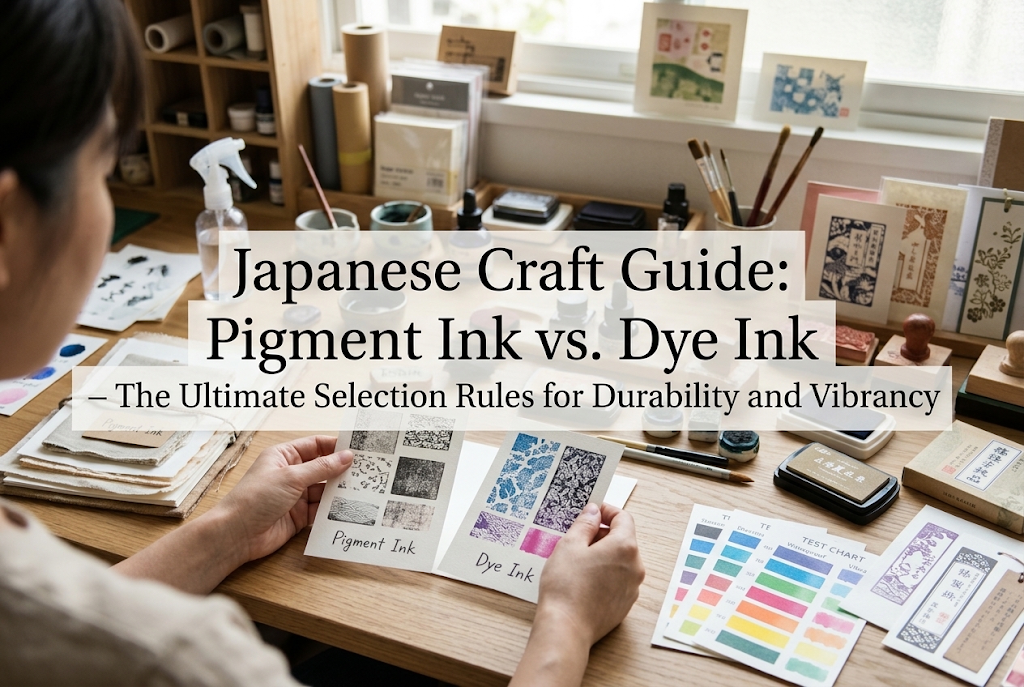
When discussing home printers, understanding ink differences is essential. Home inkjet printers use two main types of ink: dye ink and pigment ink. Knowing which ink your printer uses is the first step to avoiding printer failure.
Misunderstanding this can lead to disasters like printed backing cards smudging from moisture or colors appearing dark and dull. Here are the characteristics and rules for using each in handmade crafting.
Dye ink works by soaking into the paper fibers.
Rule: When using dye ink, always stick to glossy photo paper or designated inkjet papers.
Pigment ink works by resting particles on top of the paper surface.
Rule: For items where text clarity and durability matter—like accessory backing cards, shop cards, and care instruction sheets—pigment ink is ideal.
My conclusion: Choose dye ink if you prioritize vibrant colors and photo fidelity; choose pigment ink if you prioritize text sharpness, water resistance, and durability.
No matter how good your printer is, picking the wrong paper will lower your work's perceived value. Using thin copy paper for backing cards or shop cards makes items look cheap. Choosing the correct paper weight and texture is a golden rule.
Select paper that feels sturdy the moment you touch it. A good benchmark is a paper thickness of 0.22 mm or thicker (weight of 180 g/m² or higher), which matches or exceeds standard business card thickness.
Here are common printer mistakes beginner crafters face and how to prevent them completely.
When printing heavy cardstock or kraft paper, paper jams are common in bottom paper cassettes because the paper must bend 180 degrees inside the machine. Thick or stiff paper cannot make that tight turn. Always use the rear feed tray or manual feed slot so the paper moves straight through. Feed sheets one by one for maximum safety.
If you put dye-ink printed paper directly into resin or moist environments, the ink will dissolve and ruin the project. To prevent this, apply a coating after the print is completely dry:
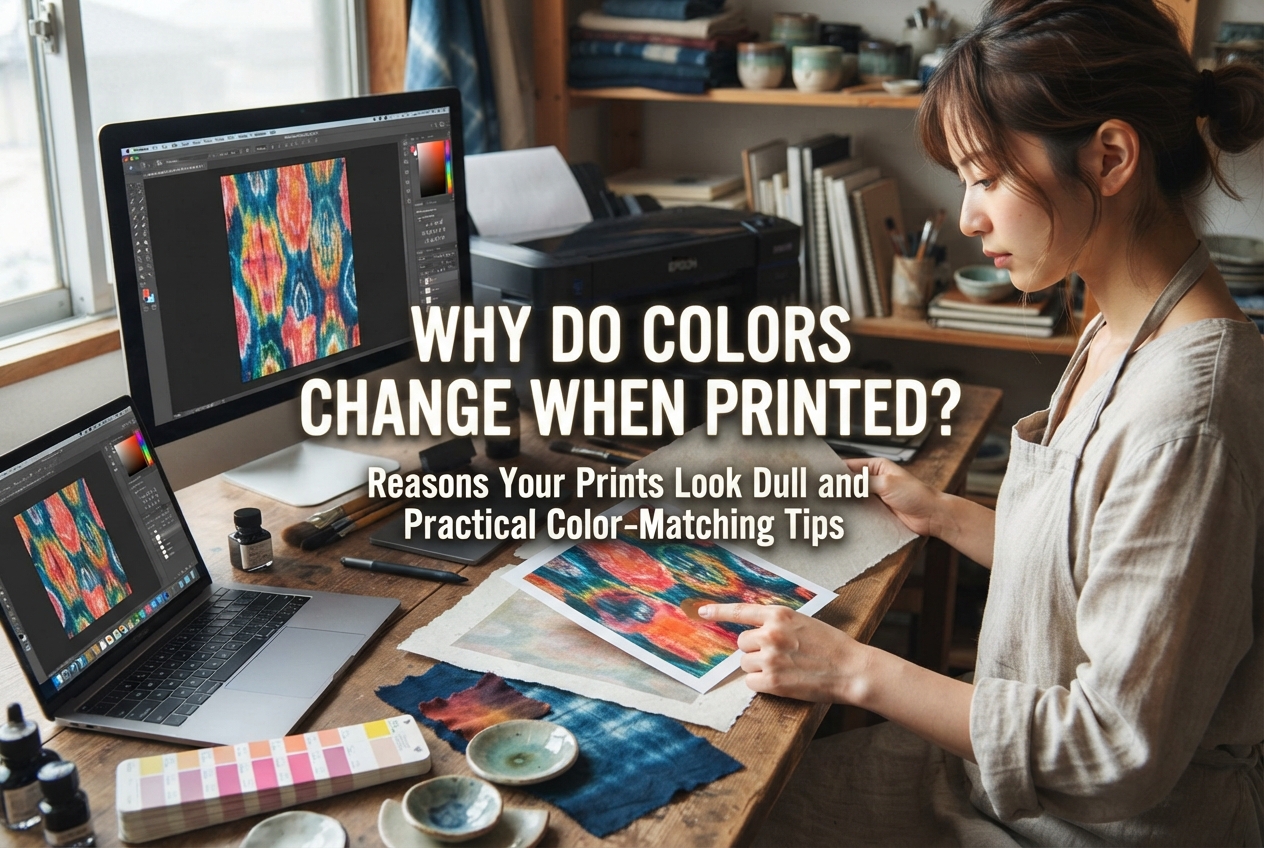
Screens display colors using light (RGB), whereas printers mix inks (CMYK), making printed colors naturally slightly darker. To minimize color discrepancy:
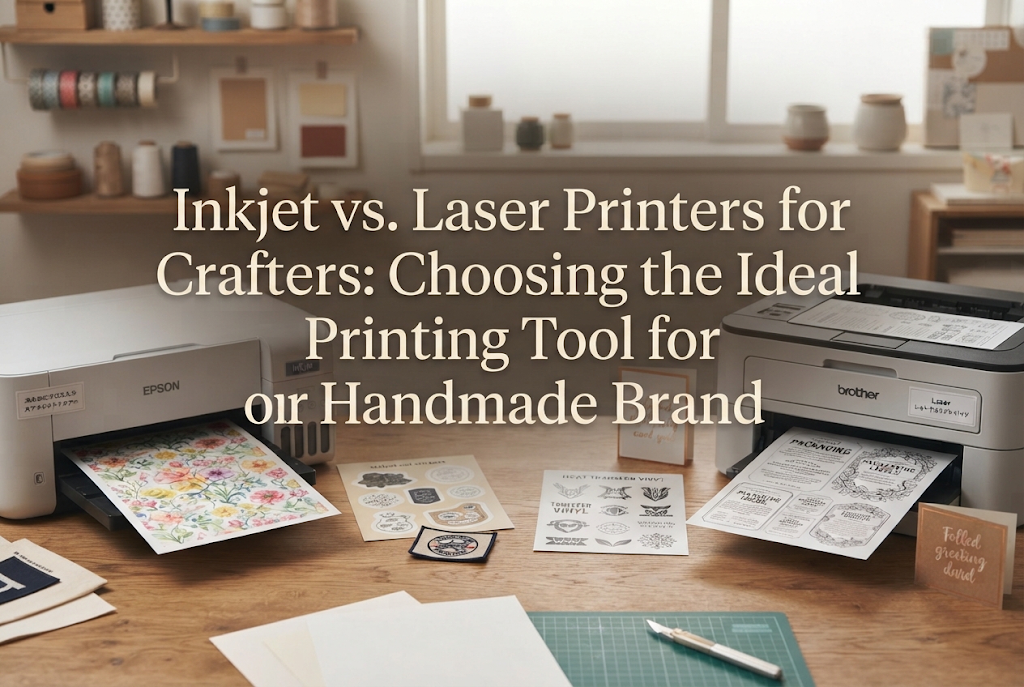
Check paper packaging carefully. Using smooth laser printer films in an inkjet printer causes ink to run without drying, dirtying the printer internals. Conversely, feeding heat-sensitive inkjet transfer sheets into a hot laser printer will melt the sheet onto the rollers, destroying the machine.
Faint lines or missing colors mean clogged printhead nozzles. Before printing important cardstock or project sheets, always run a Nozzle Check Pattern. If lines are broken, run a head cleaning cycle before printing your final project to avoid wasting expensive paper and ink.
Here are my personal advanced techniques to bring your craft presentation to a professional level using a home printer!
Prepare a sturdy kraft paper card as a base. Print your brand logo or message in black ink onto tracing paper, cut it slightly smaller, and layer it over the kraft paper, securing them together with an eyelet or ribbon. The subtle translucency of the tracing paper over the kraft paper adds sophisticated depth and luxury.
Unify your packaging design across shipping boxes, bags, and envelopes. Print your brand logo onto inkjet-compatible transparent sticker sheets. Use them to seal plain cardboard shipping boxes, paper bags, or OPP bags. The background shows through the transparent sticker, giving the appearance of custom-printed packaging at a fraction of the cost.
Use both sides of your shop cards and care instruction sheets. Print your logo, a thank-you note, and a nice product photo on the front side. On the back side, print detailed care instructions, precautions, social media handles, or QR codes. Double-sided care sheets reassure customers that they are buying from a attentive, reliable artisan.
Use this final checklist before hitting print to ensure a smooth, error-free process:
A home printer is not just administrative office equipment. It is a powerful craft tool that expresses your brand's unique identity and elevates your product quality.
By understanding your printer's ink type, selecting the right paper thickness and texture, and applying proper feed and print settings, you can create professional-grade craft materials right from home.
If you have a printer sitting idle, grab some specialty craft paper and try something new today! Mastering your printer will spark fresh ideas and make your creative process even more enjoyable.
I am cheering for your handmade journey! If you found this article helpful, please share it with your crafting friends on social media. See you in the next article! This was Yassy from Crafters!

For example, if you are looking for articles about mizuhiki, try searching for "mizuhiki"; if you are interested in tools, try keywords like "nippers" or "pliers."
