How to Inking Printmaking Blocks: Brayer Techniques and Tips for Smooth, Even Prints
yassy
Crafters!

Hello, crafters! It's Yassy from Crafters! (・∀・)
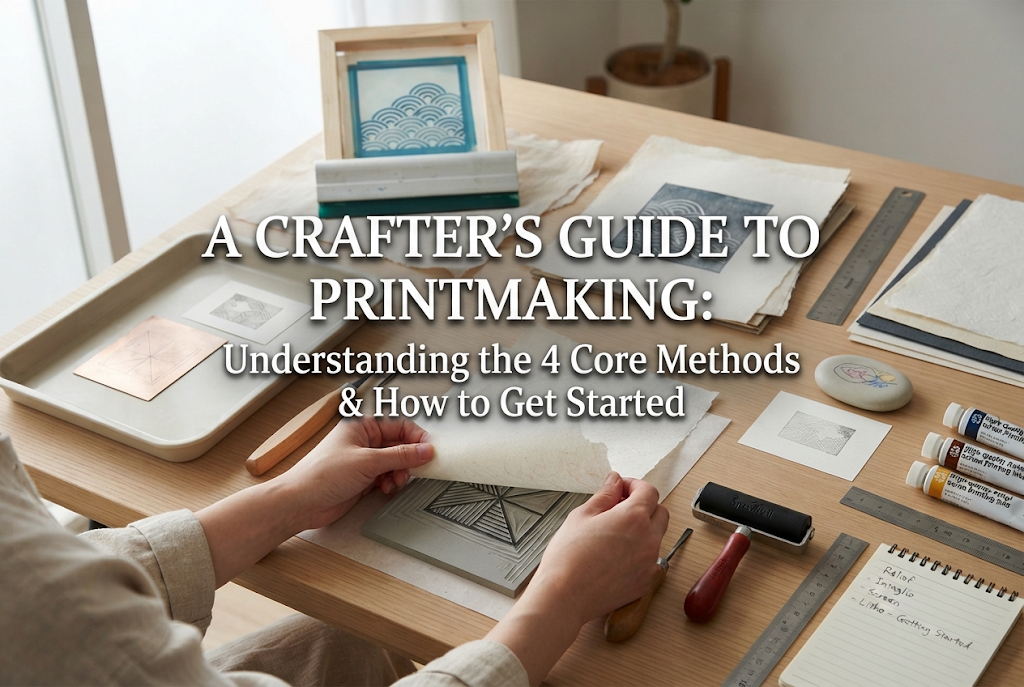
Printmaking has a unique charm that allows you to press striking textures and patterns onto paper or fabric. Many of you might even remember carving woodblocks during art classes at school. Within the crafting community today, printmaking techniques are widely loved for creating bespoke patterned paper, original stationery, custom tote bags, and handmade postcards.
However, when deciding to give printmaking a try, it is easy to feel overwhelmed by the sheer variety of options out there. I often hear questions from fellow makers like, "What really is the difference between a woodcut and an etching?" or "Are there any printmaking methods I can actually do at home without studio equipment?" It is completely natural to wonder where to begin.
At its core, printmaking is divided into four main categories based on the structure of the printing matrix (the plate or block) and where the ink sits. Once you understand these four basic mechanisms, you will clearly see what kinds of visual expressions each method allows and what specialized tools you will need.
In this guide, I will break down the four foundational printmaking classifications—relief, intaglio, planographic, and stencil—covering their iconic techniques, distinct characteristics, and key trouble spots to avoid as a beginner!
Unlike a painting or drawing where you apply pigment directly to a surface, printmaking involves creating an image on a master plate or block (called a "matrix"), inking it, and transferring that image onto paper or fabric. The beauty of printmaking lies in its ability to produce multiple original impressions, alongside the distinctive dry textures, subtle gradations, and bold, crisp lines that hand-drawing alone cannot replicate.
Across all the traditional and contemporary printmaking techniques around the world, every method falls into one of four categories based on how and where ink is carried on the plate:
Keeping these four fundamental structures in mind will help you immediately identify how any printmaking process works whenever you encounter a new technique. Now, let’s explore each method in detail.
Relief printing is the oldest form of printmaking and the most intuitive to grasp. You simply carve away the negative space from the surface of a block, coat the remaining raised areas (the relief) with ink using a roller (brayer), lay paper on top, and apply pressure to transfer the design.
The carved-out hollows remain as the white background of the paper, while the raised untouched sections yield sharp, vibrant ink impressions. Because relief prints produce crisp edges and high contrast, they excel at bold, graphic, and highly communicative designs.
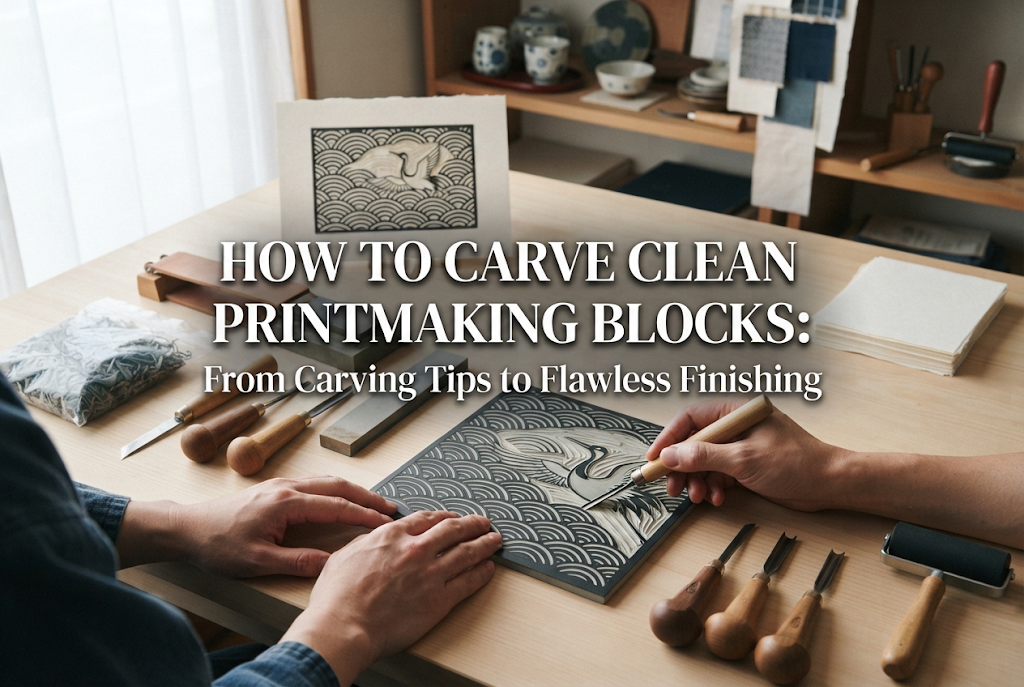
The two most common pitfalls in relief printing are cutting too shallow or carving too deep. Digging gouges too deeply into wood or lino can crack the matrix or make fine details brittle. Conversely, carving too shallow leaves shallow trenches that accidentally catch ink from the roller, resulting in muddy, dirty lines where there should be clean paper.
As a rule of thumb, hold your carving gouge at roughly a 30-degree angle to the surface, and dig somewhat deeper into broad areas of negative space. Most crucially for safety: never place your supporting hand in front of the carving blade. If the blade slips, serious injury can occur. Always work away from yourself and stabilize your block using a non-slip rubber mat.
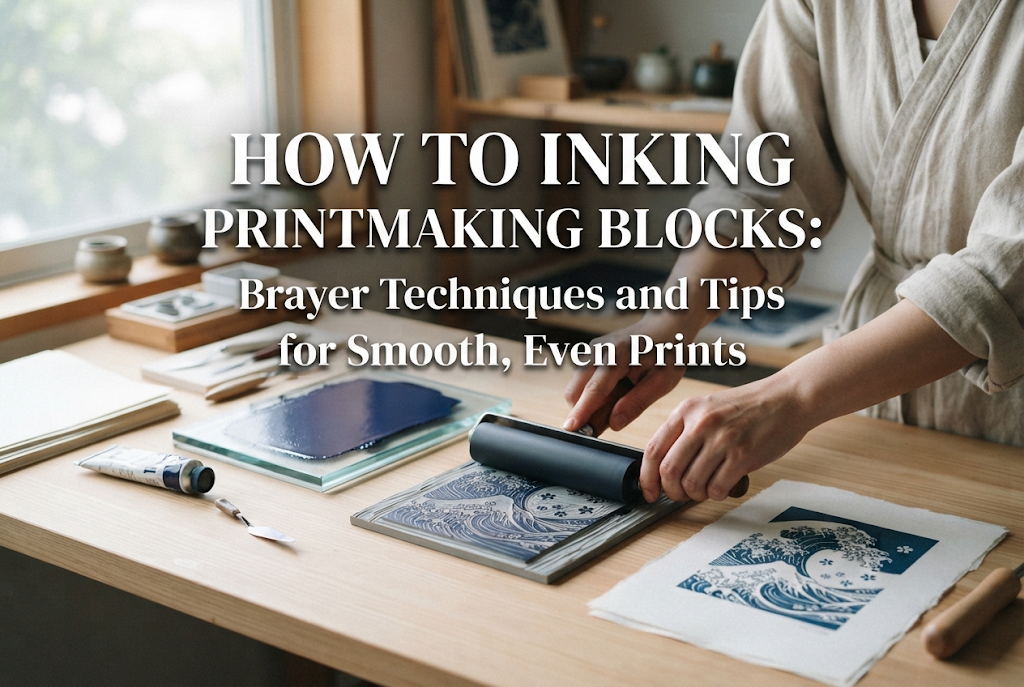
Another common mistake is applying too much ink. When rolling ink on your inking plate, if it makes a wet, heavy squelching sound, your layer is far too thick. Roll the ink out until it sounds light, crisp, and hissing, creating a smooth, micro-textured, thin sheen before rolling it onto your carved block.
Intaglio operates on the exact opposite principle of relief printing. Grooves, lines, and textures are cut or chemically bitten into the surface of a plate (traditionally copper or zinc, though acrylic is also used). Ink is worked into these low recessed grooves across the entire plate. The surface is then carefully wiped clean, leaving ink only inside the incisions. Under heavy rolling pressure from an etching press, damp paper is forced deep into the grooves to pull the ink out.
Because intaglio can pick up extraordinarily delicate lines, it has long been used for printing currency, banknotes, and high-detail technical illustrations. Nothing matches intaglio when it comes to rendering fluid line quality and whispering, atmospheric shadow gradations.
Intaglio is generally split into direct methods (mechanical carving) and indirect methods (chemical biting):
The trickiest step in intaglio printing is plate wiping (wiping with tarlatan mesh cloth and the palm of the hand). If you wipe too aggressively, you pull ink right out of the carved lines, leading to faint, broken prints. If you do not wipe enough, plate tone will cover your highlights with messy, dark smudges.
The secret is to use folded starched gauze (tarlatan) in gentle circular motions across the surface without pressing deep into the lines. For the final wipe, lightly use the soft, fleshy base of your palm dusted with whiting chalk to clear remaining oily film until the bare plate shines.
Additionally, paper preparation requires paper dampening. If your printmaking paper is dry and stiff, an etching press cannot force the fibers deep into the microscopic recessed lines to lift the ink. Paper should be submerged in clean water, then blotted thoroughly between clean towels. The ideal condition is paper that feels uniformly limp and cool to the touch, without any visible standing water droplets on its surface.
Planographic printing is unique because the matrix has neither raised areas nor carved grooves; the printing surface remains entirely flat. Instead, the design is created using greasy, oil-rich drawing materials, exploiting the natural chemical repulsion between water and oil to deposit ink.
When the plate is dampened with water, the non-image areas attract water (hydrophilic) and repel greasy ink. Meanwhile, the greasy drawn areas repel water (oleophilic) and readily accept oil-based printing ink. This process preserves the direct, spontaneous nuances of brush strokes, crayon grain, and pencil blending directly onto paper.
Planographic printing began with traditional stone lithography and laid the foundation for modern commercial offset printing.
Traditional lithography is chemically demanding. Applying gum arabic washes, balancing acid ratios, and monitoring ambient room humidity and temperature drastically affect results. Without a deep understanding of these chemical interactions, a plate can easily "scum" or take on overall tone, leaving ink everywhere.
If you want to experience the artistic freedom of planographic printmaking at home without heavy stone plates or harsh processing chemicals, starting with monotype is the best route. You can paint freely with oil paints or water-soluble printmaking inks on a sheet of acrylic glass, place paper over it, and burnish it gently by hand with a baren (a traditional Japanese flat hand-burnishing disk) or the back of a spoon to create beautiful, one-of-a-kind textures.
Stencil (or porous) printing works by creating openings or pores in a screen or stencil, then pressing ink through these openings directly onto the receiving material beneath. One major advantage over the other three methods is that your design does not print in reverse—what you draw is what prints, without mirror reversal.
Because stencil printing deposits an exceptionally thick, opaque layer of vibrant ink, it works seamlessly not just on paper, but across a wide range of surfaces including T-shirts, canvas tote bags, raw wood, and glass.
The most frequent mishaps in stencil and screenprinting are ink bleeding under the edges and strike-through onto the back of fabrics. If there is any gap between your screen/stencil and the printing surface, pressurized ink will squeeze horizontally underneath, turning crisp contours fuzzy.
To prevent this, ensure your stencil or screen rests completely flush against your substrate, using repositionable stencil spray adhesive where needed. When pulling a squeegee, maintain a consistent blade angle of 45 to 60 degrees, applying firm, even pressure in a single, smooth stroke toward yourself. Rocking the squeegee back and forth repeatedly over the same spot floods the mesh, pushing excess ink under the stencil.
When printing on textiles like shirts or bags, always insert a sheet of stiff cardboard or corrugated plastic board inside the garment first. This prevents wet ink from bleeding straight through the front fabric onto the back panel.
Now that you know the four classifications, you might be asking: "Where should I actually begin as a DIY crafter?" Taking into account tool affordability, ease of cleanup, and whether a heavy printing press is needed, here is my recommended path for beginners:
The most accessible entry point is carving eraser stamps or making collaged paperboard relief prints. You do not need an expensive press; everyday ink pads and a hand-burnishing tool like a Japanese baren (or even the back of a spoon) are all you need to complete a project. It is the perfect low-mess way to learn how plate carving and ink transfer work.
When you are ready to explore fine, delicate line work, try drypoint using a clear acrylic or PET plastic sheet (even a clean, clear CD jewel case works!). Because the plate is transparent, you can place your sketch directly underneath and trace your lines with a simple steel etching needle. No chemical acid baths are involved, making it clean and safe for home use.
While intaglio traditionally requires an etching press, you can experiment at home by running small plates through an adjusted hand-crank pasta machine, or burnishing firmly with a rounded metal spoon back over dampened paper.
If your goal is to print your own wearable merch, custom tote bags, or fabric craft goods to sell, jumping straight into screenprinting is well worth the effort. Beginner-friendly kits—such as simple sunlight-exposure emulsions or thermal iron-on mesh stencils—make it easier than ever to set up a small printing corner at home.
If I were starting from scratch with no prior experience and wanted to create authentic, finished print art, my personal choice would be traditional Japanese water-based woodblock printing (suisei mokuhanga) using shina plywood.
With water-based woodblock printing, all you need is a basic set of carving gouges, a shina wood panel, water-based printing pigment (or tube water-based woodblock inks), and a hand baren. You can easily carve and print right at your kitchen table. Because it uses water-based pigments instead of oil-based inks, there is no need for smelly petroleum solvents like turpentine or mineral spirits to clean your blocks. Cleanup is quick, nontoxic, and done with plain water at the sink.
Regardless of which printmaking discipline you choose, please never overlook safety and tool handling instructions. Pay close attention whenever handling sharp carving gouges, needles, or craft blades. If you eventually advance to chemical acid etching solutions or solvent-based ink systems, always ensure adequate room ventilation and adhere strictly to the manufacturer's handling guidelines.
We have covered the four fundamental printmaking structures: relief, intaglio, planographic, and stencil, along with their key techniques.
Once you understand how each method works, you can pick the exact right process to bring your creative vision to life. Start small with rubber eraser stamps or simple stencils, and slowly branch out into woodcuts or screenprinting as your confidence grows. The thrilling anticipation of peeling back the paper to see your first fresh print is an experience you won't easily forget!
If you found this guide helpful, please share it with your creative friends on social media! It truly means the world to me and keeps this crafting journal going.
Until next time, happy crafting! This was Yassy from Crafters! (・∀・)

For example, if you are looking for articles about mizuhiki, try searching for "mizuhiki"; if you are interested in tools, try keywords like "nippers" or "pliers."
