What Is Japanese Tsumami Zaiku? A Complete Guide to Techniques, Materials, Care, and Costs
yassy
Crafters!

Hello everyone, Yassy from Crafters here! (・∀・)
Tsumami zaiku kanzashi hairpins bring vibrant beauty to life's biggest milestones—such as Coming-of-Age ceremonies (Seijin-shiki), Shichi-Go-San, and graduation ceremonies. But when assembling carefully crafted chirimen silk flower parts onto U-pins or hair combs, have you ever encountered frustrating problems like these?
No matter how beautifully you have shaped (fukeru) your tsumami zaiku flowers, if the attachment to the base hardware is weak, the ornaments will shift or even fall off when worn. Because these pieces are made for wearing on very special occasions, you want a firm, wobble-free finish that holds strong all day.
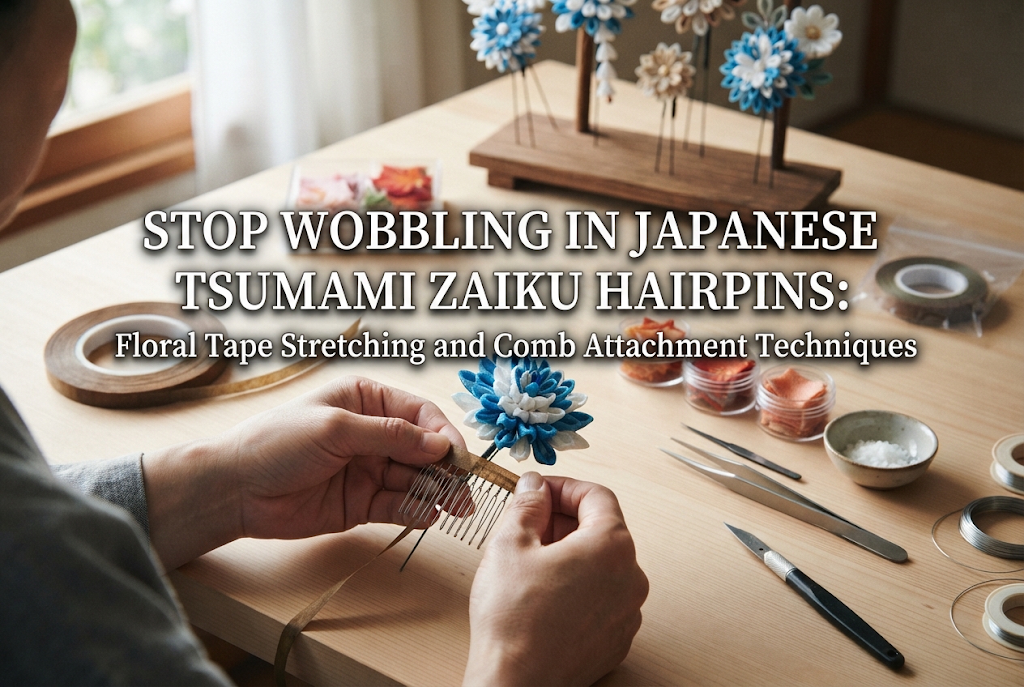
The absolute key to this assembly process lies in how you handle floral tape (flora tape). Floral tape has properties entirely different from standard clear tape or masking tape. By understanding its true nature and stretching it correctly while wrapping, you can lock your flower components to metal bases as if they were molded into a single solid piece!
In this article, I will dive deep into the essential stretching technique that often confuses tsumami zaiku beginners, alongside professional tips for wrapping and securing flower parts seamlessly onto wire bases, U-pins, and hair combs.
The main reason flower parts rotate or wobble is the presence of small gaps (slack) between components or hardware, combined with failing to unleash the true adhesive power of floral tape.
Floral tape (floral tape) is a specialized tape used in floral arrangements, made of crepe-like stretch paper coated with wax and adhesive components. Its most defining characteristic is that it will not stick at all if you try to apply it as-is.
The wax coating on the surface releases its hidden adhesive strength only when the tape is pulled and stretched, which breaks open the wax layer. In other words, wrapping floral tape without stretching it is no different than wrapping plain paper—its holding power remains virtually zero.
A very common beginner mistake is wrapping floral tape plain and un-stretched, just like masking tape. Tape wrapped without stretching slides easily against smooth metal hairpins or glossy wire surfaces.
Furthermore, unstretched tape retains its original thickness, making the stem bulky and heavy as layers build up. The adhesion between layers remains weak, so the moment the weight of the flower flower presses on it, the wrapping loosens and causes the flower to droop or tilt.
To construct a sturdy kanzashi hairpin, mastering the floral tape stretching technique is essential. Let's look at the key sensory and visual points step by step.
When you pull and stretch floral tape, its underlying stretch paper expands thinly, and the surface wax layer stretches uniformly. This action activates the internal adhesive components, giving the surface a moist, tacky grip when touched with your fingers.
At the same time, the stretched tape develops a subtle elastic recoil—it tries to shrink back to its original length. By wrapping the tape onto wire while utilizing this contracting force, the tape tightens around itself, firmly clamping down on the wire axis.
As a general rule, stretch the tape to approximately 2 to 2.5 times its original length. As you pull, you will notice the color lightens slightly, taking on a semi-translucent appearance.
The correct method is not to pull and stretch the entire length at once beforehand, but rather to pull firmly a few centimeters ahead of your wrapping fingers, maintaining constant tension as you wrap.
Many beginners worry, "If I pull too hard, won't the tape snap?" and end up holding back their strength. However, floral tape is remarkably elastic.
Even if the tape tears during wrapping, there is no need to worry. Simply press the torn end down firmly with your thumb to adhere it, overlap a new piece of tape by about 1 cm, and continue wrapping while stretching. The wax layers will merge and blend together seamlessly.
Wrapping weakly out of fear of snapping the tape is actually the single biggest cause of wobbling. Work under the assumption that a tear is easy to fix, and get into the habit of pulling firmly to stretch the tape thin as you wrap.
Now that you know the basics of stretching, let me guide you through the concrete steps to securely fix flower parts onto U-pins and hair combs for special occasions like Coming-of-Age ceremonies or Shichi-Go-San.
Before attaching flower stems to hair hardware, proper preparation will dramatically increase joint strength.
Instead of bare, slippery wire, use paper-wrapped wire (jimaki wire in green, white, or brown). The paper coating on jimaki wire bonds exceptionally well with the wax in floral tape, preventing metal-on-metal slippage.
If a flower unit has multiple wire stems extending from it, do not wrap them individually onto the hairpin. Use pliers to tightly twist the stems together 2 to 3 times into a single solid shaft before attaching.
Follow these steps when assembling small flowers or hanging chain ornaments (sagari) onto U-pins:
The most important detail is the first 2 to 3 overlapping wraps at the top. If you do not anchor the top intersection tightly, the flower will spin at its neck no matter how neatly you wrap lower down the pin.
When assembling grand main headpieces for Coming-of-Age ceremonies—such as heavy, large flowers or bundled components attached to a multi-pronged comb (10 to 20 teeth)—floral tape alone may not provide sufficient support.
In these cases, use a combination of thread binding and floral tape.
First, lay the bundled flower stems along the spine (top bar) of the comb. Using strong sewing thread or fine wire (#28 to #30 gauge), bind the stems tightly to the comb by weaving in a figure-8 pattern between the comb teeth.
Once you verify there is zero wobble, stretch floral tape and wrap it thoroughly over the bound metal section and shaft. Weaving the stretched tape through the bases of the comb teeth and pressing it firm will simultaneously prevent the thread from unraveling, improve appearance, and provide robust reinforcement.
At the start, apply the tape end at a slight angle to the wire, pinching the first wrap under the tape itself to lock it firmly.
At the end, tearing the tape by pulling it snaps the edge into a thin, tapered finish that blends much better than a clean scissor cut. Press the torn edge down with the pad of your thumb for about 10 seconds; the warmth of your finger will soften and melt the wax, fusing it into place.
Here are solutions to the common hurdles crafters face during assembly.
If the wrapped area feels sticky or uncomfortably tacky afterward, the cause is usually wrapping too many layers or insufficient stretching. Without enough stretch, excess wax stays on the surface and causes a greasy feel.
Additionally, storing pieces in high-temperature environments can cause wax to soften and turn sticky. Keep finished work away from direct sunlight, heat, and high humidity.
If finger stickiness still bothers you, wrap a layer of plain paper tape (for paper flowers) in the same color over the floral tape, or apply an extremely thin coat of fast-drying wood glue or fabric glue with your fingertip to form a smooth protective film.
Because floral tape lightens when stretched, the underlying paper-wrapped wire or silver metal beneath it might show through.
To prevent this, coordinate the color of your inner paper-wrapped wire (jimaki wire) with your floral tape. For example, if using black floral tape to blend into black hair, select brown or black wires. If using green floral tape (olive or light green), pair it with green jimaki wire so that any slight transparency looks completely natural.
You might wonder: "Is floral tape really enough on its own?" For a single small flower on a U-pin, stretched floral tape alone provides more than enough strength.
However, for elaborate main kanzashi worn for Coming-of-Age ceremonies, heavy multi-layered ken-tsumami (pointed fold) or maru-tsumami (round fold) pieces, or grand Shichi-Go-San ornaments with long hanging cascades, relying solely on floral tape is risky.
The safest approach is a triple-reinforcement structure: apply a small amount of high-viscosity multi-purpose adhesive (such as strong structural glue or heavy-duty craft glue) to the contact surface between hardware and stem, bind tightly with thread, and finally cover everything with stretched floral tape.
Here are my secret tricks for absolute wobble prevention when assembling kanzashi hairpieces for major celebrations!
When hardware surfaces or stem wires are perfectly straight and smooth, friction decreases, making components far more prone to spinning.
What I do is use needle-nose pliers to bend the bottom few millimeters of the paper-wrapped wire stem into a zigzag pattern, or fold it back to create a small hook-like barb. I hook this against the U-pin leg or comb spine before starting to wrap tape.
This creates a physical barrier. Even if the tape's adhesive strength were ever to weaken, the mechanical hook catches firmly, completely preventing the flower from pulling out or spinning free.
Once you finish wrapping a component, always perform a quick strength check. The method is simple: hold the base of the flower firmly with one hand, grip the U-pin or comb hardware with the other, and apply gentle twisting force side to side.
If you feel any spongy slack or detect metal sliding inside the shaft, the attachment has failed. Do not hesitate—peel off the tape, tighten the wires, and re-wrap from scratch.
On the day of a ceremony or event, hairstylists will insert kanzashi deeply into styled hair and bend the metal hardware to adjust angles. Building high durability that withstands on-site adjustments is a crucial gesture of care toward the person wearing your creation.
In the world of Japanese tsumami zaiku kanzashi, securing flower components to wire stems and hair fittings is a vital process that determines both the longevity and safety of your work.
Let's review the key points of the floral tape stretching technique:
At first, controlling your fingers to stretch and spiral downward simultaneously might feel tricky. But with a little practice, you'll master the rhythm, and the tape will lock components together with incredible firmness!
Achieve robust, wobble-free, and beautiful finishes to craft the ultimate kanzashi hairpieces that illuminate special celebration days!
If you found this article helpful, sharing it with craft friends on social media would mean the world to me and keep me motivated!
Until next time, happy crafting! This was Yassy from Crafters!

For example, if you are looking for articles about mizuhiki, try searching for "mizuhiki"; if you are interested in tools, try keywords like "nippers" or "pliers."
