Punch Needle for Beginners: The Ultimate Guide to Tools, Starter Kits, and Flawless Crafting
yassy
Crafters!

Hello! This is Yassy from Crafters! (・∀・)
Have you ever encountered any of these issues while enjoying punch needle embroidery?
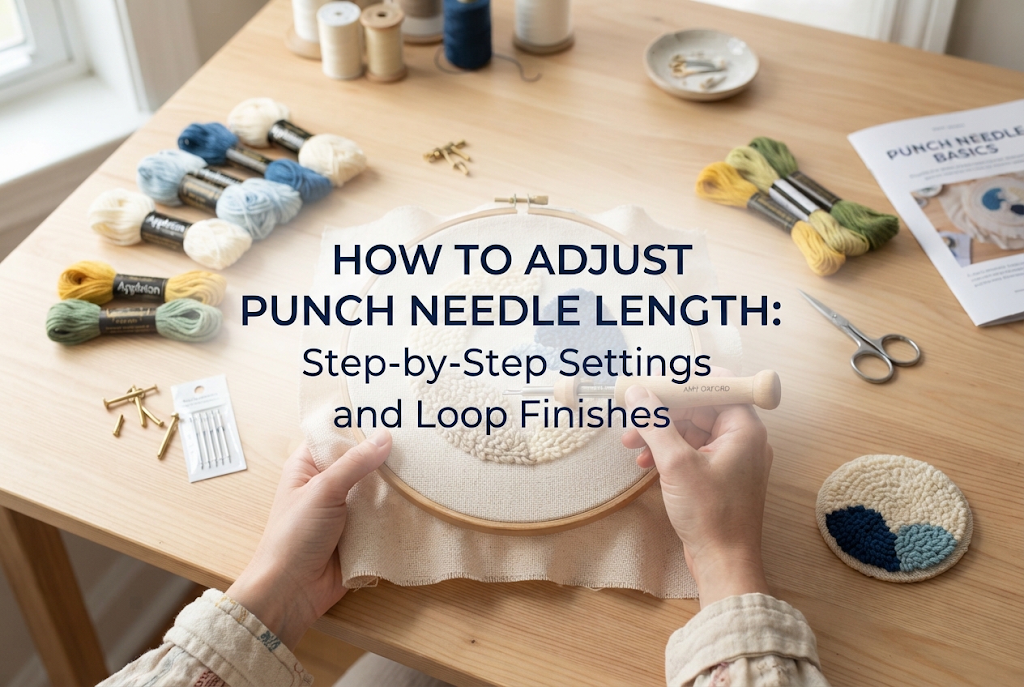
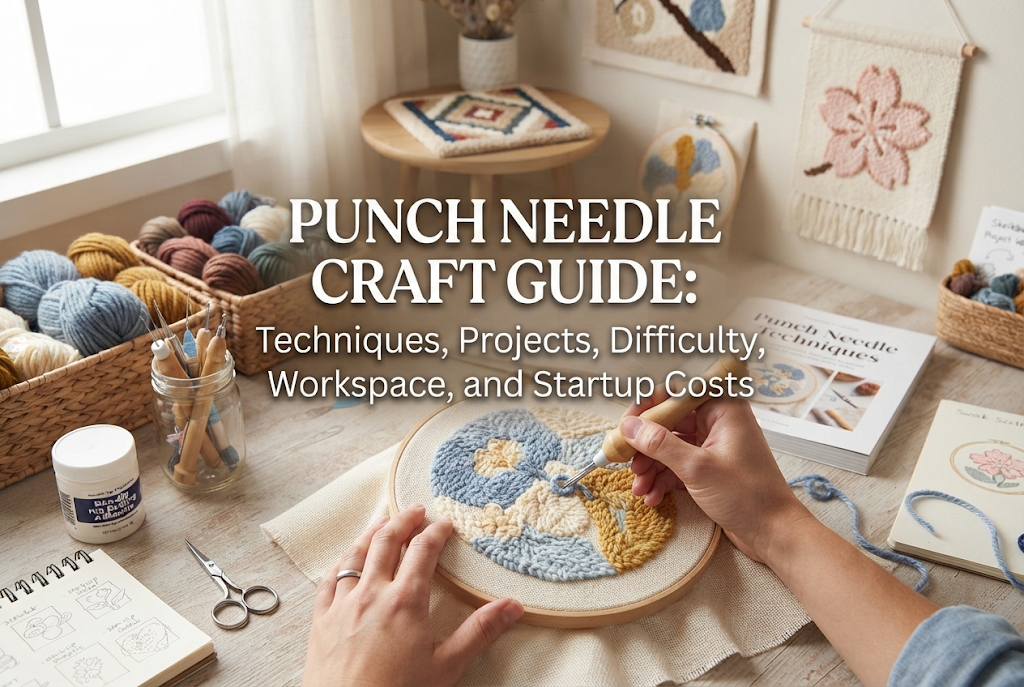
Adjusting the needle height (length) is one of the most critical factors that dramatically affects the texture and overall finish of your punch needle projects. Simply changing the length of the exposed metal needle dynamically changes the height of the yarn loops formed on the back of your fabric. Once you master this mechanism and the proper adjustment techniques, you will be able to freely create everything from soft, plush carpet-like textures to crisp, flat embroidery surfaces.
In this guide, I will explain punch needle height adjustment in detail—from the basic mechanism and step-by-step setup to finish differences, troubleshooting common mistakes, and advanced 3D techniques. If you are ever unsure about your needle settings, use this guide to elevate your craft!
Before jumping into setting adjustments, let's look at why changing the exposed needle length alters the loop height on your fabric.
Punch needle is a craft where you repeatedly punch the needle all the way into the fabric down to its handle base, then pull it back out to form yarn loops on the reverse side. The amount of yarn pushed through to the back is physically determined by the exposed length of the needle protruding from the handle.
If you set the needle long, more yarn is pushed through the fabric, creating tall loops (longer pile). Conversely, if you set the needle short, less yarn is pushed through, resulting in low, tight loops. Whether you choose the loop side or the flat stitch side as the front of your finished piece, loop height directly impacts the thickness and plushness of your work.
Commercially available punch needles come in two main styles: fixed-length needles and adjustable needles. To expand your crafting range, adjustable punch needles are incredibly useful. They generally fall into three design categories:
Regardless of the design, the fundamental principle remains the same: you are controlling the exposed length of the needle that penetrates the fabric.
Changing the needle height completely transforms both the look and tactile feel of your project. Here is a breakdown of the characteristics, pros, and cons for both long and short needle settings.
When you extend the needle to near maximum length, you create voluminous loops with a long pile.
Pros: Ideal for projects that demand a soft touch and bold presence, such as cushion covers, rugs, or stuffed plush details. Because the loops are longer, adjacent yarn strands overlap easily to fill gaps, producing a warm, fluffy finish. A generous loop height is also essential if you plan to perform the "cut loop" technique, where you trim the loop tops with scissors.
Cons: Yarn consumption per stitch increases significantly. Additionally, because the needle is longer, it requires more force to pierce through the fabric, creating greater punching resistance. The backing fabric can lose its tight tension more quickly, so you will need to stretch your hoop or frame more frequently.
When you set the needle short, you produce tight, low loops that sit close to the fabric surface.
Pros: Perfect for everyday items subject to friction, such as brooches, hair accessories, coasters, and pouches. Low loops are much less likely to snag, greatly improving durability. They also hold sharp outlines and fine details without blurring design lines. This setting uses less yarn and puts less strain on your wrist.
Cons: You will not achieve a plush, 3D texture, resulting in a flatter, more subtle surface. If your stitch density is too sparse, the backing fabric can easily show through, requiring careful, dense punching techniques.
Needle height settings are also closely linked to yarn thickness and fabric weave.
When using thick yarns like bulky or super bulky wool, setting the needle too short makes the loops too small relative to the yarn's thickness. This causes the yarn to jam densely on top of the fabric and can damage the threads of your backing cloth. A medium-to-high needle setting is better suited for thick yarns.
On the other hand, when working with fine-to-medium yarns or embroidery floss, low-to-medium height settings create a smooth, beautifully uniform surface.
Here are the exact steps to follow when setting up your punch needle height.
First, clarify how your finished item will be used. Decide on your target height based on your final vision—for example, use a lower setting for wearable accessories to increase durability, or a higher setting for decorative wall hangings to achieve maximum fluffiness.
Adjust the needle length according to your specific tool's design:
Before working on your actual pattern, always test punch on a scrap piece of the same fabric. Punch 5 to 10 stitches, flip the hoop over, and inspect the loop heights on the back.
Check whether the plushness matches your expectations and if the loops look even. If you feel the pile should be longer or shorter, re-adjust the needle during this test phase. Skipping this simple test is the number one cause of project regrets!
Here are three common issues beginners encounter regarding needle settings and how to fix them.
As you punch, the downward pressure gradually pushes the needle back into the handle, altering loop lengths midway through your project.
Solution: Always verify that your set screw or locking mechanism is tightly secured before starting. Plastic screws and components can wear down and become slippery over time. If your needle keeps slipping, wrap masking tape around the needle shaft 1 or 2 times before tightening the screw. The tape acts as a non-slip grip to hold the needle firmly in place.
The needle length remains locked, but the finished loop surface looks uneven and irregular.
Solution: This is caused by inconsistent punching depth. With punch needle, you must punch fully downward until the tip of the handle grip touches the fabric on every single stitch. If you pull back before hitting the base, the needle penetrates less than its set length, creating a smaller loop. Practice a steady rhythm of punching all the way down to the handle base every time.
As soon as you switch to a longer needle setting, the stitches fail to stay in the fabric and pull straight out when you raise the needle.
Solution: Longer needle settings require significantly more yarn per stitch. If there is any tension, snagging, or pulling from your yarn skein, the tension will pull the loops right back out of the fabric as you lift the tool. Always pull out plenty of loose yarn from your skein ahead of time so the yarn feeds into the needle with zero resistance.
Once you are comfortable adjusting your needle height, you can combine different loop lengths in a single project for sophisticated visual effects!
Varying the needle height for different sections of your design creates stunning depth and perspective.
For instance, punch background elements or leaves with a short needle setting (Setting 1 or 2) for a flat finish. Then, punch foreground details like flower petals or animal noses with a longer needle setting (Setting 3 or 4). The dramatic height contrast casts natural shadows, making key motifs pop off the fabric.
Set your needle to its longest setting and punch your design. Once finished, use sharp craft scissors to carefully snip open the tops of the tall loops one by one.
Gently fluff the cut ends with your fingers or a soft brush to transform the loops into a plush, velvet-like texture similar to a mini rug or stuffed animal. Combining uncut loop areas with cut pile sections adds a striking textural contrast to your artwork.
When I first started punch needle crafting, I once worked with a loosely tightened adjustment screw. The pressure pushed the needle inward as I worked, leaving me with a project where the left side had completely different loop lengths than the right side! It was a frustrating lesson.
Ever since that mistake, I made it a strict rule to either measure the exposed needle length with a ruler and note it down, or take a quick photo of the dial position on my phone before starting. This simple habit ensures I can return to the exact same setting even if I change yarn colors or resume work days later.
For beginners picking up punch needle for the first time, my top recommendation is to start at a medium setting (such as setting 2 or 3 on a 1-to-4 scale). Setting the needle extremely long right away can cause yarn pull-out frustrations, while setting it too short makes it hard to experience the characteristic plush texture of punch needle. Starting in the middle gives you the best balance of stitch ease and plush texture!
Adjusting your punch needle height is a wonderful skill that dramatically expands your creative possibilities. By understanding how loop heights work and tailoring settings to your specific design, your handmade projects will become even more enjoyable to make.
Check your punch needle's adjustment mechanism today and try a quick test punch on some scrap fabric. You will love the feeling of seeing your desired 3D textures come to life!
If you found this guide helpful, please feel free to share it with your craft friends on social media or messaging apps—it truly means a lot and keeps me inspired!
Thanks for reading, and see you in the next tutorial! This was Yassy from Crafters!

For example, if you are looking for articles about mizuhiki, try searching for "mizuhiki"; if you are interested in tools, try keywords like "nippers" or "pliers."
