Japanese Shrink Plastic Coloring Guide: Pens, Paints, and Zero-Fail Techniques
yassy
Crafters!
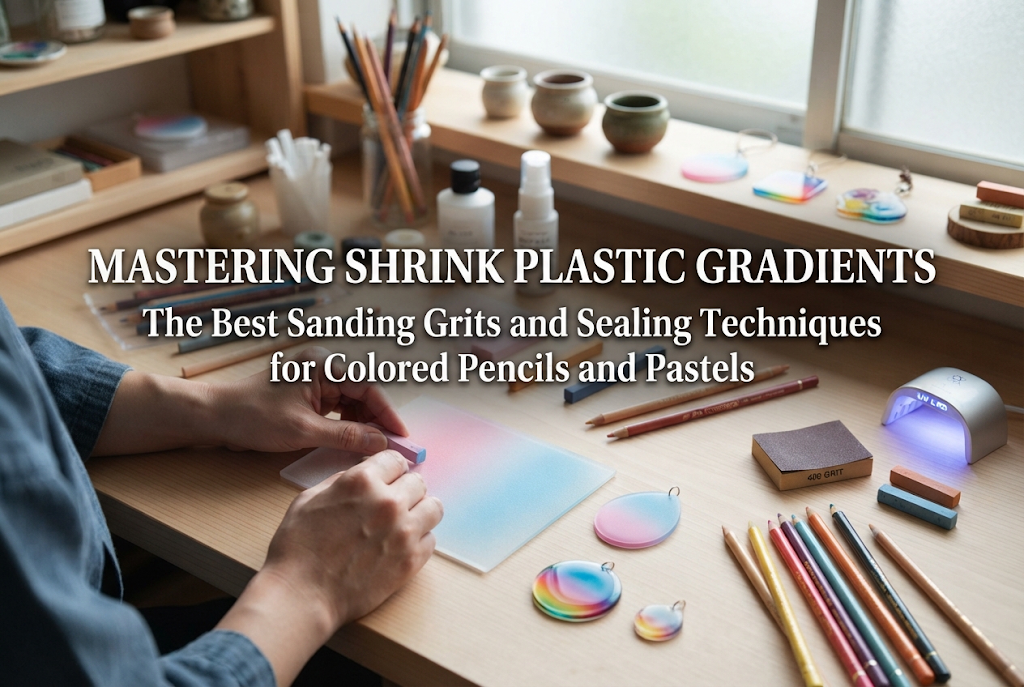

Hello, crafters! This is Yassy from Crafters! (・∀・)
Shrink plastic—often called plaban in Japan—is an incredibly popular craft material for making charming keychains, pins, and delicate jewelry. Have you ever tried applying colored pencils or soft pastels onto a smooth, clear shrink plastic sheet, only to find the color slipping right off, pooling unevenly, or refusing to stick at all?
The truth is that solid pigments simply cannot adhere directly to the slick, glossy surface of untreated transparent shrink plastic. To achieve seamless, ethereal gradients, two steps are absolutely essential: preparing the surface through proper sanding and sealing the color afterward.
In this guide, I will walk you through everything you need to know to create professional-looking gradients without color repelling: choosing the right sandpaper grit, proper sanding motions, and selecting the correct fixatives and sealants so your colors won't bleed or rub off after baking!
Shrink plastic is primarily made of polystyrene (PS), manufactured with an exceptionally smooth, non-porous surface at the molecular level. While alcohol markers or oil-based pens rely on chemical solvents and resins to bind to this smooth plastic, the solid waxes in colored pencils and the dry powder pigments of pastels have nothing to physically latch onto.
When you try rubbing these dry pigments against a frictionless surface, they slide off. If you press down too hard, you end up with blotchy coverage, and the loose pigment flakes right off—making a smooth gradient virtually impossible.
The solution is sanding. By lightly abrading the surface, you create countless microscopic grooves. The pastel particles and colored pencil shavings settle into these tiny crevices and lock in place. In crafting and materials science, this is known as the "anchor effect."
Proper preparation does not mean grabbing any random piece of sandpaper lying around. The grit (abrasiveness) dramatically affects how your colors lay down and how transparent or cloudy your finished, baked piece will look. Pick the wrong grit, and even the most careful coloring will not yield good results.
To get right to the point: when coloring with colored pencils or pastels, the ideal grit range is #320 to #400.
If you use a coarse grit such as #240 or lower, the scratches will be far too deep. While the pigment might look rich and dark before baking, the plastic shrinks down in heat, compacting those deep gouges. This results in heavy, cloudy, white scratches across your piece, giving it a rough and muddy appearance.
On the flip side, using an overly fine grit like #600 or #800 creates grooves that are too shallow to capture dry pastel dust or pencil wax. The pigment simply dusts off, leaving you with faint, washed-out tones. The #320 to #400 range strikes the perfect balance—providing enough mechanical tooth to hold the pigment firmly while keeping visible scratch marks subtle after baking.
There are three common sanding abrasives readily available to crafters:
For shrink plastic, I strongly recommend either wet/dry sandpaper or a sanding sponge. Sanding sponges are particularly forgiving for beginners; the foam core cushions your hand pressure, preventing deep uneven gouges and allowing you to sand evenly right up to delicate curved edges. In my own workshop, a #320 to #400 sanding sponge is always my first choice.
Having the right grit is only half the battle. Your sanding technique determines whether your gradient blends naturally or develops patchy spots.
If you sand in only one direction, grooves will form in only that single direction. When you drag a pencil across, it will glide parallel to the grooves and catch roughly when perpendicular, creating uneven color intensity.
To create a truly uniform anchor:
Check your plastic against the light. When the entire surface has a uniform, frosted-glass appearance with zero glossy spots remaining, your base is ready. Any remaining glossy patch will repel pigment.
Freshly sanded shrink plastic is covered in microscopic polystyrene dust. If you try to color directly over this dust, the loose plastic particles mix with your pigments, creating gritty clumps that peel away from the surface.
Use a soft, clean brush to sweep away the bulk of the dust, then wipe the surface gently with a damp cloth or a wet wipe. Let it dry completely.
Additionally, avoid touching the sanded surface directly with bare fingers. Natural skin oils repel dry pastel dust instantly. Always hold the plastic by its edges after sanding.
Once your shrink plastic has that frosted texture, colored pencils and pastels will glide on effortlessly. Here is how to achieve smooth, blended transitions.
If you are using soft or hard pastels, scrape a small amount of powder onto a scrap paper or palette using a craft knife or fine tea strainer. While you can blend with your fingertips, using dedicated tools yields far smoother results:
The single most common mistake beginners make is misjudging the final color depth. When shrink plastic heats up in an oven, its surface area reduces to roughly 1/4 to 1/5 of its original size, while its thickness increases about 4 to 5 times.
This means your pigment density is concentrated by 400% to 500%. If your colors look "just right" before heating, they will turn out far darker and muddier than expected once baked.
The golden rule: Color about two shades lighter than your desired final result. Keep your layers light and translucent, ensuring the frosted texture underneath faintly shows through.
Because colored pencils and pastels are simply held in place by friction inside the micro-grooves, touching the piece after baking will smudge your artwork or wipe the pigment away entirely. A protective topcoat is non-negotiable.
Immediately after baking and letting your flat piece cool, apply an initial fixative. You can use an artist's fixative spray or a hobby-grade matte clear spray (water-based or acrylic lacquer spray designed for scale models).
Hold the can about 20 cm (8 inches) away in a well-ventilated area, and apply a single, feather-light mist. Never saturate the piece in one heavy coat; liquid pooling on the surface will dissolve the pastel binders, causing your gradient to streak and wash out.
Let the initial mist coat dry completely. If needed, apply one or two more light coats. This encapsulates the loose powder within a micro-thin film, making it completely smudge-proof to the touch.
Many crafters want a domed, glossy finish using UV/LED resin or gloss varnish. However, applying liquid resin directly over raw pastel often causes the viscous resin to drag pigment particles across the surface, muddying the artwork.
By applying a light barrier of fixative or matte clear spray first, you create a protective shield over the pigment. Once that barrier is fully cured, you can spread thick UV resin across the top with a brush or stylus without any risk of color bleeding, yielding a crystal-clear, dimensional finish.
Here are two common hurdles beginners face and how I address them in my own work:
If your finished piece looks slightly cloudy or you notice white scratch lines even after using #400 grit, apply a high-gloss UV resin or gloss varnish over the sanded side. The clear liquid fills into every microscopic valley of the sanded surface. Because the refractive index of the cured resin matches that of the plastic closely, the scratch marks optically disappear, restoring bright clarity.
I rarely sand both sides of a shrink plastic sheet. Instead, I keep the front completely glossy and sand only the reverse side with a #400 sponge abrasive. I apply my pastel or pencil gradient exclusively to this sanded back side, seal it with a spray fixative, and finish the front or back with clear resin. When viewed from the smooth front, the gradient has a wonderful, floating depth that looks clean and refined.
Whether using a toaster oven or an embossing heat gun, always prioritize safety:
To recap the essentials for gorgeous, smudge-free gradients on shrink plastic:
While blending pastels and colored pencils on plastic might seem tricky at first, taking the time to prep the surface and properly seal your colors will give you clean, boutique-quality results every time. Grab your favorite pencils and pastels, and enjoy creating your own unique gradient accessories!
If you found this guide helpful, please share it with your fellow crafters. See you in the next article! — Yassy


For example, if you are looking for articles about mizuhiki, try searching for "mizuhiki"; if you are interested in tools, try keywords like "nippers" or "pliers."
