How to Add Depth in Tole Painting: Essential Shading Techniques for Flat Works
yassy
Crafters!

Hello, this is Yassy from Crafters! (・∀・)
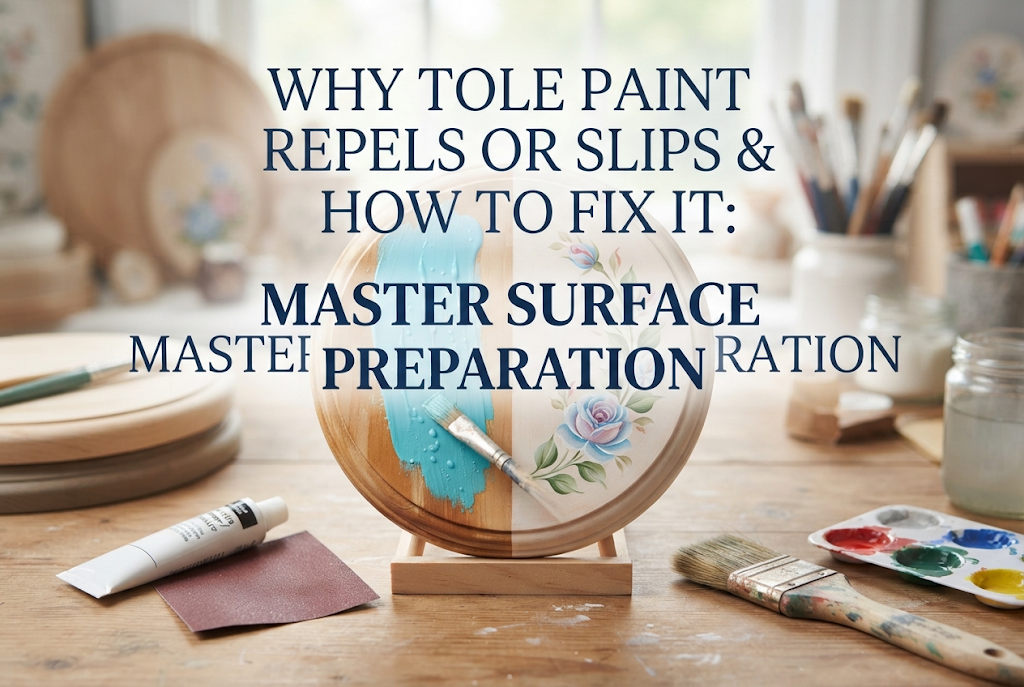
Tole painting—adding charming designs to wooden crafts and everyday goods—is a wonderful craft that brings vibrant color to daily life. However, just when you are excited to start painting, you might run into frustrating issues: the paint repels and won't stick, it slips on a slick surface leaving uneven streaks, or it beads up and lets the background show through.
After picking out your favorite design and holding your brush with excitement, having the paint fail to adhere is truly disappointing. In fact, there are clear reasons why acrylic paint fails to stick during tole painting. Most of the time, the problem isn't the paint itself, but rather issues hidden in the surface preparation of the base material, the moisture balance in your brush, or the choice of primer and sealer.
In this article, I will dive deep into the causes for anyone struggling with paint adhesion issues in tole painting. I will also share key precautions when working with non-wooden materials like metal, glass, and plastic, along with the specific step-by-step solutions I use in my own practice. Master these correct procedures and enjoy stress-free, beautiful painting!
Most paints used in tole painting are water-based acrylic paints. While acrylic paint becomes water-resistant when dry and is very user-friendly, its adhesion changes drastically depending on the balance of oil and water, as well as the smoothness of the surface you are applying it to.
Here are the five main reasons why paint slips or beads up like water droplets:
The most commonly overlooked cause is invisible oil or dirt on the surface of your material. Touching the piece repeatedly with bare hands leaves skin oils and fingerprints behind.
Because water-based acrylic paint strongly repels oil, attempting to apply paint over oily spots will cause it to bead up—just like dropping water onto an oily surface. Similarly, if commercial wood items are pre-treated with protective wax or oils, they will aggressively repel paint.
Even if the raw wood surface looks smooth and clean to the naked eye, painting directly without sanding will lead to poor paint adhesion.
For acrylic paint to bond securely, the material needs a slight amount of micro-texture. On slick surfaces without texture, or conversely, where wood fibers are too tightly packed, there is no "tooth" for the paint to grip onto. As a result, the paint slips away as you move your brush, making it impossible to create an even coat.
Applying sealer (primer) is the single most crucial step in tole painting. If you apply paint directly to unsealed wood, the timber will instantly absorb the moisture from the paint.
When only the water is sucked into the wood, the pigment left on the surface becomes blotchy, and the brush drags terribly. On the flip side, applying too much sealer or painting over sealer before it is completely dry can cause the sealer film itself to repel the paint.
The amount of water you mix into your paint on the palette directly impacts adhesion. If you mix in too much water to thin the paint out, the acrylic binder becomes diluted, drastically reducing its coverage and adhesion power.
Overly watery paint tends to bead up due to surface tension, pooling into droplet shapes as soon as you apply it. Conversely, paint with too little water is thick and heavy, pulling on the brush and failing to spread smoothly over the base.
How you prepare and maintain your brushes also matters. If you rinse your brush in water and leave excess moisture trapped at the base of the ferrule, that trapped water will run down the bristles while you paint, suddenly diluting your paint on the surface.
Furthermore, if conditioner, brush cleaner, or soap residue remains in the bristles after washing, those chemical components can react with the acrylic paint and cause severe repelling.
To get paint to lay down smoothly on raw wood, taking every single step of surface preparation without skipping is the shortest path to success. Here is the correct step-by-step prep method for raw wood, where beginners most frequently run into trouble.
First, sand the entire raw wood piece using sandpaper in the 180 to 240 grit range (medium-coarse to medium).
Sand carefully along the wood grain using even pressure. This creates microscopic scratches on the wood surface, giving the sealer and paint something to grip onto. Since leftover sawdust or dust causes repelling, be sure to wipe away all wood dust completely after sanding using a dry tack cloth or a well-wrung damp cloth.
Next, apply a wood sealer specifically designed for raw timber. Sealer evens out the wood's absorbency and enhances paint adhesion.
Using a sponge brush or flat brush, spread the sealer evenly along the wood grain. Missing spots will cause uneven absorption later, resulting in a splotchy paint film. Once applied, let it dry completely in a well-ventilated area. You can use a hair dryer to speed up drying, but keep it at a reasonable distance; holding it too close can cause bubbles and coarsen the finish.
Once the sealer dries, the wood fibers that absorbed the moisture will swell and stand up, leaving a rough, fuzzy texture. If you paint over this raised grain without addressing it, your brush will catch and fail to paint smooth lines.
This is where fine-grit sandpaper (400 grit or higher) or an abrasive sanding pad comes in. Lightly stroke the surface without pressing hard to gently shear off the raised fuzz. When the piece feels smooth to the touch, you've succeeded. Wipe off the fine sanding dust once more.
With the base prepared, it is time to apply the background base color. Trying to cover everything in one thick coat here is a recipe for failure. Thick layers dry only on top while remaining wet underneath, which repels subsequent paint layers.
Apply a thin, even first coat and let it dry completely before applying a second layer. If needed, a third thin layer will give you a flawless, stroke-free base coat. When your base coat adheres properly, the detailed design paint applied on top will not be repelled.
Tole painting isn't limited to wood—you can also paint tin cans, glass bottles, plastic containers, and more. However, non-porous materials that do not absorb water are even more prone to repelling paint than wood is.
Surfaces like metal, glass, and plastic are extremely smooth and have zero absorbency. Applying standard acrylic paint or wood sealer directly will cause it to slide off without grabbing, and even after drying, it will peel off easily with a fingernails scratch.
When painting non-porous surfaces, always use a specialized primer such as a metal sealer or multi-surface sealer (suitable for glass and plastic). These contain powerful bonding agents that act as a bridge between the slick surface and the acrylic paint.
Before applying sealer to metal or glass, degreasing the surface is mandatory. No matter how good your sealer is, it will not stick if oils remain on the surface.
Pour anhydrous ethanol or rubbing alcohol onto a cotton pad and thoroughly wipe down the area you intend to paint. Once the alcohol evaporates, make it a strict rule not to touch that surface with bare hands again as you work.
For materials like tin cans or hard plastic, scuffing the surface lightly with fine sandpaper (around 400 grit) to create invisible micro-scratches will dramatically increase sealer adhesion.
However, glass items where you want to maintain transparency or delicate materials that shouldn't be scratched cannot be sanded. In those cases, skip sanding and rely on the combination of alcohol degreasing plus a dedicated multi-surface sealer for glass.
If your paint still repels even after perfect surface prep, the issue lies in the condition of your paint mixture or brush handling.
When thinning acrylic paint, relying solely on water often leads to over-dilution. If the paint gets too watery, it will bead up into droplets as soon as it touches the surface.
When you want to improve paint flow, use specialized tole painting thinners like floating medium or blending medium instead of water. Mediums allow you to thin the paint while maintaining its acrylic binder strength, giving you a smooth stroke without sacrificing adhesion.
A brush fresh out of the water basin holds more moisture than meets the eye. Even if you pick up paint on the tip, water trapped near the ferrule will creep down during painting, suddenly diluting your mix and causing repelling.
After rinsing your brush, always gently press it against a paper towel to draw out excess moisture trapped deep in the hair root. Keeping the bristles just damp (feather-light moisture) is the golden rule to prevent paint from repelling.
When cleaning brushes periodically with brush cleaners or soaps, insufficient rinsing leaves surfactants trapped in the bristles. Surfactants break water surface tension, causing paint to spread strangely or bead up unpredictably.
After cleaning your tools, wash out all soap thoroughly with lukewarm water and let them dry completely before storage. Also, make it a habit to change your brush basin water frequently whenever it becomes cloudy with dissolved paint.
When you're right in the middle of a project and think, "Oh no, the paint is repelling!" here are my practical recovery approaches for fixing the problem.
This happens when paint beads up as you apply it, leaving tiny dots or holes where the under-layer shows through. This is a clear sign that skin oil or residue is present on that spot.
In my case, I never try to force-rub wet paint over the spot to fill it in. Scrubbing wet paint scrapes off the surrounding wet layer and makes the damage worse.
Instead, I let the area dry completely. Once dry, I lightly sand around the repelled spot with 400-grit sandpaper to smooth it, then wipe the spot with a cotton swab dipped in alcohol. After that, I pick up a small amount of thicker, barely thinned paint on the tip of my brush and dabs it gently over the spot to touch it up.
If the paint applies smoothly in one area but suddenly gets sucked in and turns chalky in another, uneven sealer application is the culprit.
Continuing to paint in this state won't yield a beautiful piece. When this happens to me, I wait for the painted layer to dry, then apply a fresh, thin coat of all-purpose sealer (or a base coat that contains sealer) over the entire piece.
Re-establishing a uniform base layer completely eliminates the frustration of patchy absorption, allowing you to resume painting smoothly.
Paint bottles stored for a long time can separate or dry out into a thick, sludge-like consistency. Even if you thin this paint with water, lumps remain and it won't lay down smoothly.
Before using older bottles, shake them thoroughly to remix pigments settled at the bottom, or stir deeply from the bottom with a clean stick.
If lumps remain or the texture won't recover, the paint has reached the end of its lifespan. Paint with degraded acrylic binders causes repelling and peeling later on, so replacing it with a fresh bottle is truly the best solution.
The frustrating issue of paint repelling in tole painting isn't a matter of artistic skill or complex technique. It can be 100% solved simply by reviewing your tool preparation and surface prep routine.
To wrap up, here is a quick summary of key points for smooth, even paint application:
While sanding and applying sealer might feel tedious at first, taking time for this foundation work is the ultimate secret that determines the color vibrancy and durability of your work.
Once your base is prepared correctly, your brush will glide smoothly across the surface, letting you paint effortless gradations and fine details. Try these checkpoints one by one on your next project and experience how satisfying it feels when paint applies perfectly!
If you found this article helpful, sharing it with your crafting friends on social media or messaging apps would make me super happy and encouraged!
Well then, see you in the next article! This was Yassy from Crafters!







For example, if you are looking for articles about mizuhiki, try searching for "mizuhiki"; if you are interested in tools, try keywords like "nippers" or "pliers."
