How to Add Depth in Tole Painting: Essential Shading Techniques for Flat Works
yassy
Crafters!

Hello everyone! This is Yassy from Crafters! (・∀・)
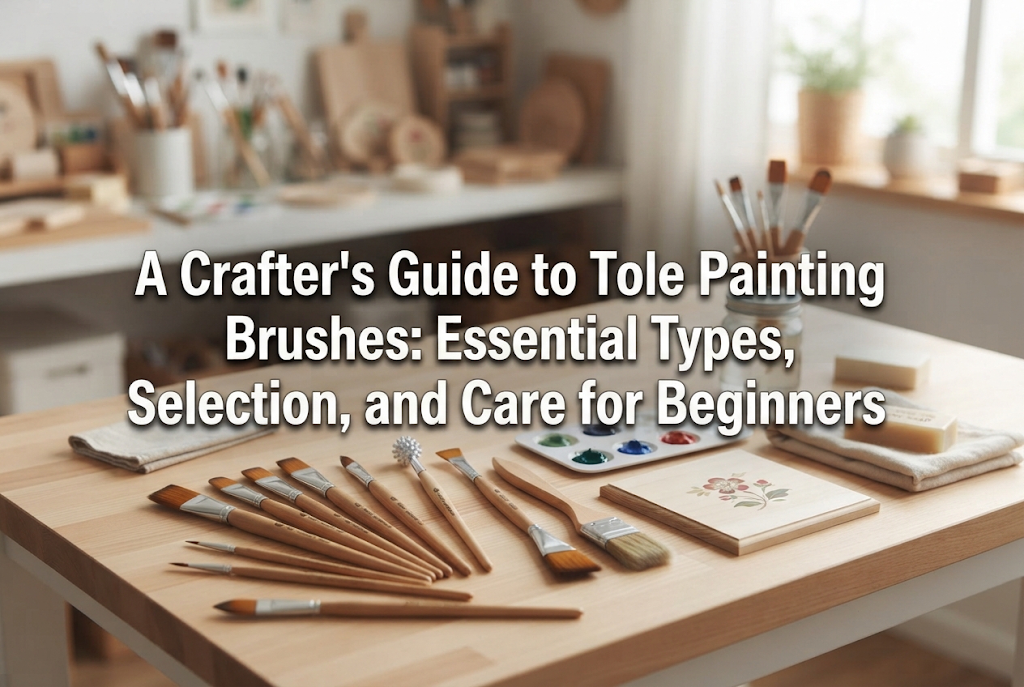
Tole painting, the art of painting beautiful illustrations and decorative patterns on wooden crafts and everyday items, is a beloved craft across generations. However, when beginners first look into getting started, they are almost always surprised by the overwhelming variety of paintbrushes available. Craft stores and online shops are filled with rows of brushes in different shapes, sizes, and hair materials, making it tough to know where to begin.
In tole painting, your brushes are the most important tools directly affecting the quality of your finished piece. Signature techniques like smooth gradients, delicate fine lines, and dimensional flower petals can only be achieved by choosing the right brush designed for each technique. On the other hand, using an unsuitable brush makes it difficult to paint desired patterns no matter how much you practice, hindering your progress.
In this guide, I will explain the different types of brushes used in tole painting and their roles, the differences in hair materials, the five essential starter brushes for beginners, and proper maintenance methods to make your brushes last for years. If you are starting tole painting or want to avoid making mistakes when buying tools, please read through to the end!
In general watercolor or oil painting, artists often adjust brush pressure using a single brush to create varied line widths. Tole painting, however, relies heavily on utilizing the pre-shaped form of the brush tip to execute specific techniques. The bristles are pre-cut into distinct shapes, allowing you to lay down paint like a stamp or execute specialized stroke techniques with ease.
Understanding the structure of a brush makes selecting and caring for them much simpler. A brush consists of three main components:
Tole painting brushes are named after the shape of their tip, with numbers indicating their specific size. Let's take a look at the essential brush shapes first.
While there are dozens of brush types available, you definitely do not need to buy them all at once. As a beginner, picking up these five basic brushes will allow you to paint almost any project. These are also the essential brushes I personally use most frequently in my daily crafting!
Featuring a square, flat tip, this is the most fundamental brush in tole painting. It is perfect for basecoating (applying an even layer of paint over large surfaces) and using its sharp corners to draw clean straight edges.
Additionally, flat brushes excel at "side-loading"—a defining tole painting technique where paint is loaded onto only one corner of the brush and blended with water to create a natural, smooth gradient. It is indispensable for geometric designs, large leaves, and background painting.
An angular brush is essentially a flat brush with its bristles cut at a sharp angle. It is an extraordinarily important brush used constantly in tole painting. Because of its angled shape, it easily fits into tight corners and curved lines, making side-loading and floating (applying shades and highlights) significantly easier.
When painting overlapping ribbons, floral petals, or intricate shadows, using an angular brush makes the process remarkably smooth. It is a must-have tool when you want to take your skills to the next level.
The round brush has a traditional rounded tip. By altering your hand pressure, you can freely control line width from thin to thick strokes in a single movement.
In tole painting, round brushes are used for comma strokes (curved comma-like strokes), small flower petals, dots, and intricate pattern work. Because it requires good elasticity and paint retention, investing in a quality round brush is highly recommended.
A liner brush features much longer, extremely fine bristles compared to a standard round brush. It is specifically designed for drawing delicate ultra-thin lines, plant tendrils, lettering, and signing your name on finished pieces.
The long bristles hold a sufficient amount of paint and water mix, allowing you to pull long continuous lines without the paint drying out midway. If you struggle with shaky hands ruining fine lines, using a proper liner brush with correct water consistency will solve the problem.
The filbert brush is similar to a flat brush, but with rounded corners at the tip. It combines the easy coverage of a flat brush with the soft touch of a round brush.
Because it lacks sharp corners, it is ideal for painting rounded flower petals such as roses and tulips with single strokes. It leaves minimal brush marks and creates soft, natural strokes, making it an essential tool for floral motifs.
Once you are comfortable with the five basic brushes, adding specialty brushes allows you to achieve specific textures and effects effortlessly. Consider adding these as you explore new designs:
Alongside shape, the bristle material (hair type) is a critical factor when selecting brushes. It determines paint holding capacity, springiness (elasticity), and durability. Brushes fall into two primary categories: Synthetic (Nylon) and Natural Hair.
Synthetic fibers are currently the main standard in tole painting. High-grade nylon known as "Taklon" offers flexibility and springiness that rivals natural hair.
Since tole painting mainly uses quick-drying acrylic paints, synthetic Taklon brushes—which withstand frequent water washing—are strongly recommended. They keep their shape well and guide paint accurately.
Natural brushes use animal hair such as sable (weasel), squirrel, or stiff hog bristles.
While natural hair offers a lovely painting feel, quick-drying acrylic paint can easily ruin natural fibers if paint hardens inside. Beginners will get the best results by choosing durable, manageable synthetic Taklon brushes.
Here are common brush-related mistakes that beginners often make. Knowing these ahead of time will save you money and frustration!
It is tempting to start with cheap multipacks from budget stores for practice. However, this is one of the biggest traps. Ultra-cheap brushes often have uneven tips, shed bristles onto your painting, or split apart when wet. Even experienced artists struggle to paint well with poor brushes. Often, beginners assume their lack of skill is to blame when the true issue is low-quality tools. Always purchase proper brushes made specifically for craft and tole painting.
Buying a 20-piece brush set assuming "more is better" is another common mistake. You may end up never using most of the shapes, making brush storage chaotic. Starting with 3 to 5 key individual brushes or a basic starter set is much more practical.
Submerging the brush completely into palette paint up to the metal ferrule drastically shortens its lifespan. Paint trapped inside the ferrule hardens, causing the bristles to splay out permanently. Always load paint onto only the outer half to two-thirds of the bristles.
Failing to remove excess water after washing your brush dilutes your paint, making it runny and blotchy on your surface. Always gently press the bristles in a folded paper towel to draw out excess moisture before picking up fresh paint.
If you are wondering exactly which sizes to buy first, here is my top recommended setup for beginners!
You can easily purchase these from major craft retailers (such as Yuzawaya or Craft Heart Tokai in Japan) or online marketplaces like Amazon and Rakuten. Look for reputable craft paint brand lines (such as Athena, Jack Richeson, or Americana) in Taklon synthetic hair. They typically cost around 400 to 1,000 yen per brush.
Once you have acquired good brushes, proper maintenance will keep them in top condition for years. Acrylic paint hardens permanently once dry, so care during and after painting is essential.
Never leave your brushes resting bristle-down in a water cup while working! Leaving bristles bent against the bottom of a container causes permanent warping. Additionally, water soaking into wooden handles causes wood to swell, cracking the paint coating and loosening the metal ferrule. Rinse your brushes frequently during work, gently dry them, and lay them flat on a paper towel.
When you finish your painting session, clean your brushes thoroughly using these steps:
When drying brushes, do not stand wet brushes upright in a pencil cup. Moisture drains down into the ferrule, rotting the wooden handle and fixing residual paint inside the base. Instead, lay them flat on a dry towel in a well-ventilated area, or hang them upside down using a brush hanger. Once completely dry, store them upright in a brush holder or inside a breathable brush roll (bamboo or canvas wrap).
In this article, we explored the main types of tole painting brushes, hair materials, starter recommendations, and essential care tips. In tole painting, a paintbrush acts as an extension of your hand, bringing beautiful designs to life on wood and crafts. Once you understand the purpose of each shape, choosing the right tool for every pattern becomes an enjoyable puzzle!
Start with a few durable synthetic brushes, try out different strokes, and take good care of them. With proper maintenance, your brushes will serve you reliably for a long time. I wish you wonderful creative moments with your tole painting projects!
If you found this guide helpful, please feel free to share it with your craft friends on social media or messaging apps!
Until next time, happy crafting! This was Yassy from Crafters!










For example, if you are looking for articles about mizuhiki, try searching for "mizuhiki"; if you are interested in tools, try keywords like "nippers" or "pliers."
