A Beginner’s Guide to Japanese Tsumami Zaiku: How to Start Right Away with a Starter Kit
yassy
Crafters!

Hello, this is Yassy from Crafters! (・∀・)
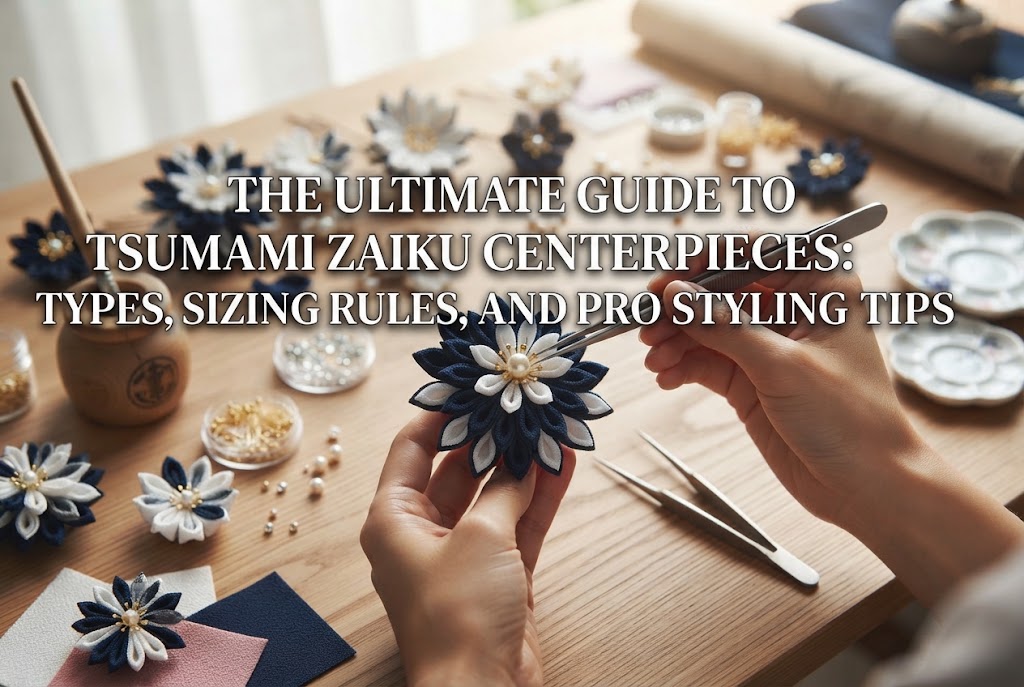
When making Japanese fabric flowers with tsumami zaiku (traditional pinched fabric craft), choosing the centerpiece is just as vital as folding neat, symmetrical petals. The center naturally draws the viewer's eye—it is truly the soul of the flower. No matter how meticulously you shape each petal, an ill-fitting center in size, texture, or style can leave the entire piece looking unpolished or unbalanced.
Yet, when browsing craft stores or online shops, you are met with an overwhelming array of options: artificial stamens (pep), pearls, filigree bead caps (hanaza), beads, and cabochons. Many beginners find themselves wondering, "Which one should I choose?" or "What size will fit my flower?"
In this guide, I will walk you through the main types of centerpieces used in tsumami zaiku, their unique characteristics, how to choose the right one for your design style, and essential techniques for attaching them flawlessly. Read through to find the ideal focal point for your petals and instantly elevate the quality of your handcrafted flowers!
In tsumami zaiku, the centerpiece (often referred to as the floral core or stamen piece) is not merely decorative; it serves a crucial structural purpose.
Tsumami zaiku petals are arranged in a circle onto a base. As a result, the gathered tips of the folded fabric converge at the center, where adhesive marks, raw cut edges, and overlapping fabric layers naturally accumulate. The centerpiece neatly conceals this messy convergence zone, tying the entire flower together into a clean, unified composition.
Furthermore, the choice of centerpiece transforms the character of your piece. Whether you want a rustic, natural vibe, a deeply traditional Japanese aesthetic, or a sleek, modern luxury feel, the center component dictates the final look. It is truly the key to establishing the world of your design.
Centerpieces commonly used in tsumami zaiku can be divided into five main categories. Let's look at their textures, visual effects, and best uses.
Pep refers to floral stamen components featuring small heads made of resin or gofun (a traditional Japanese white pigment made from pulverized seashell) attached to both ends of a fine thread or paper wire. They are a staple material in both artificial flower making and traditional tsumami zaiku.
The greatest charm of pep is its ability to recreate delicate, realistic plant elements. When bundled together in the center of a flower, they impart an organic, lifelike softness.
There are several varieties available: standard round pep, ultra-fine micro-pep, shimmering glass pep, and pearl-coated varieties. For traditional creations such as hair ornaments for Shichi-Go-San (a Japanese coming-of-age celebration for children) or Seijin-shiki (Coming of Age Day), pep is an essential material to evoke classic Japanese atmosphere.
Pearls are a versatile option that lend an elegant, soft aura to any piece. Simply placing a single pearl in the center brightens the flower, adding a clean and refined luster.
When using pearls in tsumami zaiku, the shape is crucial. The primary types used include flatback pearl cabochons (half-drilled or undrilled pearls with a flat bottom that adhere cleanly to the base), lightweight cotton pearls with a vintage matte finish, and standard gloss resin pearls.
Hanaza (also called zagane) are flower-petal-shaped metal findings and filigree bead caps. With their metallic sheen and intricate openwork patterns, adding a hanaza instantly gives your tsumami zaiku flower a luxurious, sophisticated look.
While a hanaza can be used on its own as a center, the most common approach is to layer it, placing a pearl, crystal, or bead directly on top of the metal base. They are available in gold, silver, antique bronze, and rose gold, allowing you to complement various fabrics such as textured chirimen (crepe silk/rayon) or smooth habutae and shoken (pure silk).
When you want to introduce sparkling brilliance, cut glass beads, rhinestones, and prong-set crystal components (bijou) are ideal choices.
Faceted glass beads or crystal elements catch the light, multiplying the piece's festive appeal. These components excel in contemporary "Wa-modern" (Japanese-modern fusion) pieces, bridal wedding accessories, and everyday jewelry like earrings or brooches where you want a modern, Western touch.
This technique involves creating small rounded fabric balls using the same fabric as the petals or a complementary color to set in the center. Ready-made chirimen-wrapped beads or fabric wrapped around small styrofoam spheres are frequently used.
Because no metal parts are involved, the finished flower has a soft, gentle warmth. This makes them ideal for children's hair accessories, casual hair ties, and designs aiming for a cozy, handcrafted feel.
Now that you know the material types, let's explore how to choose the best option based on the intended purpose and setting of your finished project.
For traditional chirimen hair ornaments (kanzashi) worn with a kimono or yukata, the most striking combinations are bundled pep or a gold hanaza paired with a pearl.
For large focal flowers, a classic approach is placing a gold or silver hanaza underneath a shiny resin pearl (roughly 6 mm to 8 mm). For smaller accent blossoms or plum-blossom buds, bundling several strands of white or yellow pep adds visual rhythm and texture to the entire hairpiece.
For casual jewelry worn with modern western clothing, opt for small flatback pearls, cotton pearls, or understated small beads.
When styling for daily outfits, an oversized hanaza or intensely bright metallic hardware can sometimes feel too formal or overly traditional. Choosing small cotton pearls or matte-finish findings helps the flower blend effortlessly into daily fashion.
For dress wear, bridal gowns, or modern fusion looks, consider pronged rhinestone crystals or a silver hanaza with a clear crystal bead.
The clear, faceted sparkle softens the distinctively traditional look of the folded fabric, creating a sophisticated modern elegance that fits right into formal reception halls and festive celebrations.
There are a few common stumbling blocks beginners frequently encounter when selecting and attaching centerpieces. Knowing these ahead of time will save you frustration and ensure a clean finish right away.
The centerpiece size is the single biggest factor governing the visual balance of a tsumami zaiku flower. If it is too large, it covers the folded petal tips and creates a top-heavy look. If it is too small, the fabric folds and glue marks underneath remain exposed, leaving the center looking sparse.
A reliable rule of thumb is the golden ratio of one-third to one-quarter: choose a center component whose diameter measures approximately 1/3 to 1/4 of the flower's overall diameter.
For instance, for a flower with a 3 cm diameter, a 7 mm to 10 mm centerpiece provides the best balance. For a small 1.5 cm blossom, a 3 mm to 4 mm component fits best. Always calculate the final diameter of your completed flower before purchasing your findings.
A frequent beginner mistake is repurposing standard through-drilled round beads from a stash, only to have the stringing holes visible from the front or side angles. Visible holes immediately detract from the polished look, giving an unfinished appearance.
The cleanest solution is to use flatback half-pearls (cabochons). Their flat bottoms provide a generous bonding surface for adhesive, and because they have no through-holes, they look impeccable from every angle.
If you must use a bead with a through-hole, position the hole horizontally and conceal the openings by placing tiny rhinestones or metallic microbeads (bullion) over them, or tuck them under the petal prongs of a hanaza.
When inserting pep into the center, beginners often find the stamen heads shifting to uneven heights, resulting in a jagged, untidy cluster that sticks out awkwardly.
Never insert pep strands loose into the flower one by one. The key rule is to pre-bundle the stamens in your hands. Line up the stamen heads evenly, bind the lower stems securely with fine craft wire or sturdy thread, and apply a dab of glue to anchor the bundle.
Once dry, snip the bottom of the stems flat before gluing the entire bundle into the flower center. This ensures every stamen head sits on a unified plane at an even height.
Using standard wood craft glue (PVA glue) to adhere metal findings or smooth resin pearls directly to fabric often leads to parts popping off once dried. Wood glue is formulated to bond porous fibers (fabric to fabric), lacking the necessary bonding strength for slick metal or plastic.
Conversely, applying an excess of multi-purpose glue can cause wet adhesive to seep through petal seams and stain the fabric, ruining the piece.
When bonding metal, plastic, or glass to fabric, always use a solvent-free, high-strength multi-purpose craft adhesive or a heavy-duty jewelry glue. Instead of dispensing adhesive directly from the nozzle onto the flower, place a small drop onto a scrap surface and use the tip of a toothpick to dab a precise amount. This is the surest way to prevent messy overflow.
Here are a few personal techniques I regularly use in my own work to give centerpieces extra depth and a refined, professional finish.
While using a standalone pearl or a single hanaza works well, layering components adds immediate dimension and perceived value to your work.
My favorite method is nesting a slightly smaller flatback pearl inside a bowl-shaped (cupped) hanaza. The upward curve of the metal prongs acts like a jewelry bezel setting, giving the flower the polished depth of a gemstone ring.
If you want to take it a step further, placing a smaller, contrasting filigree spacer between the base hanaza and the pearl creates a delicate, tiered gradient effect.
When deciding on centerpiece colors, apply one of these three reliable rules:
If you are ever unsure, you can never go wrong with gold findings paired with an ivory/white pearl. These two elements harmonize with virtually every fabric hue and reliably elevate the overall finish.
In my workshop, I always prep the bonding surface before gluing. The backs of glossy metal bead caps and plastic cabochons are very smooth, making glue prone to peeling off under stress.
To fix this, lightly scuff the underside of the component using fine-grit sandpaper (around 400 to 800 grit) to create microscopic texture. This simple extra step gives the adhesive something to grip into, resulting in a bond that will not budge even if tugged.
When attaching the piece with quick-drying multi-surface glue, press it firmly down for several seconds using your finger or the side of a toothpick. This temporary clamp pressure makes a noticeable difference in long-term durability.
The centerpiece of a tsumami zaiku flower may be small, but it completely transforms the first impression of your artwork.
From the lifelike delicacy of pep to the quiet grace of pearls, the ornate brilliance of hanaza, and the festive sparkle of faceted beads—understanding what each material brings to the table will make your crafting journey far richer and more enjoyable.
If you are just getting started, begin with user-friendly flatback cabochon pearls and classic gold hanaza. As your confidence grows, try your hand at wired stamen bundles and intricate multi-layered hardware. Enjoy the wonderful moment when your chosen centerpiece brings your petals to life!
If you found this guide helpful, sharing it on social media or with fellow crafters is always warmly appreciated and keeps me inspired to write more!
See you in the next post! This was Yassy from Crafters!

For example, if you are looking for articles about mizuhiki, try searching for "mizuhiki"; if you are interested in tools, try keywords like "nippers" or "pliers."
