Starch Paste vs. Craft Glue: Choosing the Right Adhesive for Japanese Tsumami Zaiku
yassy
Crafters!

Hello, this is Yassy from Crafters! (・∀・)
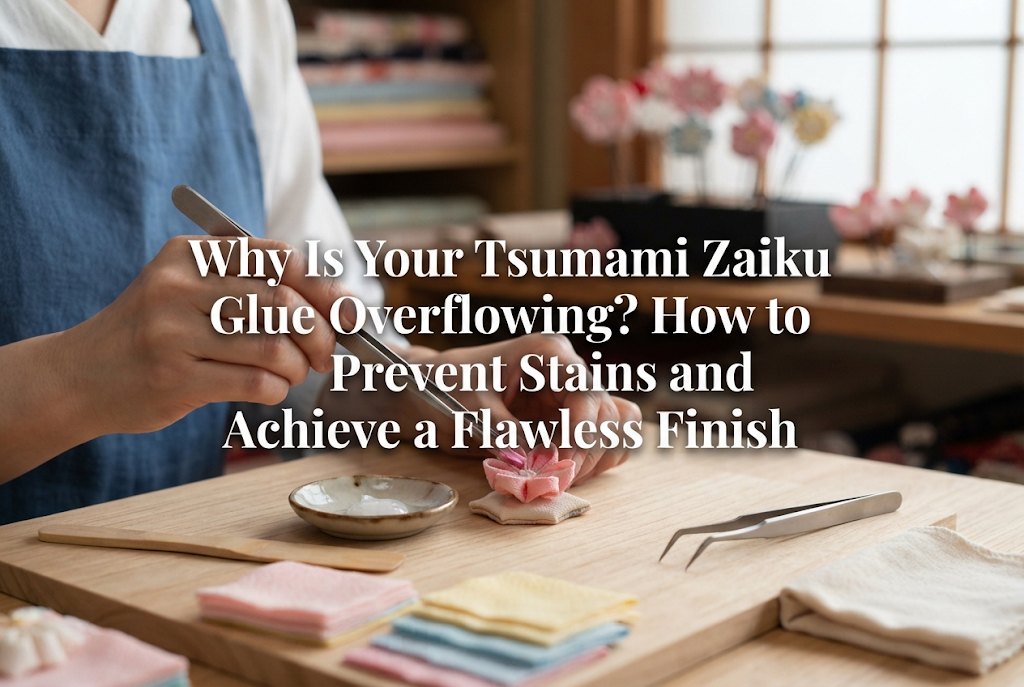
Have you ever had starch glue ooze out from between fabric petals while making Japanese tsumami zaiku, or soak into the fabric and leave an unsightly shiny residue? You carefully cut your fabric into perfect squares, neatly aligned the corners, and folded them with precision—only to have excess glue ruin the final assembly. It is an incredibly frustrating moment that can instantly lower the overall quality of your work.
Often, crafters think, "I need to use plenty of glue so it won't come apart." But the more glue you apply, the more excess accumulates on the petal as you lift it from the glue board, immediately staining the base and neighboring petals the moment you place it. In tsumami zaiku, glue overflow does not happen because you are clumsy; it happens for very specific, mechanical reasons.
In this guide, I will thoroughly break down the root causes of glue overflow in tsumami zaiku, share practical techniques to keep your work neat and clean, and explain how to recover if glue does spill. Master your adhesive control and take your tsumami zaiku to a professional, market-ready level!
When glue seeps out in tsumami zaiku, excess adhesive is entering the process somewhere along the line. Review these five common culprits to identify where your excess glue is coming from.
The single most common cause is spreading your traditional starch glue (denpun nori) too thickly on your glue board (whether you use a glass plate, acrylic board, or an opened milk carton).
When smoothing glue with a spatula, beginners often spread a cushion-like layer 2 to 3 mm deep or more. When the layer is that thick, merely resting a petal on the board submerges not just the base, but the sides and inner folds as well. As a result, the entire petal becomes drenched in glue. The moment you press it onto your base, the excess has nowhere to go and squeezes out all around it.
In tsumami zaiku, the glue board is not a pool for petals to bathe in. Think of it as an ink pad designed to lightly transfer glue only onto the cut edges of your petals.
Even if your glue is spread thinly, the way you place your petals onto the board can cause problems.
When transferring a folded petal with tweezers, do you press down firmly to "make sure it absorbs the glue"? Applying downward pressure forces glue up into the fabric fibers and between folds via capillary action. When setting petals on the glue board, you should apply zero downward pressure.
The consistency and moisture level of your starch glue also directly impact overflow.
If the glue is overly watery and loose, it rapidly penetrates the fabric fibers upon contact, soaking through to the front surface. This creates noticeable glue stains and unnatural shiny patches once dry. Rayon chirimen (crepe fabric) shrinks significantly when exposed to moisture; using watery glue not only causes overflow, but also distorts the petal shape entirely.
Glue is not necessarily easier to work with just because it is soft. Kneading it to the right firmness with moderate elasticity and viscosity is essential.
As you work, do you ever notice sticky patches on the tips or upper parts of your petals—areas that never touched the glue board? That is almost always caused by glue buildup on your tweezers.
When lifting petals from the glue board or arranging them on your base, the tweezer tips inevitably brush against glue. If you pick up the next petal without wiping them, that residue transfers directly onto the visible fabric surface. Dirty tweezer tips are one of the most overlooked causes of adhesive marks.
Your touch during the "fuku" step—placing and arranging petals onto the base (ochirin)—requires careful control.
Worrying that petals might detach, some crafters firmly press them down against the base using tweezers or fingers. Even with the correct amount of glue, excessive pressure forces adhesive out from the contact point. If neighboring petals are close together, that squeezed-out glue spreads and mats them together.
Behind the tendency to use too much glue lies the belief that more glue equals a sturdier piece. However, once you understand how tsumami zaiku pieces actually bond, you will see why this is a mistake.
In woodworking or paper crafts, adhesive is applied across broad flat surfaces. But what part of a tsumami zaiku petal actually touches the base? It is the cut edge of folded fabric—a thin, linear cross-section.
This means the only area requiring adhesive is that cut edge along the bottom, which is less than 1 mm wide. There is no need for glue on the sides or vertical surfaces of the petal. If you push the petal deeply into the glue as if covering a flat plane, all that extra glue inevitably overflows.
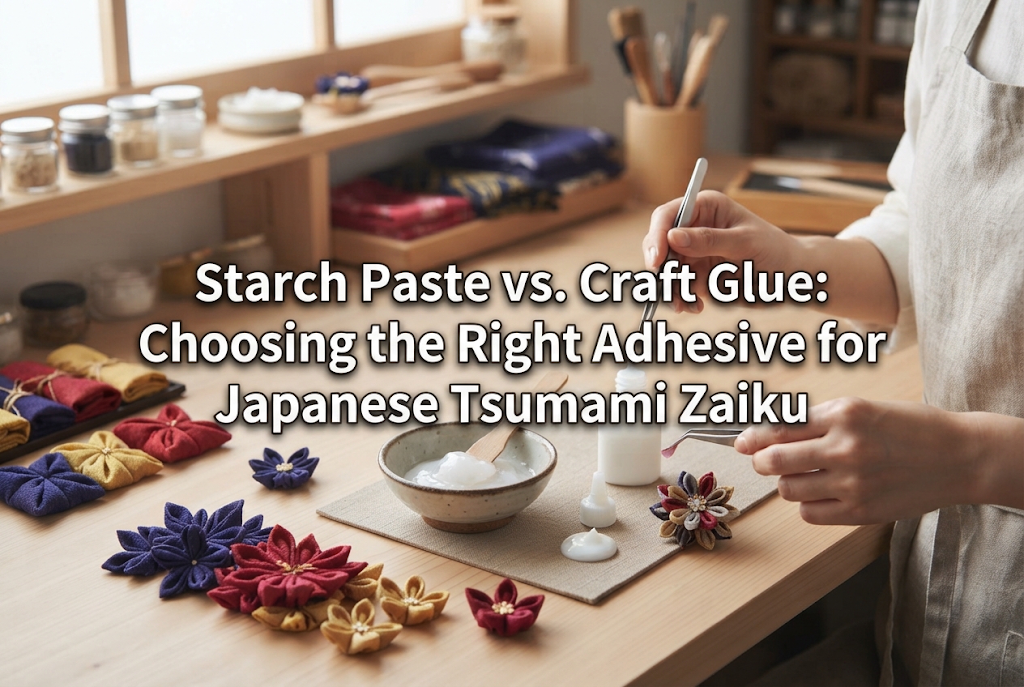
Tsumami zaiku is traditionally made with starch glue (denpun nori), though many modern crafters rely primarily on fast-drying wood craft glue (PVA glue). How overflow behaves depends on which one you use:
Understanding which adhesive you are working with allows you to handle spills appropriately.
Now that we have covered the causes, here are practical adjustments you can implement right away.
When applying starch glue to your board, hold your spatula at roughly a 45-degree angle and draw it smoothly across the surface until the glass underneath is faintly visible. The ideal thickness is between 0.5 mm and 1 mm.
Keep the layer level across the entire board, like a smooth tabletop. Any bumps or hollows will leave some petals with too little glue and submerge others too deeply. A uniform layer is the fundamental step to ensuring every petal receives the right amount of adhesive.
When placing folded petals onto the glue board, simply let go gently. Apply zero downward force.
As long as the cut edge lightly touches the glue surface, the fabric fibers will naturally draw up the necessary amount. After arranging petals on the board, leave them for 5 to 10 minutes to allow the glue to settle into the fabric. This resting time bonds the folds securely without any need for forceful pressing.
The most effective yet frequently skipped habit is cleaning your tweezers continuously.
Keep a damp, tightly wrung cloth (or alcohol-free wet wipe) right beside your workspace. Once you transfer a petal to the base, wipe the tweezer tips clean through the cloth before picking up the next petal.
While wiping your tweezers every time might seem tedious, taking that single second makes all the difference in keeping your finished piece free of blemishes. Keeping your tweezer tips clean and shiny is the fastest route to pristine work.
Be mindful of how you apply adhesive to the foundation base (ochirin). Mounding starch glue or craft glue into a dome at the center will cause it to displace outward and burst between the petals when they are inserted.
Instead, spread a thin, even coat over the base using a spatula or toothpick. Ensure there is a level ring of glue where the petal feet sit, rather than a heaped pile in the middle.
Different fabrics interact with glue differently. Adjust your glue consistency and volume based on your material.
Rayon chirimen is widely available and popular for beginners, but it requires the most delicate glue control. It is extremely sensitive to water; moisture causes it to shrink instantly, flattening its distinctive crinkled texture and leaving a stiff stain.
When working with rayon chirimen, avoid over-diluting your starch glue. Knead it to a firm texture—slightly firmer than an earlobe. If you use craft glue, apply only tiny pinpoint dots using the tip of a toothpick.
Traditional tsumami zaiku frequently uses silk habutae, which is exceptionally light and supple. Because the fabric is so thin, even a slightly thick glue layer will cause adhesive to wick up to the top of the petal via capillary action.
When using silk habutae, spread your glue layer under 0.5 mm and avoid leaving petals on the glue board for too long. Silk bonds exceptionally well with starch glue, creating a remarkably durable hold once dry, even with very little glue.
When using cotton, the fabric absorbs water well, but its natural thickness and springiness can cause petals to open up. Crafters often compensate by adding too much glue.
Polyester and other synthetic fabrics do not absorb moisture, so starch glue sits on the surface and tends to slide rather than penetrate. Applying too much starch glue to synthetics leaves petals slippery and slow to dry, leading to spills. For synthetic fabrics, switch from starch glue to a quick-drying wood glue or fabric adhesive, and apply a very small amount under light, brief pressure.
Even with great care, glue can occasionally squeeze out while adjusting a petal's angle. Knowing how to react immediately makes all the difference.
Because starch glue is water-soluble, it can be cleaned off cleanly before it sets.
Never rub the spill with your fingers, as that pushes the glue deeper into the fibers and widens the stain. Instead, take a fine-pointed detail brush dipped in water, lightly trace the edges of the spilled glue to dissolve it, and then gently dab the area with a dry cotton swab to lift the dissolved glue and moisture.
If you spot a hardened patch of starch glue after it has fully dried, touch it with a damp cotton swab, let it sit for about five minutes until the glue softens and turns whitish, and then gently pick it off with tweezer tips or a swab.
With wood craft glue, timing is everything. Once fully cured, it turns into an insoluble, clear solid.
Immediately after a spill, touch the tip of a clean toothpick to the glue and rotate it slowly to wrap and lift the adhesive away. Avoid using cotton swabs here, as loose cotton fibers can stick to the glue and make the mess worse.
If the glue has already dried into a shiny spot, scraping it off without damaging the fabric is very difficult. In that case, consider covering it up with decorative elements—place a flower center piece (such as stamen pips, beads, or a metal bead cap) directly over the spot, or incorporate fine gold powder or craft glitter into the design to conceal it.
To keep my tsumami zaiku clean and prevent glue mishaps, I rely on a few set habits and layout rules during every crafting session.
Rather than spreading glue across the entire board, I split my board into three functional zones:
After placing a petal in the working zone, if I feel it picked up slightly too much glue, I give the bottom edge a gentle tap on the bare glass zone. That simple tap transfers the excess glue onto the glass, leaving just the right amount on the petal. Adding this one-second check almost completely prevents glue from squeezing out on your base.
Workspace layout plays a major role. Because I am right-handed, I keep a tightly wrung, neatly folded hand towel directly to the left of my work area.
After placing each petal, wiping my tweezer tips on the towel has become an automatic reflex. Keeping your tools in fixed positions and preventing clutter is the easiest way to avoid accidental glue transfers.
Glue overflow in tsumami zaiku comes down to small details: the depth of your glue bed, how firmly you set your petals down, and whether your tweezers are kept clean. Wanting your creation to be sturdy is natural, but tsumami zaiku requires surprisingly little glue to achieve a secure, long-lasting hold.
Keep your glue layer thin and even, set your petals down gently, and wipe your tweezers after every petal. Practicing these three basic habits will instantly elevate the cleanliness and beauty of your finished work.
Once you feel confident controlling your glue, assembling tsumami zaiku becomes far more enjoyable. Take your time, handle each step with care, and enjoy watching your own fabric flowers bloom cleanly!
If you found this guide helpful, please share it with your craft friends on social media—it means the world to me!
Until next time, this was Yassy from Crafters!



For example, if you are looking for articles about mizuhiki, try searching for "mizuhiki"; if you are interested in tools, try keywords like "nippers" or "pliers."
