The Ultimate Guide to Craft Stamp Inks: How to Choose the Perfect Ink for Paper, Fabric, Leather, and Slick Surfaces
yassy
Crafters!

Hello, this is Yassy from Crafters! (・∀・)
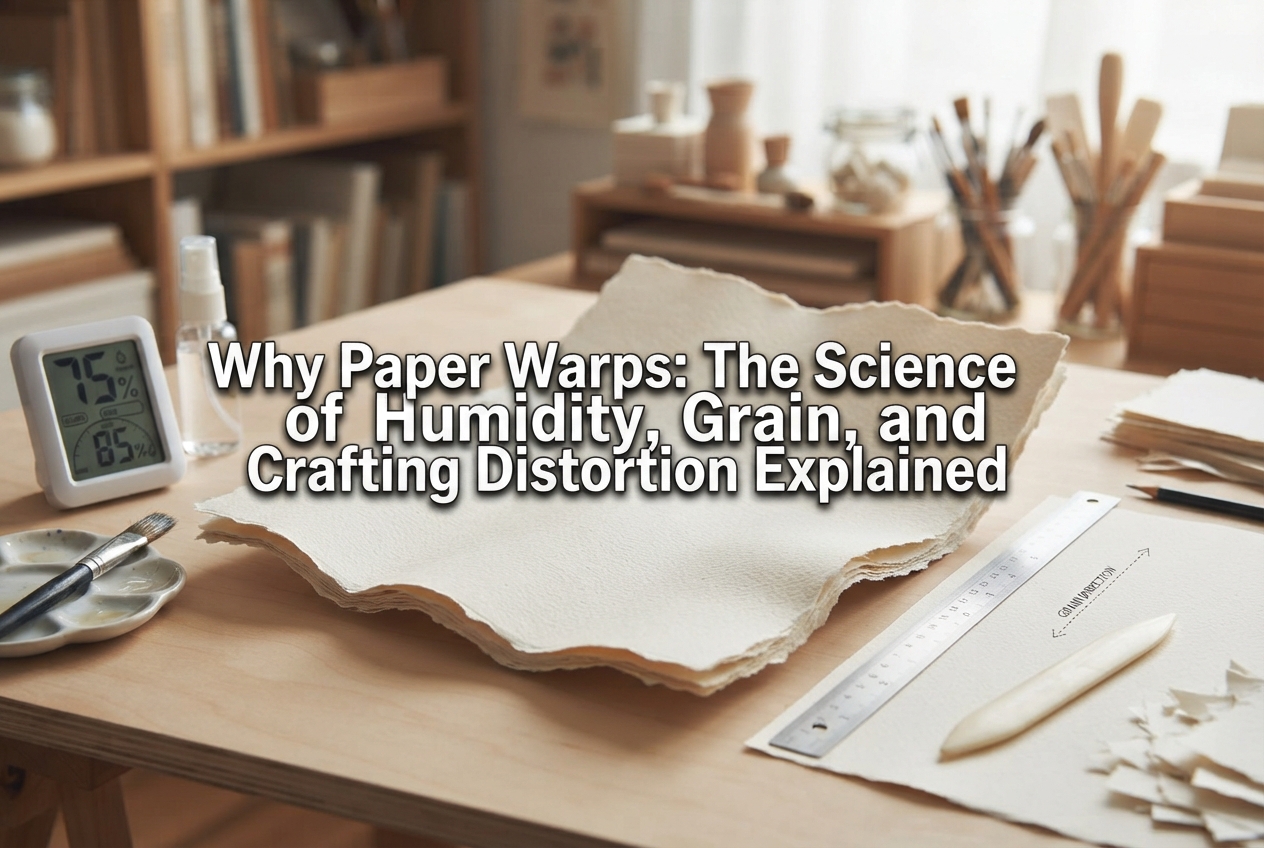
If you enjoy papercrafts, cartonnage, collage, or bookbinding, you have almost certainly experienced the frustration of beautifully cut and glued paper warping into a curved mess over time. When a card, mat, or baseboard that should be perfectly flat starts to bow, it instantly reduces the overall quality of your project and can be truly heartbreaking.
While we might vaguely guess, "Maybe I used too much glue?" or "Could it be the room humidity?", few crafters stop to analyze the exact physical phenomena happening inside the paper fibers. Paper warping is not a matter of bad luck; it is driven by distinct structural characteristics and environmental mechanisms.
In this guide, I will break down the fundamental causes of paper warping, covering cellulose fiber structure, humidity shifts, adhesive behavior, and surface tension. Understanding these root causes will give you clear insights into how to prevent warping in your own crafting projects. Let's dive deep into the nature of paper so we can build smooth, perfectly flat creations!
To understand why paper warps on a physical level, we first need to look at what paper is made of. The primary component of paper is wood pulp extracted from plants—specifically, micro cellulose fibers. Paper is formed when these tiny fibers become intricately intertwined, dried, and solidified into a flat sheet.
Cellulose fibers are highly hydrophilic and dynamic: they swell when they absorb moisture and shrink as they dry. The critical detail here is that fibers do not expand or contract significantly along their length; instead, they expand and contract primarily across their diameter (thickness direction).
When one side of a sheet of paper absorbs water or ambient moisture, the fibers on that specific surface swell in diameter, causing that surface area to physically expand. Meanwhile, if the opposite side remains dry, its surface area stays unchanged. When one side expands while the other remains stationary, the sheet curves so that the expanded side forms the outer curve (convex side) and the unexpanded side forms the inner curve (concave side). This is the core physical principle behind paper warping.
Every manufactured sheet of paper has a distinct grain direction (also known as the machine direction). During industrial paper manufacturing, pulp fibers suspended in water are poured onto a moving screen belt. As the machine runs, the majority of the pulp fibers naturally align parallel to the direction of the machine's movement.
The orientation where fibers run parallel is called the "grain long" direction, while the perpendicular direction is "grain short." The direction of this grain has a direct impact on how and where your paper will warp.
As mentioned, cellulose fibers swell in diameter rather than length. This means that when fibers are aligned vertically, their swelling causes the overall sheet to expand horizontally across its width. Consequently, paper naturally curls along an axis parallel to its grain direction.
Because of this, moisture changes cause paper to bend in a predictable, single axis. However, if you glue two sheets of paper together with their grain directions running perpendicular to each other (crossed grain), the two layers will pull in opposing directions. This cross-tension creates complex, diagonal twists that are extremely difficult to flatten later.
In papercraft and cartonnage, the moment glue or liquid adhesive is applied is often the highest-risk phase for warping. This process triggers a two-stage warping reaction over time.
When you apply a water-based adhesive (such as liquid glue, starch paste, or PVA) to one side of a sheet, the cellulose fibers on that surface immediately absorb the water. Because only the glued side expands rapidly, the paper is pushed outward, initially bowing upward away from the glue (a mountain-fold curve).
If you've ever panicked thinking, "I applied glue and the paper immediately curled outward!" you were witnessing this first stage of moisture expansion.
The trickier phase is Stage 2, which begins as the water in the adhesive evaporates into the air and the glue hardens. As water leaves the paper surface, the fibers rapidly contract. In addition, the drying adhesive film itself shrinks as it cures (film contraction force).
As a result, the paper that originally bowed outward now gets pulled tightly in the opposite direction, curling inward toward the glued side (a valley-fold curve). This drying pull is surprisingly powerful—it exerts enough force to warp even thick board or heavy cardstock easily.
Have you ever created a piece that was perfectly flat when finished, only to find it warped weeks or months later while on display? This long-term warping is caused by fluctuating room humidity and asymmetric exposure to the surrounding air.
In places with distinct seasons like Japan, atmospheric humidity changes dramatically throughout the year. During rainy seasons or summer, indoor humidity can climb near 80%, whereas winter heating can drop humidity levels below 30%.
When ambient humidity rises, paper absorbs airborne moisture and expands; when humidity drops, it releases moisture and shrinks. This continuous cycle of absorption and release alters internal stresses within the paper structure, causing gradual warping over time.
Warping is especially common when a project is sealed or finished on only one side—such as applying varnish, resin coating, or single-sided lamination.
The coated side becomes completely sealed against air and moisture. However, the untreated back side remains fully exposed to ambient humidity. On humid or rainy days, the untreated back side absorbs moisture and expands, while the sealed front side stays rigid, causing the piece to curl inward toward the front. In dry winter weather, the back loses moisture and shrinks, causing the piece to warp outward. Creating an asymmetric barrier guarantees that your paper will flex whenever the environment changes.
Not all paper reacts to moisture in the same way. Warping severity varies based on weight, thickness, density, and manufacturing method.
Thin paper (such as origami paper or light newsprint) lacks structural rigidity, so even a tiny drop of moisture will cause it to curl quickly. However, because its overall tensile pull is weak, it can be easily flattened under weight or flattened during assembly.
On the other hand, heavy cardboard, illustration board, or grayboard used in cartonnage resists bending initially. But once water penetrates deep into heavy board and triggers drying contraction, the resulting warp is extremely rigid and stubborn. Assuming thick board won't warp can lead to irreversible distortion in your final build.
Coated papers (like glossy photo paper coated with clay or polymer layers) behave very differently from uncoated papers (like drawing paper, kraft paper, or traditional Japanese washi).
Uncoated paper absorbs water quickly and evenly, allowing expansion to distribute relatively uniformly. Coated paper repels water on its sealed surface, forcing moisture to enter strictly through the edges or back side. This unbalanced water absorption causes irregular wave distortions and complex buckling.
When crafters don't understand these mechanics, well-intentioned techniques can accidentally make warping much worse. Here are three classic mistakes to avoid:
Trying to secure a bond by applying a thick layer of wet glue introduces massive amounts of water directly into the paper. This causes extreme moisture expansion followed by catastrophic drying shrinkage.
Combining paper with fabric, leather, plastic sheets, or metallic foils is popular in paper arts. However, different materials expand and contract at completely different rates. While paper shifts with air humidity, plastic or metal foils do not move at all. This rate imbalance builds severe stress, pulling the paper base out of shape.
When a finished piece curls inward, a common knee-jerk reaction is to manually bend it backward to force it straight. Doing this fractures the hardened glue layer and damages internal cellulose fibers, leaving permanent creases, waves, and weakened structural integrity.
Now that we understand why paper warps, effective prevention techniques become clear. Here are the core practices I rely on whenever I work on papercraft and cartonnage projects:
When adhering two or more sheets of paper together, always align their grain directions parallel to each other. If your baseboard is grain long, your decorative cover paper must also be grain long. Matching the grain ensures both layers expand and contract in the same direction, preventing diagonal twisting and stress tension.
The single best way to prevent warping is to minimize water exposure. Whenever possible, swap liquid glues for strong double-sided graphic tape, adhesive transfer sheets, or low-water glue sticks.
If liquid PVA or paste is necessary, apply it as thin and fast as possible without adding extra water, or use well-wrung, low-moisture starch paste.
A fundamental technique in professional bookbinding and cartonnage is counter-pasting. When you glue paper or fabric to the front of a board, drying shrinkage pulls the front side inward. To balance this force, apply a paper sheet of identical weight, material, and grain direction to the back side at the same time.
The tension from the front and back sides will pull equally against each other, neutralizing the pull and keeping the structure perfectly flat.
Placing freshly glued projects under flat boards and weights while drying is essential. However, avoid clamping your work between non-porous materials like plastic acrylic sheets; trapped moisture won't escape, causing severe cockling.
Sandwich your work between moisture-absorbent sheets (such as clean newsprint, blotter paper, or heavy absorbent cardboard) beneath your flat pressing boards. This draws out excess moisture safely while keeping the paper flat as it cures.
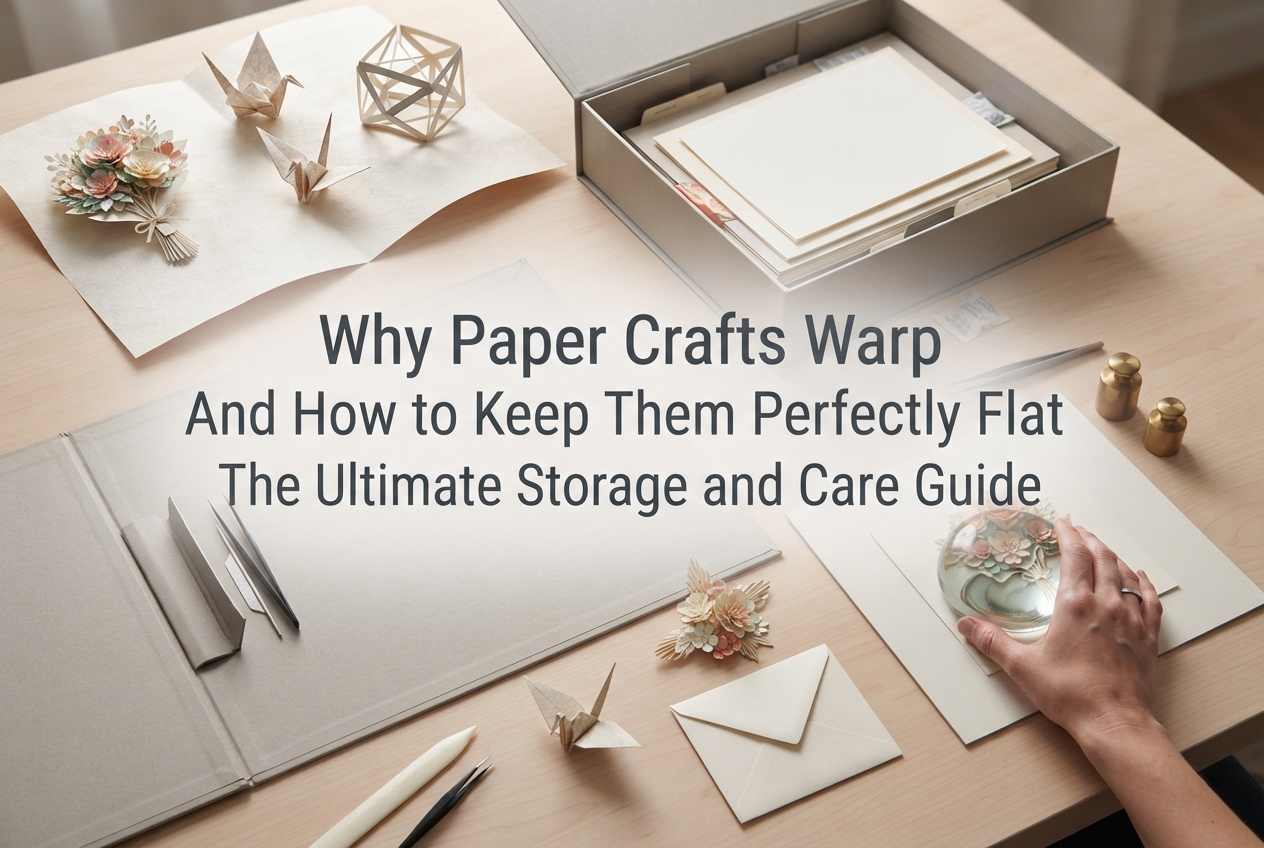
Paper warping isn't random—it's a direct result of cellulose physics, grain orientation, adhesive drying mechanics, and environmental humidity balance.
Once you keep these structural principles in mind, your approach to selecting materials, checking grain direction, choosing adhesives, and pressing your work will completely transform. By respecting the natural characteristics of paper, you can consistently craft clean, warp-free creations that stay flat for years to come.
Papercrafting becomes so much more rewarding when you know how to handle your materials! I hope you can put these fundamental tips to work in your next project.
If you found this guide helpful, sharing it on social media or with your fellow crafting friends would mean the world to me!
Until next time, happy crafting! This was Yassy from Crafters!

For example, if you are looking for articles about mizuhiki, try searching for "mizuhiki"; if you are interested in tools, try keywords like "nippers" or "pliers."
