Why is Japanese Yosegi Zaiku So Colorful? The Natural Beauty of Wood and Patterns Explained
yassy
Crafters!

Hello, everyone! It’s Yassy from Crafters! (・∀・)
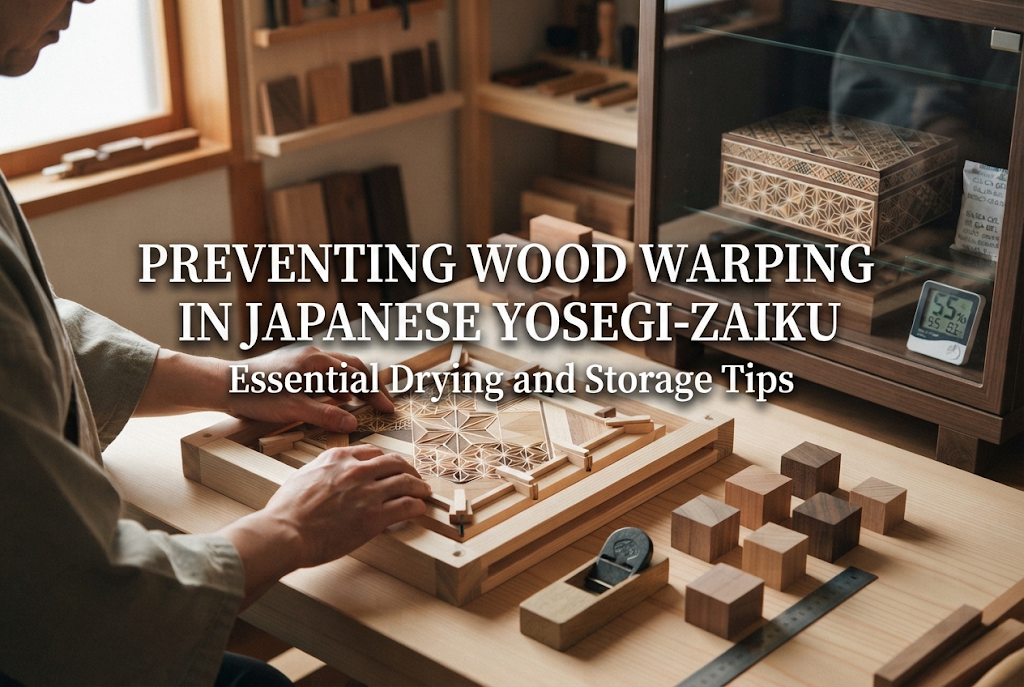
Yosegi-zaiku—the traditional Japanese art of combining different colored woods to create intricate geometric mosaics—is a truly captivating form of woodworking. However, many crafters encounter frustrating setbacks either during the build or after completion: “The meticulously fitted wooden pieces warped and left gaps,” or “The prepared stock warped while in storage.”
Wood warping is a common obstacle that almost every Yosegi-zaiku crafter faces at least once. It is genuinely disheartening to watch a piece you poured your heart into begin to twist out of shape. Fortunately, once you understand why wood warps and implement proper seasoning, drying, and storage practices, warping can be reliably prevented.
In this guide, I will share comprehensive strategies for preventing warping in Yosegi-zaiku, covering foundational mechanics, pre-assembly preparation, glue-up precautions, and everyday storage conditions. Master these essential techniques to ensure your handmade mosaic woodwork stays flat, precise, and beautiful!
To prevent warping effectively, we must first understand the fundamental mechanics behind why wood moves, curves, and twists. Understanding these principles will immediately transform how you handle your craft timber.
Even after a tree is felled, milled, and shaped, the wood continues to “breathe,” absorbing and releasing moisture in response to relative ambient humidity. In woodworking, this dynamic is known as hygroscopic movement.
When ambient humidity rises, wood absorbs airborne moisture and swells (expansion). When the air dries out, the wood releases internal moisture and shrinks (contraction). If moisture escapes or is absorbed unevenly between the front and back surfaces of a timber piece, the resulting tension creates an imbalance, causing the board to bow, cup, or twist.
While a single solid board can warp on its own, Yosegi-zaiku requires extra vigilance. A Yosegi block (traditionally called a tanegi or seed-block) is made by gluing together an array of distinct wood species—such as Japanese bigleaf magnolia (honoki), American walnut, giant dogwood (mizuki), Japanese zelkova (keyaki), and padauk. Each species possesses its own unique hardness and shrinkage rate.
Because each wood variety expands and contracts at a different rate when humidity shifts, joining them tightly side-by-side means their bond lines are subjected to opposing stresses. This structural tension makes Yosegi-zaiku far more susceptible to warping, joint separation, and hairline cracks than conventional single-species wood projects.
The primary catalysts for warping are sudden environmental shifts and asymmetrical exposure between opposing faces of a piece.
For instance, moving your workpiece from a humid room directly into a space where an air conditioner blows, or laying a thin strip flat on a worktable where only the top face is exposed to the air, causes rapid, one-sided drying. The exposed face contracts while the shielded face retains moisture, throwing off the structural balance and causing the wood to curl upward almost immediately.
Before assembling your Yosegi patterns, the most vital preparatory step is seasoning and acclimating your timber. If you cut into freshly purchased or recently resawn lumber right away, warping is virtually guaranteed.
After acquiring your wood, let it sit in the actual room where you plan to build for at least one to two weeks—ideally up to a full month. In Japan, this stabilization process is referred to as yōjō (curing/conditioning).
The temperature and humidity in a lumber store or warehouse differ significantly from your home craft room. Allowing the wood to reach equilibrium moisture content (EMC)—where the moisture inside the wood balances with the surrounding air—is a crucial prerequisite for preventing future movement.
During the conditioning phase, never lay your boards directly flat against a tabletop or solid floor. Doing so traps moisture underneath while allowing the top surface to dry, prompting severe cupping.
Instead, use narrow wooden sticks called sangi (stickers/spacers) spaced at regular intervals, resting your stock on top of them. If stacking multiple boards, always place spacers between every layer so air circulates freely around all surfaces—top, bottom, and sides.
By keeping air exposure identical across both sides and applying steady downward pressure, you suppress spontaneous movement while the wood stabilizes.
Even perfectly acclimated lumber can warp if glue-up is handled incorrectly. Pay close attention to how you work with adhesives.
Standard PVA wood glues (polyvinyl acetate emulsion adhesives) commonly used in Yosegi work contain a substantial amount of water. When applied to wood, the grain quickly absorbs this moisture and swells instantaneously.
If you spread a thick coat of glue on only one surface and leave it sitting, that side expands rapidly, creating an instant bow. When gluing your pattern units, keep these practices in mind:
Once the parts are aligned, secure them firmly using clamps or Japanese bar clamps (hatagane). Insufficient clamping pressure allows pieces to shift and warp as the glue dries, creating unsightly gaps.
Always sandwich your Yosegi block between thick, flat wooden cauls (known as atigi in Japanese workshops) before tightening clamps. Clamping across solid cauls spreads force evenly over entire surfaces rather than concentrating pressure on localized spots, effectively holding the assembly flat while curing.
Rather than cranking down a single clamp all at once, alternate between multiple clamps, gradually increasing pressure in turn to ensure balanced, uniform clamping across the entire workpiece.
Flatsawn lumber naturally tends to cup toward the bark side (away from the center of the tree rings). When arranging strips, alternate growth ring orientations or prioritize using quartersawn wood (where grain lines run perpendicular to the face) to help cancel out directional movement across the composite block.
Where and how you keep raw materials, in-progress components, and finished pieces is equally critical. Even a well-crafted Yosegi project can warp within a few days if stored in a poor environment.
The worst enemies of wood craftwork are direct sunlight and direct drafts from air conditioners or space heaters. Ultraviolet rays and thermal energy rapidly strip moisture from timber, triggering fading, sharp warping, and surface checks.
Drafts from heaters or air conditioners are equally hazardous. Whether hot or cold, continuous airflow selectively dries out localized sections of wood, causing distortion. Always store materials in a shaded spot away from direct airflow and bright windows.
The optimal indoor relative humidity for working with and storing Yosegi-zaiku is between 40% and 60%.
During humid rainy seasons or peak summer, use a dehumidifier to keep moisture below 70%. In dry winters when indoor humidity drops below 30%, run a humidifier to maintain a stable baseline. Keeping an inexpensive digital thermo-hygrometer in your workspace lets you spot shifts in ambient moisture before your wood reacts.
Never leave thin Yosegi veneers, laminated strips, or unfinished pattern sheets leaning at an angle against a wall. The combined strain of gravity and uneven air contact on the leaning faces will quickly cause the wood to take on a permanent bow.
Store items completely flat on an even surface, or place them vertically in a specialized slotted rack that holds every sheet strictly upright. When stacking flat, placing an even weight (such as a thick, flat wooden board) on top helps preserve flat profiles.
To safeguard a finished Yosegi-zaiku piece over the long term, applying a surface protective finish is indispensable.
Raw, unsealed wood responds directly to ambient humidity changes. Applying an oil finish (such as beeswax paste or botanical oils) or a urethane clear coat forms a thin barrier that dampens rapid moisture exchange.
Crucially, you must apply the finish evenly to all surfaces—front, back, and all edges—using the same number of coats. If you seal only the decorative top face and leave the reverse unsealed, moisture will enter and escape solely through the underside, causing severe cupping.
Even with great care, an unexpected weather swing can sometimes warp a piece of wood. Do not despair right away; mild warping can often be corrected using gentle moisture and weighted pressure.
Wood curves inward toward its driest, contracted side. This means the convex (bulging) side contains more moisture, while the concave (hollow) side is moisture-deficient.
You can use this physical property to help flatten the piece:
As the dry fibers absorb slight dampness and expand, the steady weight helps press the piece back toward a flat plane.
Never apply excessive water. Soaking the timber can dissolve or soften the glue joints inside your Yosegi assembly, leading to delamination or discoloration.
Furthermore, never attempt to forcefully flatten a thick, fully cured Yosegi block using raw clamp pressure alone, as doing so can crack the block cleanly across the joints. Gentle, gradual correction using minimal moisture and patient weighting is the safest rule.
Here are an everyday pitfall that novice crafters often encounter and a practical routine I follow in my own workshop.
Some beginners assume that using a heater or hair dryer to bake out every trace of moisture will ensure wood never warps. This is a major misconception.
Forcing moisture out artificially damages cell walls, triggering aggressive twisting and structural cracking. Your goal in lumber care is not sterile, zero-moisture dryness, but a state of stable equilibrium with the room where the item will reside. Abrupt, excessive drying is counterproductive.
In my own Yosegi-zaiku routine, I pay strict attention to what happens when I pause during a session.
Whenever I step away for lunch or pause work until the following day, I never leave cut pattern pieces or freshly glued assemblies resting open on the workbench.
Leaving thin components exposed to ambient air for just a few hours can induce noticeable distortion. Whenever I pause, I collect my prepared pieces, slide them into a heavy-duty clear plastic bag (like a resealable zip-top storage bag), press out the excess air, and seal it shut.
This simple airtight barrier shields the wood from ambient humidity swings, preserving its shape until I return to work. It takes only a few seconds, uses common household items, and dramatically reduces assembly failures—so please give it a try!
Wood movement in Yosegi-zaiku can be kept under control through careful timber preparation and disciplined environmental control:
Because wood is a natural, dynamic material, the care and preparation you invest directly translate into the precision and beauty of your finished piece. Take time to dry and store your stock properly, and enjoy building stunning Yosegi-zaiku heirlooms that stay flat and refined for years to come!
If you found this guide helpful, please share it with fellow makers and woodworking enthusiasts! Until next time, this has been Yassy from Crafters!










For example, if you are looking for articles about mizuhiki, try searching for "mizuhiki"; if you are interested in tools, try keywords like "nippers" or "pliers."
